3D Textured Painting Tutorial
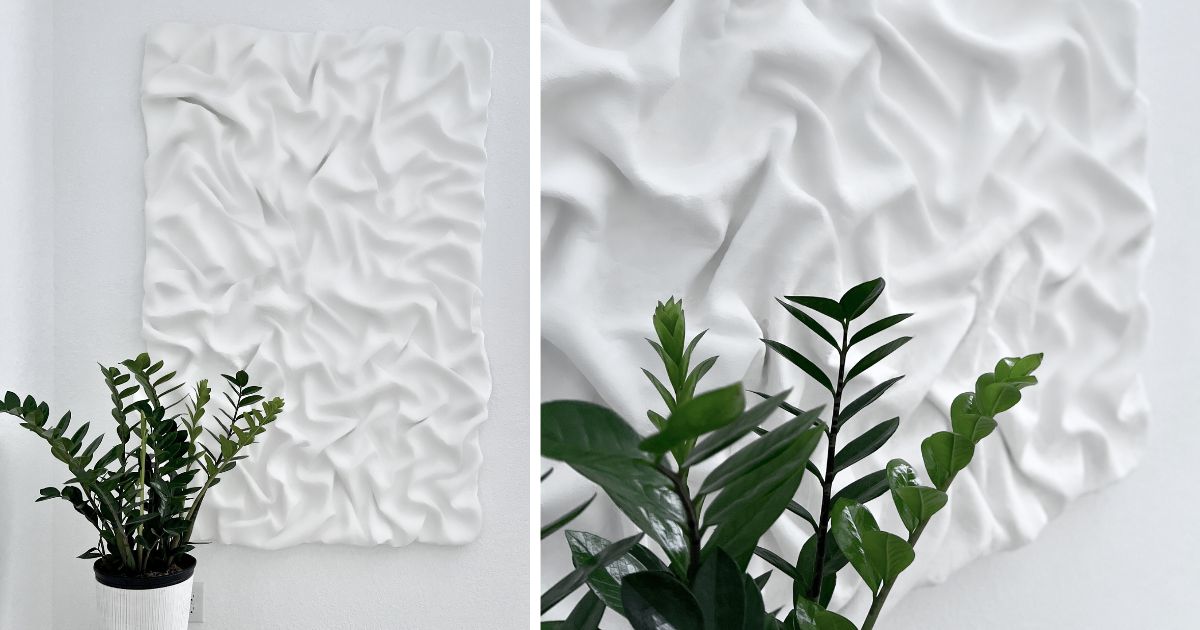
In the world of art and decoration, 3D textured paintings have become a fascinating trend that offers a new dimension to interior spaces. These works not only capture visual attention but also invite touch, creating a unique sensory experience. In this article of 3D Textured Painting Tutorial, we will explore how you can create your own 3D textured paintings using a mix of joint compound, glue, water , spackling and plaster of paris.
Materials:
- – Automatic stapler
– Flat Surface (I used a blank canvas but I do not recommend it as you lose a canvas that can be useful for a good painting and you really lose it. You can use a thin piece of wood instead) - – Joint compound: This material, commonly used in construction, will serve as a base for creating reliefs and textures.
- – Glue: Essential for adding to the mix and ensuring the durability of our work.
- – Spackling
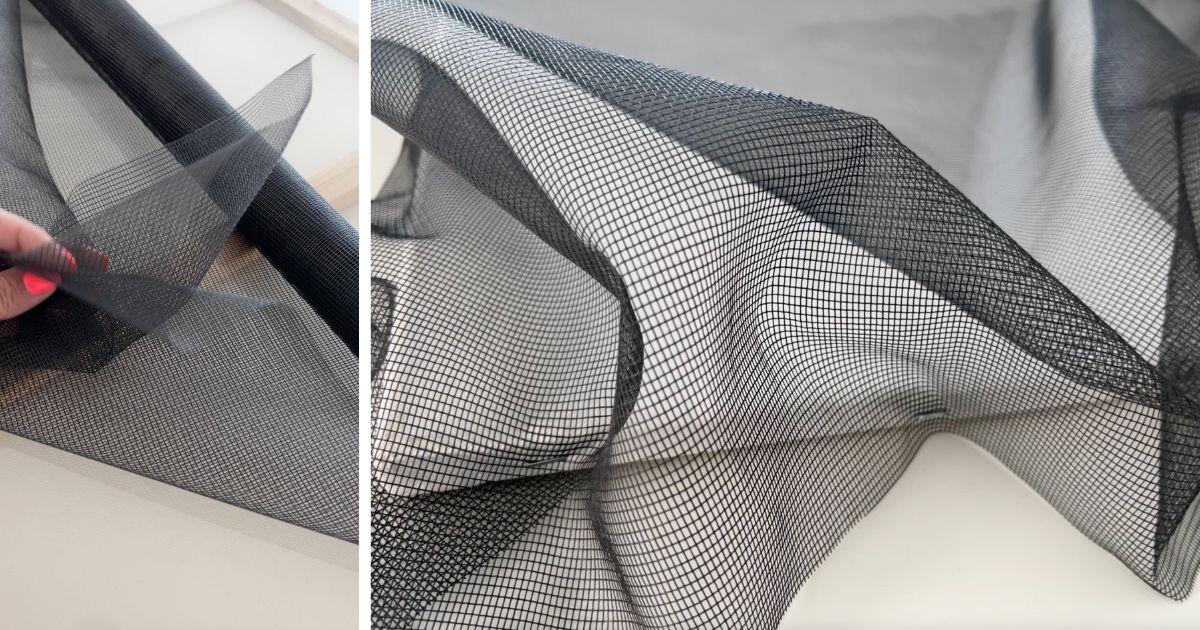
- – – Mesh: To shape and give volume to our three-dimensional creation.
- – Plaster strips: To harden and give firmness to the metal mesh structure.
- – Plaster of Paris – To cover the plaster strips and create that base on which we will apply the rest of the mixture in layers.
Step by Step tutorial:
1. Surface Preparation: Choose the surface you will work on. A thick canvas or a wooden board can be excellent options. Start with a clean and smooth surface. It can be a canvas, a wooden board, or any other material you prefer. (I used a blank canvas but I don’t really recommend it as you can get better use out of it for a good painting and using the canvas in this project is a loss.
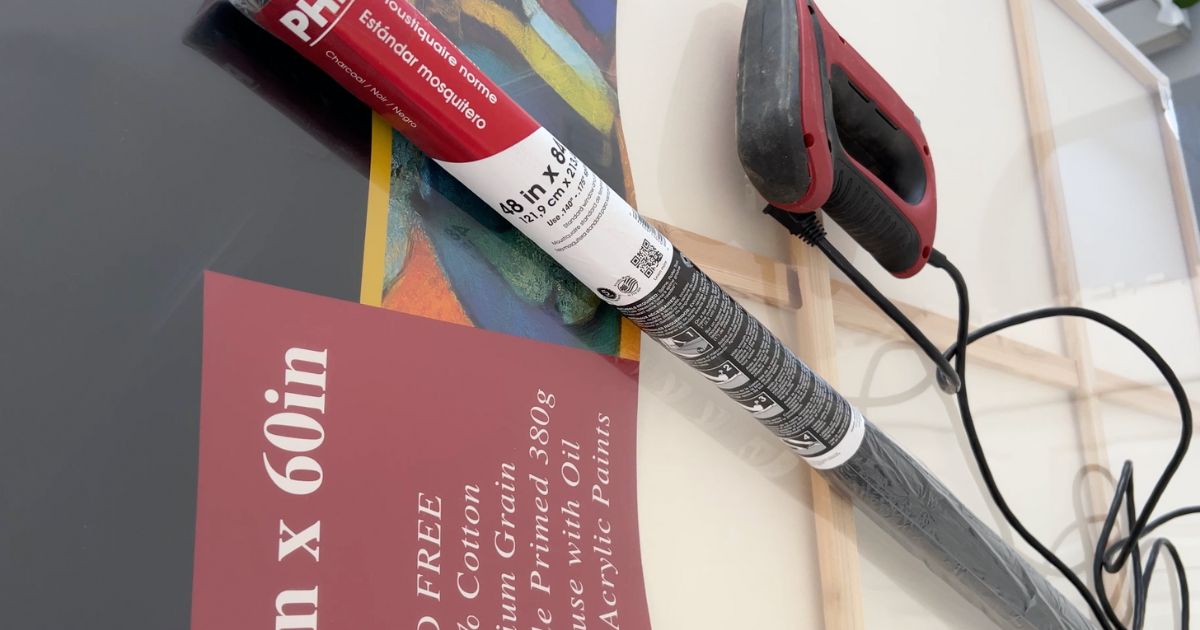
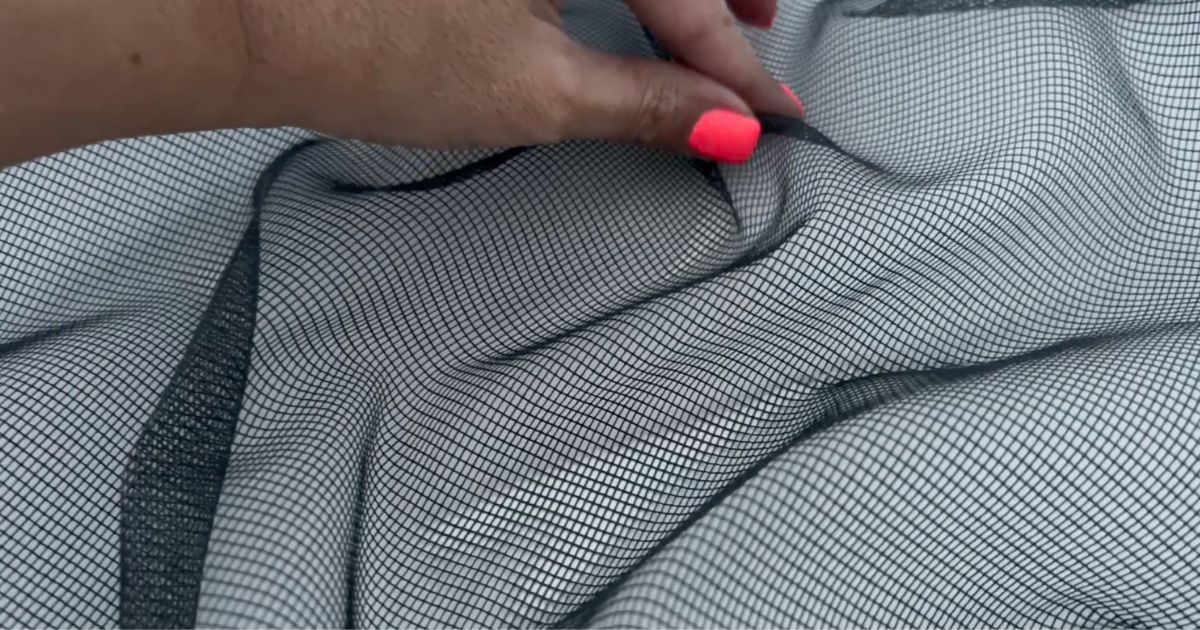
2. Shape Creation: Place the mesh on the surface, and start giving it the desired shape and volume for your design. You can use wire to structure and hold the mesh in place. On the edge of the surface, I used staples to fix the mesh and from there start to arrange the rest of the mesh and see how I like the volume created and apply a point of hot glue only to fix and continue creating the volume.
3. Application of Plaster Strips: Once you have the desired shape, start covering the entire volume created with plaster strips, making sure it adheres well. This will provide a solid base to work on. It’s very easy, just moisten them and place them on the mesh until the entire piece is covered.
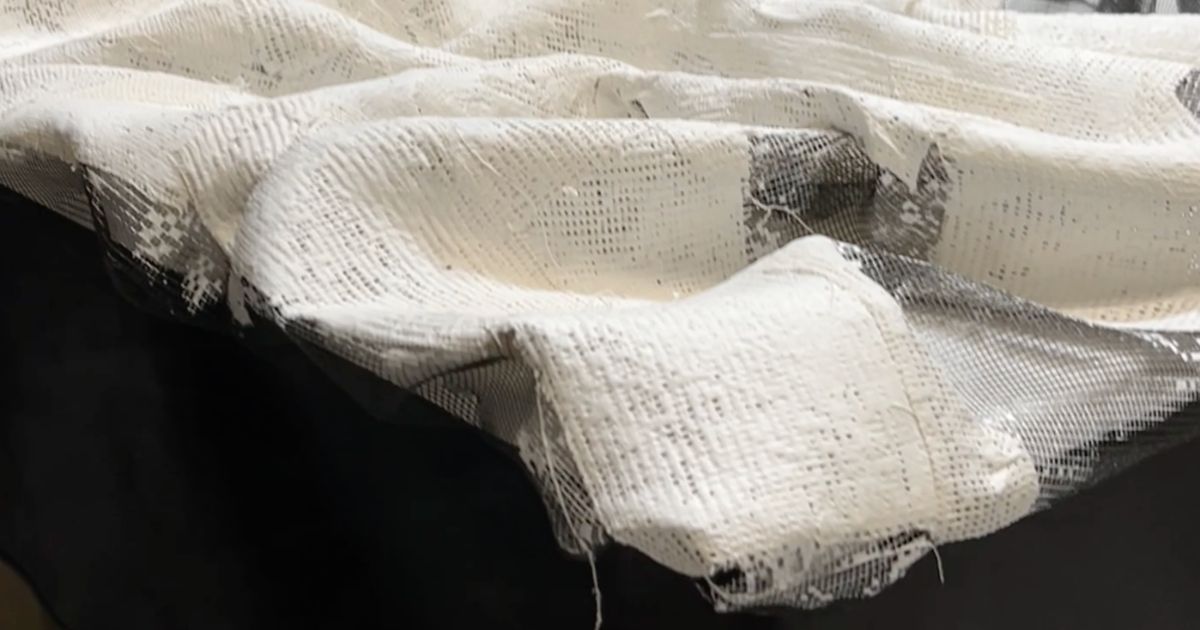
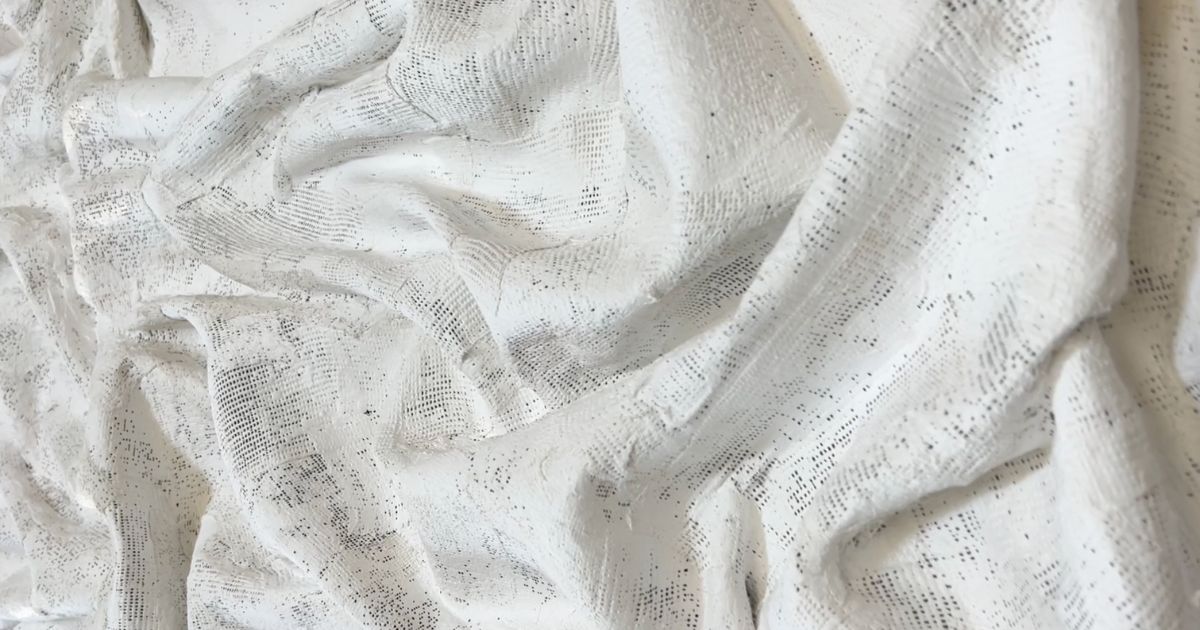
Once that first layer of plaster strips is solid, it’s time to apply the mix.
4. Material Mix: Prepare a mix of joint compound, white glue, acrylic paint, putty and Plaster of Paris. This mix will serve as a base to apply over the created volume. For the mix, I used 1 cup of Plaster of Paris, 3/4 cup of joint compound, 1/2 cup spackling, 2 tablespoons of white school glue, and water until achieving a consistency similar to pancake batter.
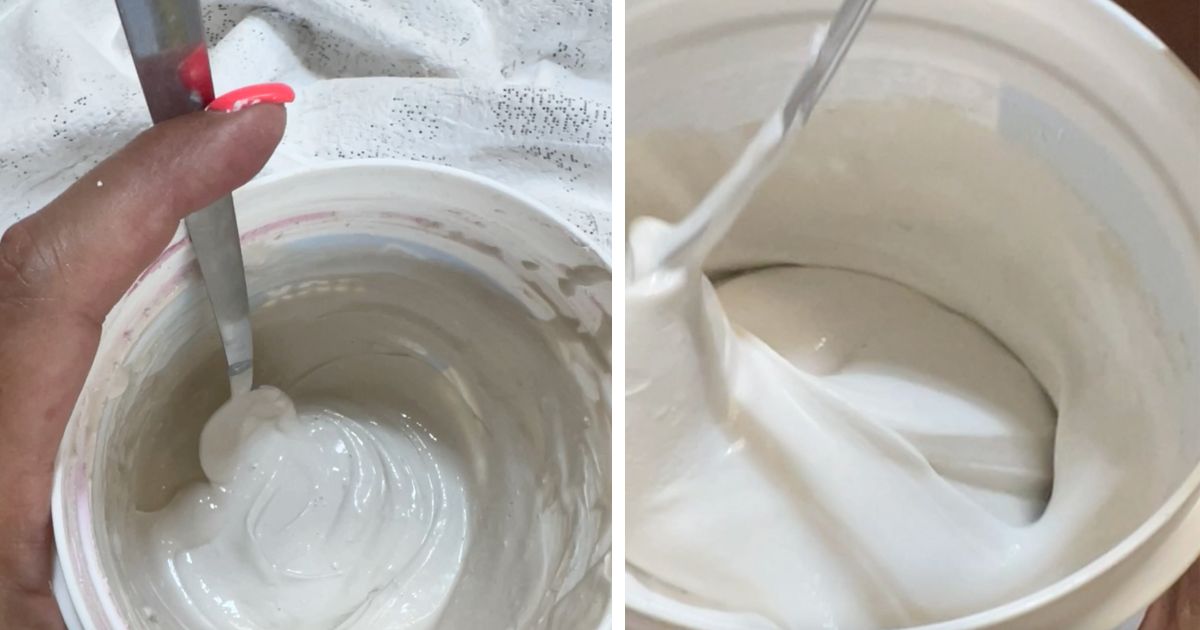
5. Mix Application: With a brush or paintbrush, apply the first layer of the mix over the hardened structure created with plaster strips. Let it dry completely before applying a second layer. At this step, you will continue applying layers until necessary and cover all areas. Do not apply the layers too thick, it is better to apply thin layers so that the drying is faster and avoid cracking or deformation.
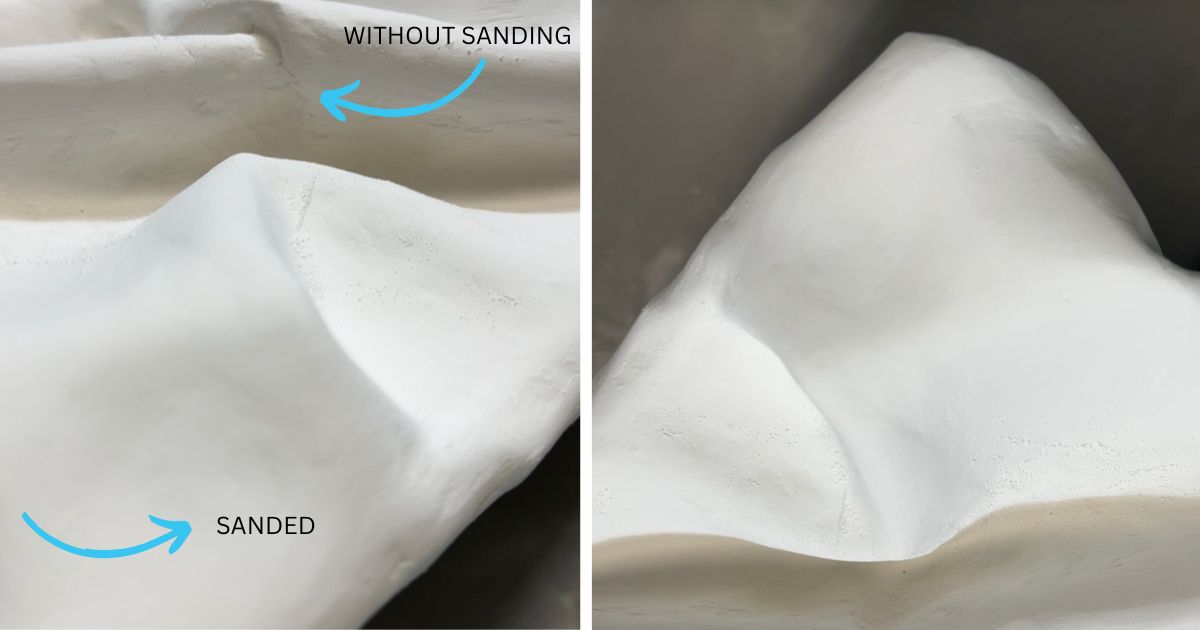
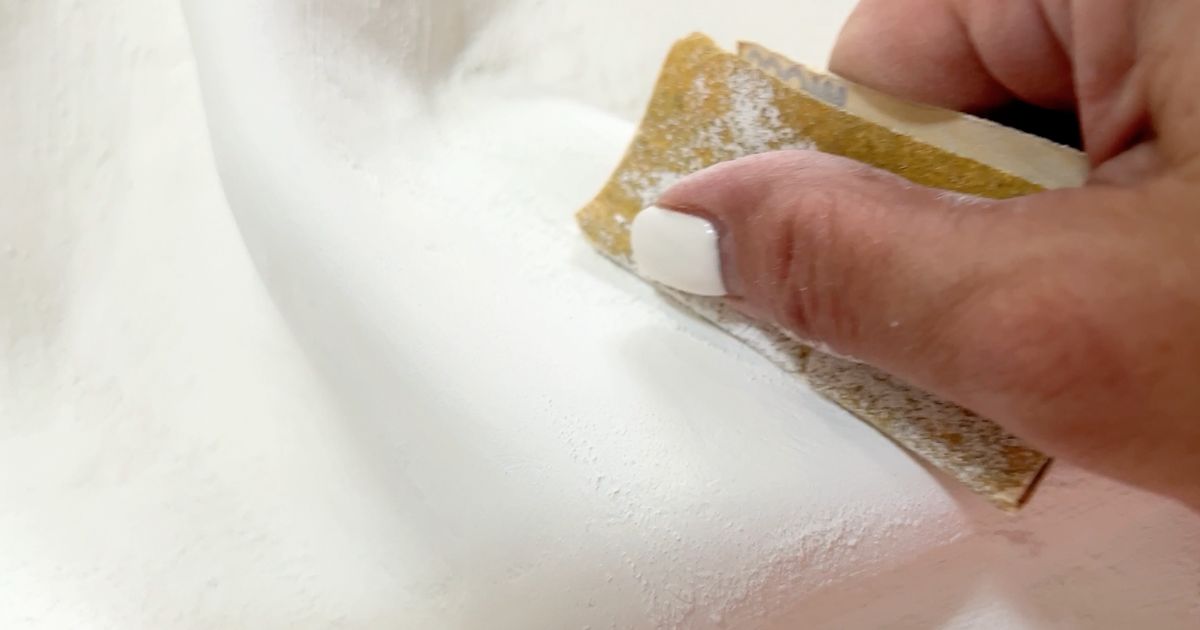
6. Sanding: After the applied mix material is completely dry, proceed to sand to leave your work smooth or you can also leave it more rustic and sand only in areas to eliminate any lumps or bumps, that is a matter of taste.
7. Painting: Once dry, it’s time to add color to your painting. Use acrylic paint to paint over the texture, playing with lights and shadows to highlight the three-dimensionality. I left it white, but you can paint it in any color you wish.
8. Sealing: To protect your painting, apply a coat of varnish or transparent sealer once the paint is completely dry. (optional)
9. Drying: Let the work dry completely. This process can take several hours or even days, depending on the thickness of the application.
Creating 3D textured paintings is a wonderful way to explore your creativity and add a unique touch to your space. These works are not only visually attractive but also invite interaction and appreciation of texture as an artistic element. Dare to experiment with different techniques and materials to achieve surprising effects.
Conclusion:
3D textured paintings are an excellent way to incorporate art and design into your spaces. With patience, creativity, and the right materials, you can transform a flat surface into a three-dimensional work of art that will be the center of attention in any room. Dare to experiment and let your imagination guide you in creating your own 3D textured paintings!
If you’d like to see more tutorials, you might be interested in this one: How to Make Candy Magnets with Foamy.
