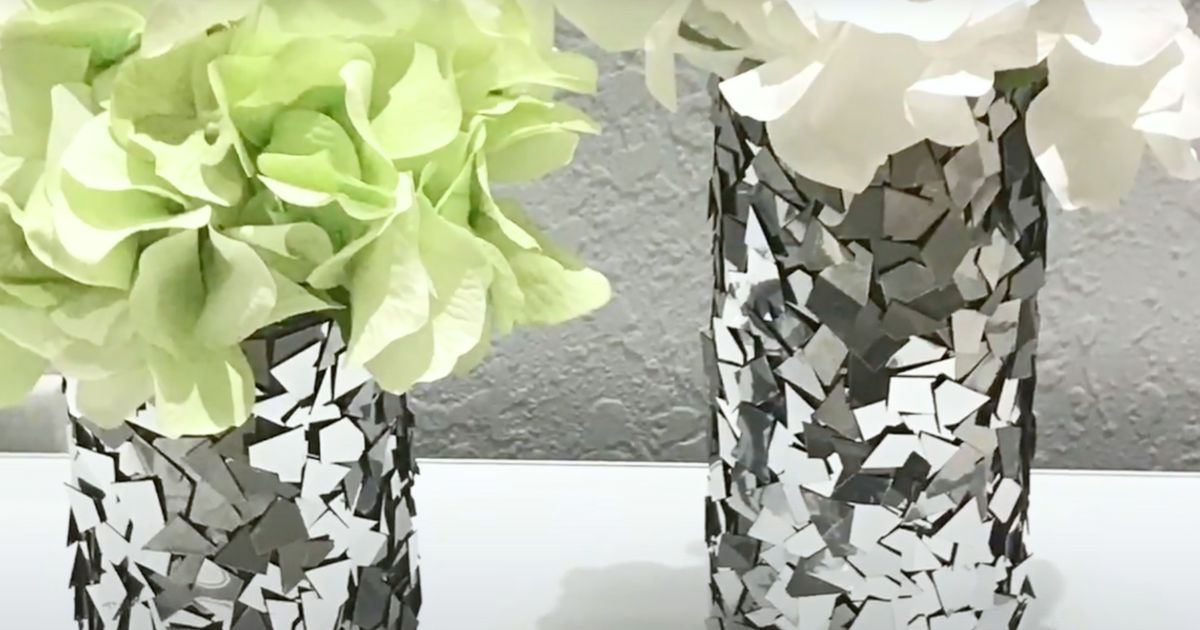
DIY Dollar Tree – How to Make an Affordable Centerpiece
Home decoration doesn’t have to be expensive to be impressive. In this tutorial, I’ll show you how to create a beautiful and budget-friendly centerpiece using affordable materials from Dollar Tree. This project combines creativity, elegance, and a wallet-friendly budget, allowing you to design a spectacular centerpiece without breaking the bank.
(Due to losing all the content on my blog, I’ve been redoing everything I can find, and I had to resort to using photos taken from the video, hence the poor resolution.)
Step by Step Tutorial on How to Make an Affordable Centerpiece
Step 1: Gather Your Materials
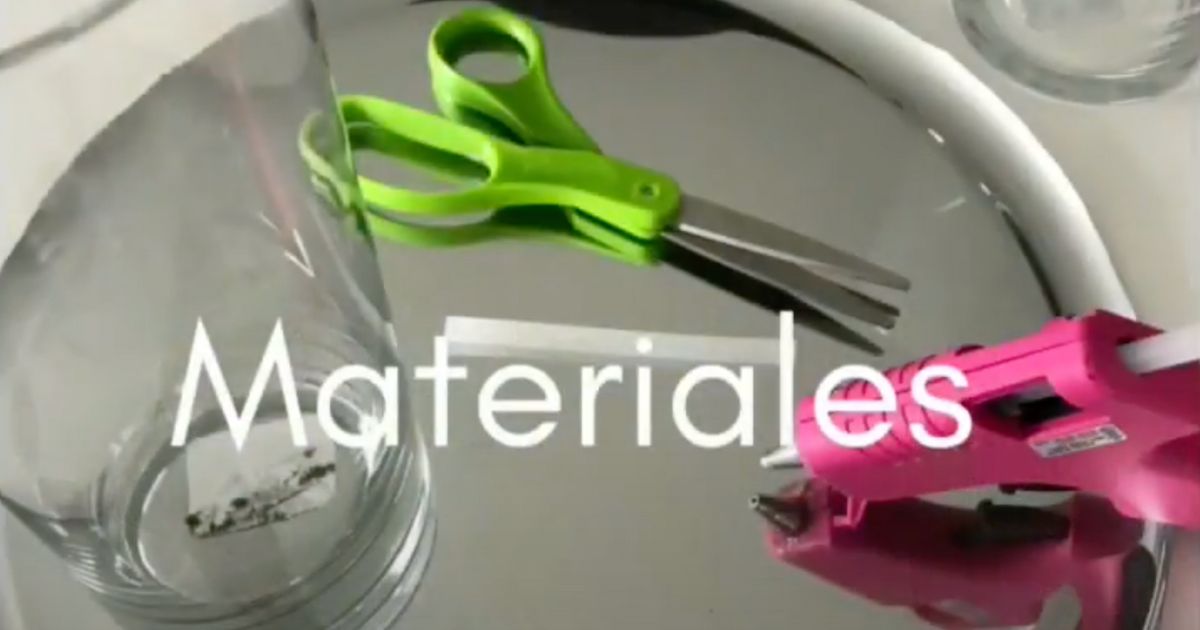
The first step in creating your budget-friendly centerpiece is to gather the materials you’ll need. Here’s the list of what you’ll require:
- Cylindrical glass vase (Dollar Tree)
- Hot glue gun
- glue sticks
- scissors
- plastic tray
- Additional decorative elements (optional)
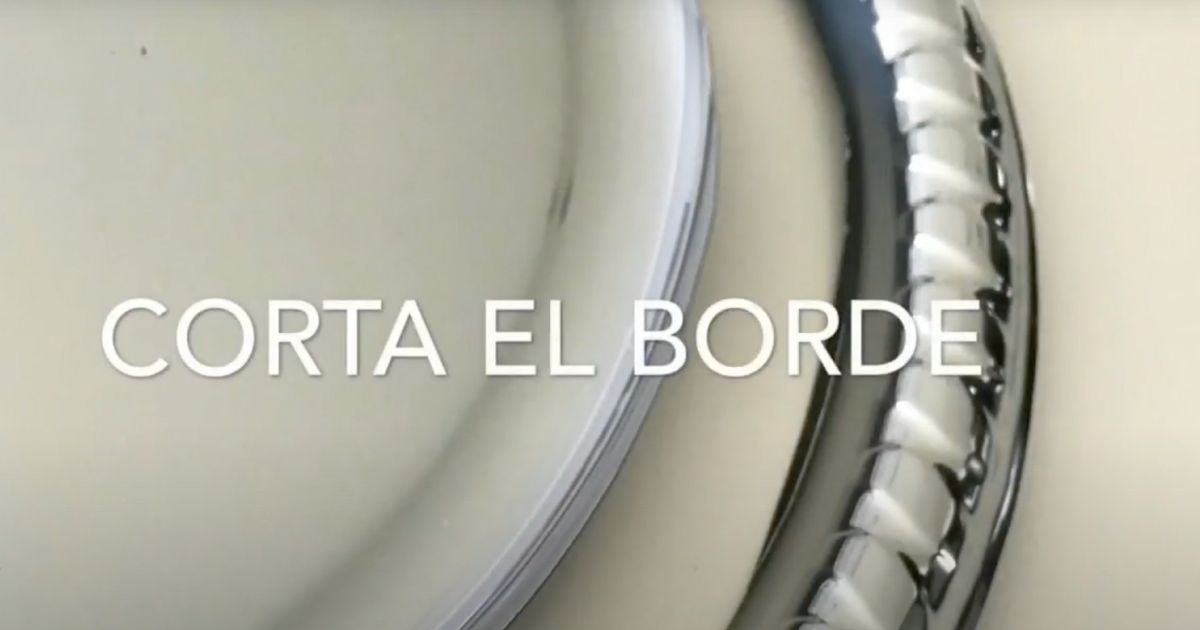
Step 2: Cut the Edge and Create Strips (do not use the edge)
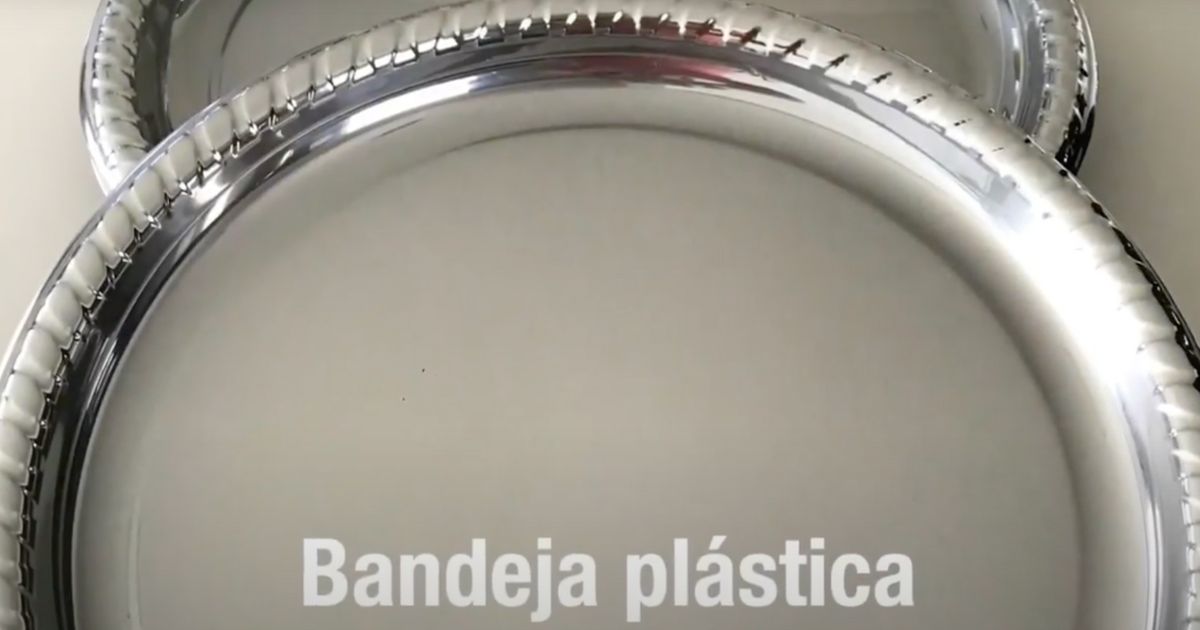
Begin by disassembling the silver plastic tray from Dollar Tree. You can do this by cutting it into strips and then dividing those into small pieces. This tray is a hidden gem at Dollar Tree, as its mirror-like silver surface gives any project an elegant look.
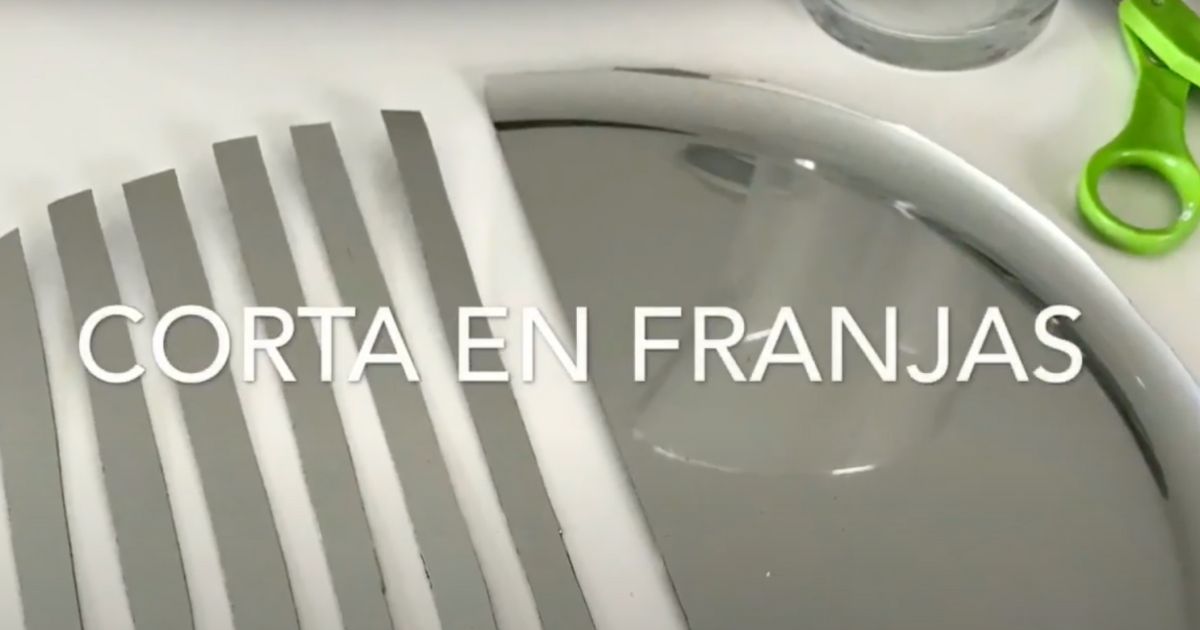
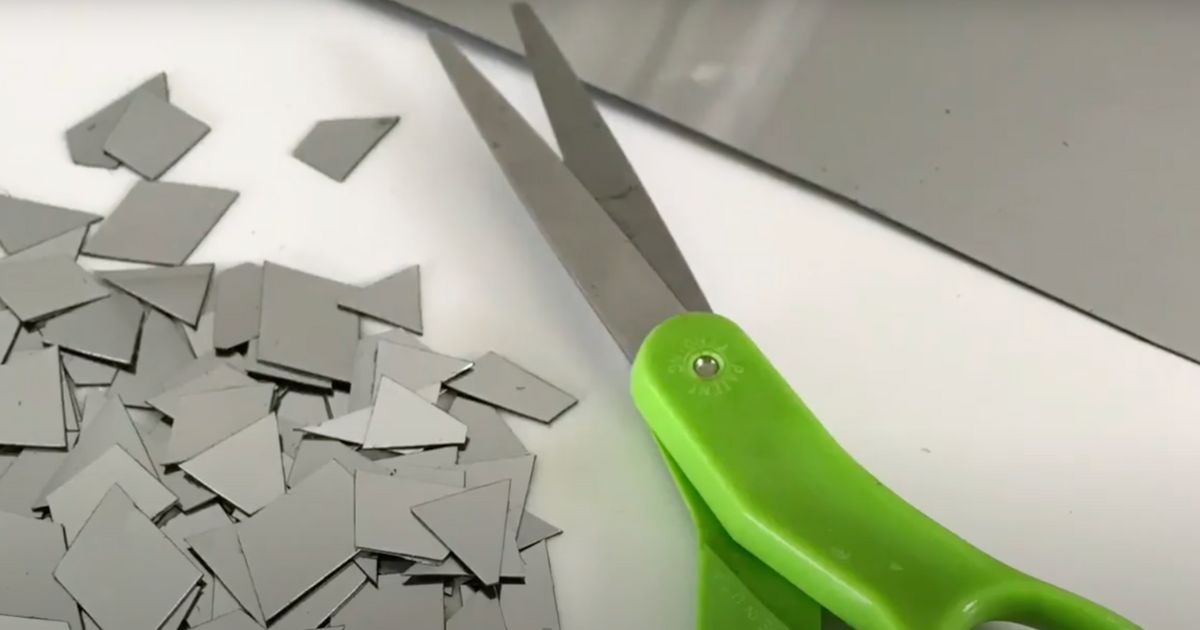
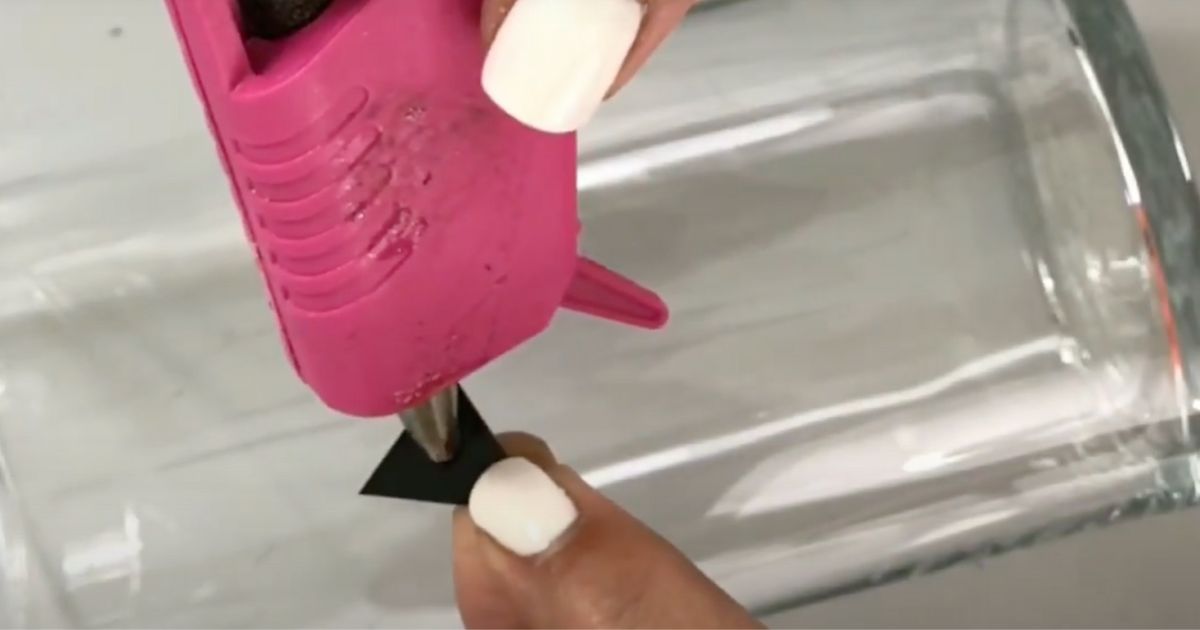
Step 3: Line the Cylinder Vase
Once you’ve disassembled the tray, it’s time to line the transparent cylinder vase. Use the hot glue gun to attach the tray pieces to the vase’s surface. Start from the bottom and work your way up, making sure the pieces adhere evenly.
As you progress, you’ll see how the vase’s surface transforms into an elegant and eye-catching silver reflection. Continue gluing the pieces until the vase is completely lined. You can choose to leave strategic spaces to add additional decorative elements later on.
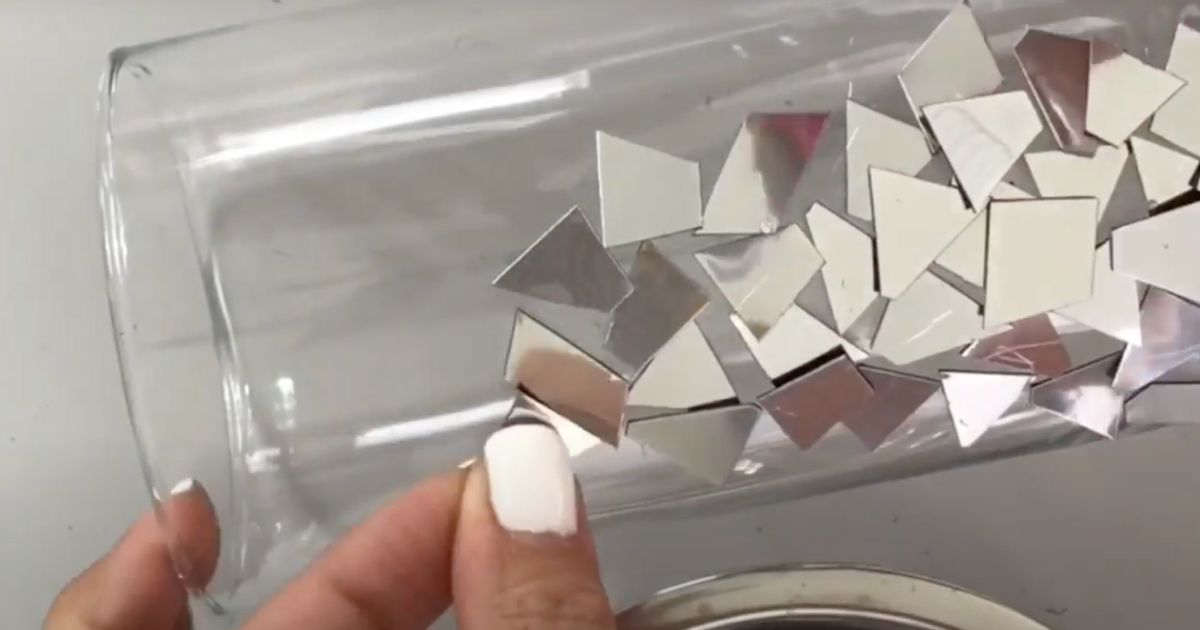
Step 4: Add Decorative Details (Optional)
At this exciting stage of the process, you can unleash your creativity and add an extra layer of elegance to your centerpiece. If you wish, consider incorporating decorative details that further enrich your creation. This is the moment to make your centerpiece truly unique and personalized.
Imagine the range of possibilities that lies before you. You can choose to use decorative stones to add a touch of natural sparkle and sophistication. Stones can come in various sizes, colors, and shapes, giving you the opportunity to select those that perfectly match the theme and style of your decor. If you’re looking for a more elegant and classic touch, consider using pearls, whose subtle gleam will add timeless charm to your centerpiece.
You can take personalization a step further by incorporating thematic ornaments depending on the occasion. For example, if you’re preparing your centerpiece for a Thanksgiving dinner, you can integrate decorative mini pumpkins that reflect the spirit of the holiday. If you’re in the midst of the holiday season, Christmas ornaments will be a lovely choice to add a festive and magical touch to your centerpiece. The beauty of this project lies in its versatility, which means you can easily adapt it to any occasion and add a thematic touch that complements your decor.
Step 5: Arrange Artificial Flowers
Once you’ve completed the preparation of the vase’s base, it’s time to infuse life and splendor into your centerpiece. Carefully place your selected artificial flowers into the transparent cylinder vase. Flowers are the centerpiece that will add color, freshness, and vitality to your creation, turning it into a beautiful focal point.
The choice of flowers is crucial, and you can adjust it according to the season or the event you’re celebrating. If you’re crafting a centerpiece for spring, consider using artificial flowers that are fresh and vibrant, evoking the beauty of the season. For an autumn centerpiece, opt for flowers with warm, earthy tones that will complement the color palette of the season.
Artificial flowers offer the advantages of durability and versatility, allowing you to preserve the beauty of your centerpiece for a long time without worrying about wilting like fresh flowers.
Step 6: Add Decorative Stones (Optional)
If you wish to elevate the elegance of your centerpiece even further, consider the option of incorporating decorative stones at the bottom of the vase. This optional addition not only adds a touch of sophistication but also serves a practical purpose.
Decorative stones not only add weight to the centerpiece, making it more stable and resistant to accidental movements, but also create a striking visual effect when light reflects on them. This adds an element of luminosity and sparkle that enhances the overall beauty of your creation.
When choosing decorative stones, consider their color, size, and texture to ensure they perfectly align with your decor style. You can opt for stones in contrasting colors for a dramatic effect or stones in the same tone as your color palette for a more harmonious look.

Step 7: Enjoy Your Creation!
Once you’ve completed all the previous steps, admire your masterpiece. Your budget-friendly centerpiece will look stunning and be the center of attention on any occasion.
Conclusion:
Creating a spectacular centerpiece doesn’t have to be expensive. With affordable materials from Dollar Tree and a little creativity, you can design a stunning focal point for your table that will impress your guests without straining your budget. From the decorative details that enhance its uniqueness to the choice of flowers that breathe life into it, every decision you make will contribute to the beauty and atmosphere of your surroundings. So, dare to bring your centerpiece to life and turn it into a focal point that reflects your style and personality on every special occasion!
Tip: To remove the glue strings, as soon as it dries, simply brush them away with a clean, dry toothbrush. (I forgot to do this, and if you wait too long, it becomes difficult to remove.)
Here’s the video tutorial for your reference:
Don’t forget to follow us in our Instagram , YouTube Channel and Facebook Group !!!!
DIY Tutoriales y mucho mas articipates in the Amazon Services LLC Associates Program, an affiliate advertising program designed to provide us with a means to earn money through links to Amazon.com and affiliated sites.
This post contains affiliate links and I may be compensated for this post. Read our disclosure policy HERE

Leave a Reply