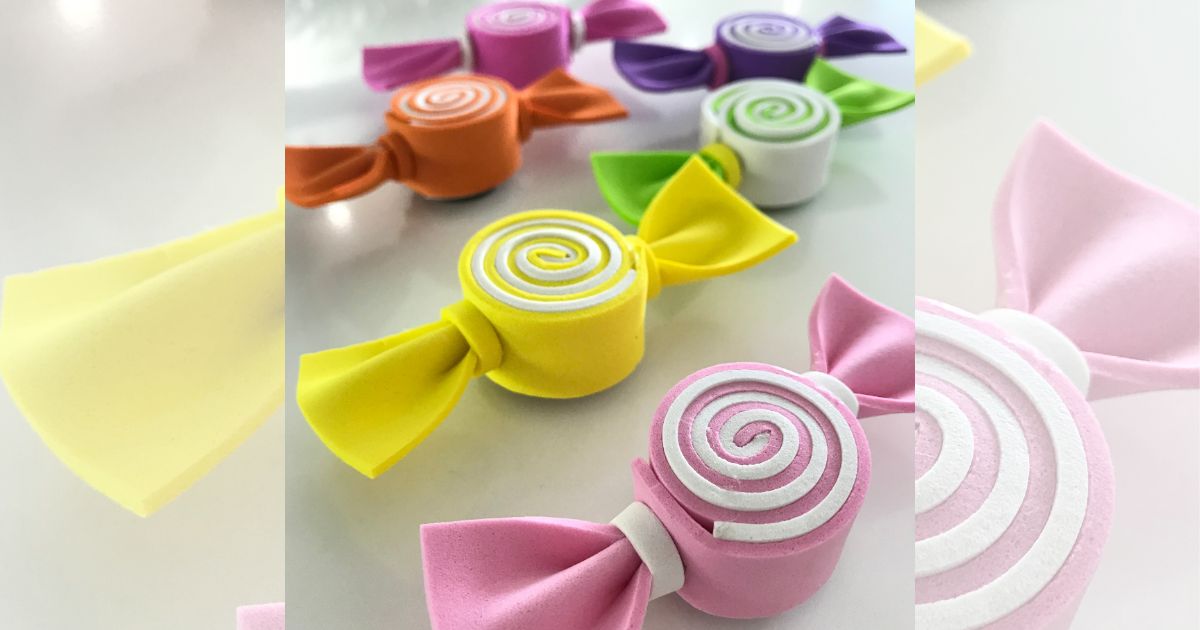
How to Make Candy Magnets With Foamy
In this comprehensive tutorial, you will dive into the exciting world of crafting beautiful candy-shaped magnets made from foam sheets. You will discover that these delightful magnets, with their varied and charming shapes, are not only handy for leaving notes on the fridge but also unleash your creativity in a multitude of applications.
Of course, their primary function as decorative magnets for your refrigerator is just the beginning of the possibilities. Imagine how these foam candies can add a charming touch to your birthday celebrations, serving as thematic decorations or adorable gifts for guests. Have you thought about creating a unique garland that will catch everyone’s eye at your next party? Magnetic candies are perfect for this task.
And that’s not all; you can take your creativity even further by incorporating these candies into event decoration projects. Gracefully place them inside glass jars to enhance the aesthetics of your candy table or use them as decorative elements in special gifts. The versatility of these foam candies is only limited by your imagination.
So, get ready to learn how to create these adorable candy-shaped magnets that will not only serve as useful magnets for your home but also become standout elements in a wide range of creative projects. Discover all the ways you can bring these candies to life and add a special touch to your events and decorations!
You will need:
- foamy sheets
- Ruler
- Glue Gun
- Glue Sticks
- Scissors
- Cutting Mat
- Bamboo Skewers
- Magnets
Step by Step of this Tutorial on How to Make Candy Magnets With Foamy
To kickstart this exciting creative activity, the first step is to choose a strip of foam sheet approximately 3/4 of an inch wide. You can achieve this by using a toothpick to mark the desired area on the foam sheet and then proceed to make the cut with care and precision.
Once you have completed this initial step, move on to the next phase of this thrilling process. At this stage, you will have the opportunity to select another color of foam sheet that harmoniously and stylishly complements the strip you’ve previously cut. This second foam sheet cut should also have a width of approximately 3/4 of an inch to ensure a perfect match with the first strip.
By making these precise cuts and choosing the right colors, you’ll be shaping the fundamental elements necessary for creating the beautiful candy-shaped magnets that will take center stage in your decorative projects. Get ready to continue exploring this fun activity and elevate your creations to a higher level of beauty and originality!
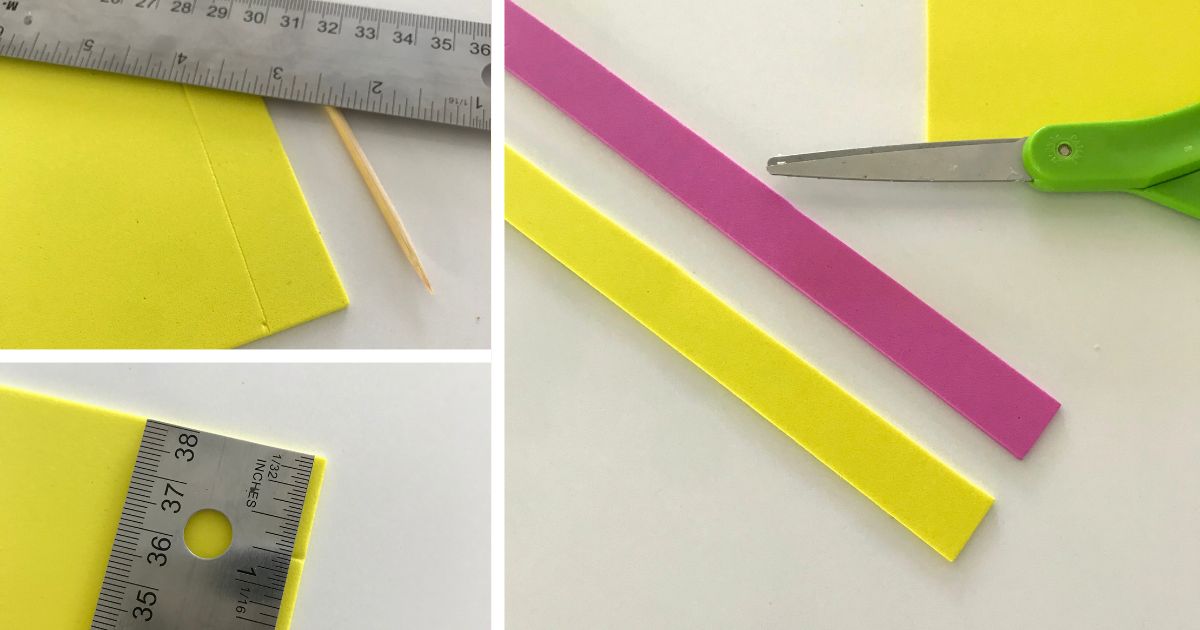
Place one strip on the other leaving a visible space on the top, because that is the part that we are going to stick to start creating the spiral.
Apply adhesive to the lower strip and align it with the other strip before securing them together. Next, add glue to the remaining section of the first strip (pink) and fold it towards the yellow strip to initiate the core spiral of the candy.
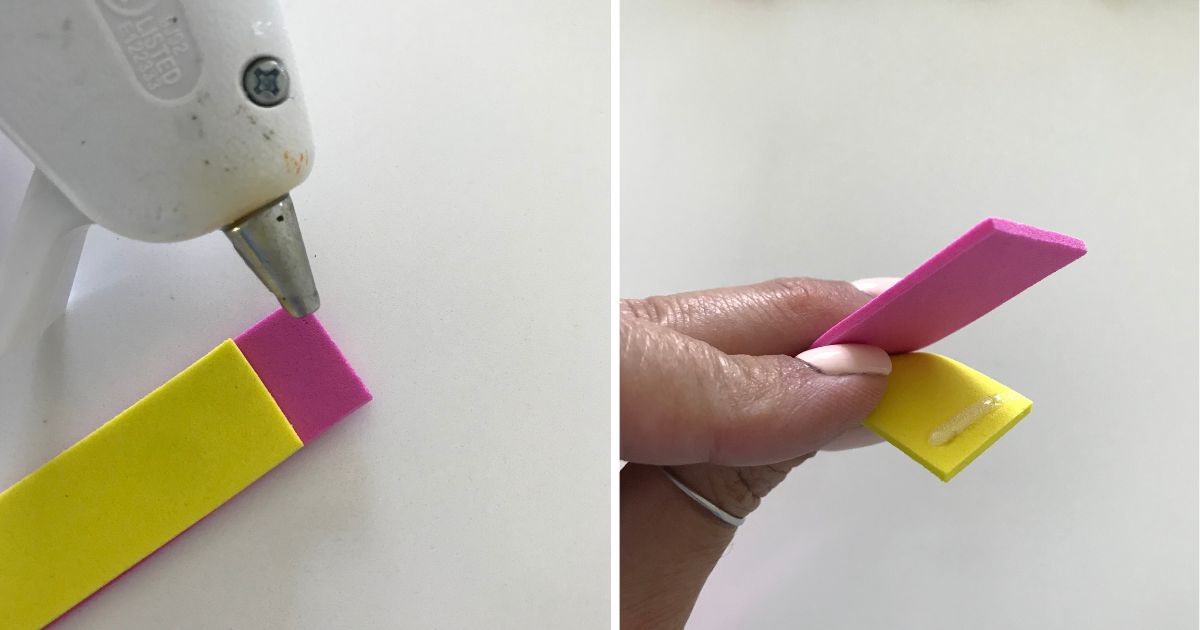
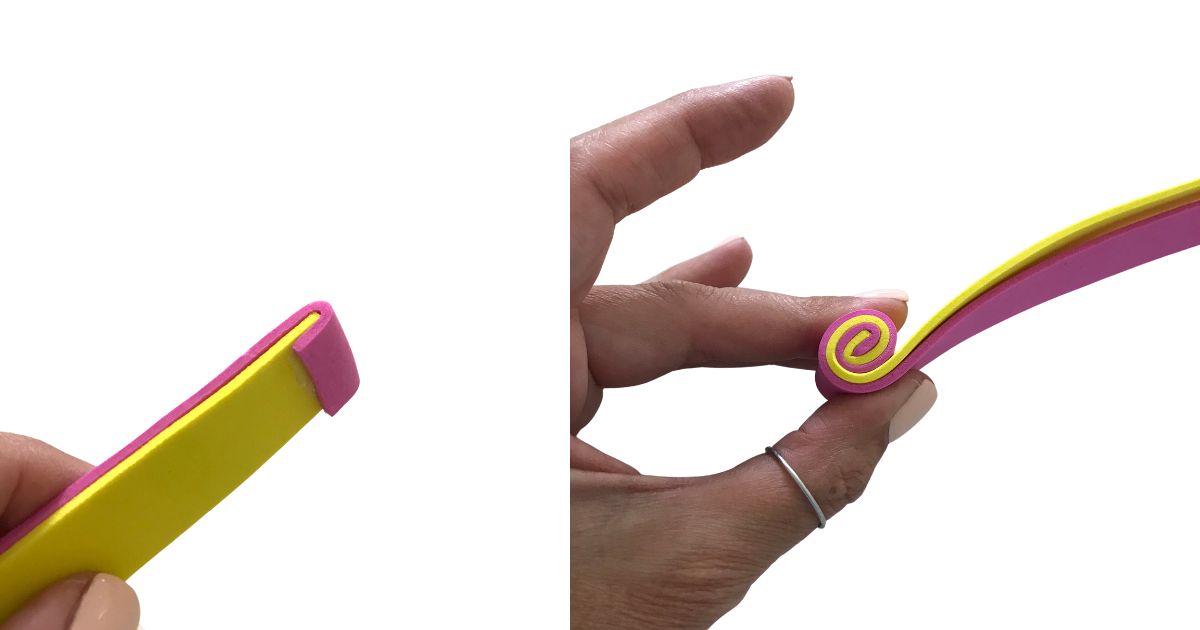
Roll the strips tightly to ensure the center remains closed. Upon completion, you’ll observe that one strip (yellow) is longer; trim it so it matches the length of the other strip (pink). Add adhesive to both strips and press them together to seal them.
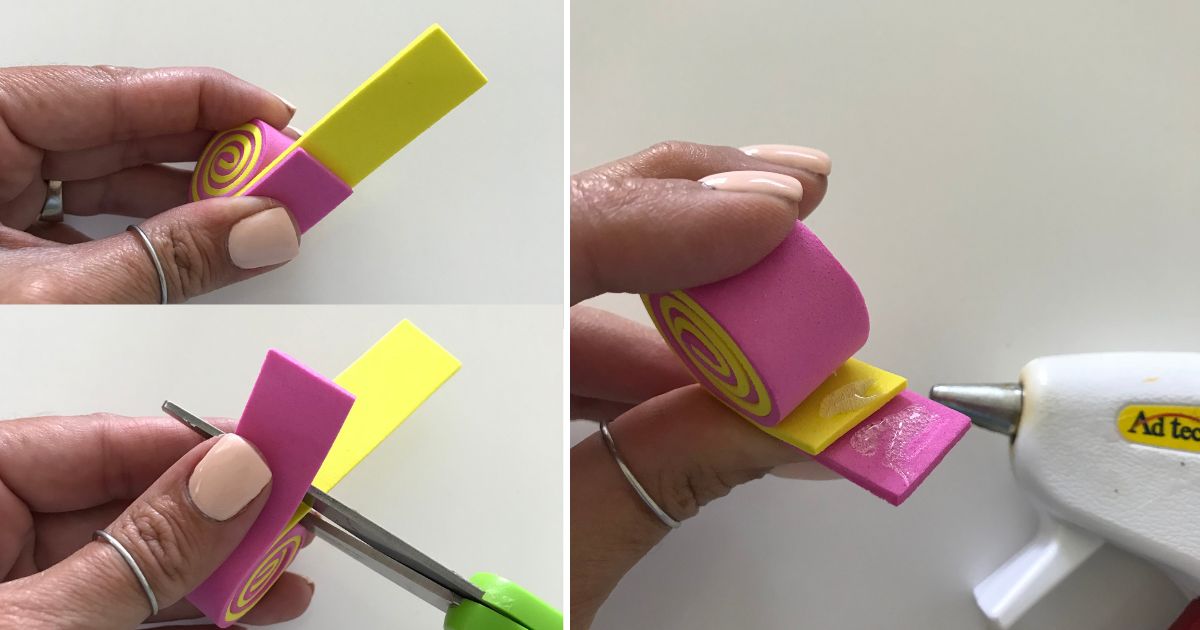
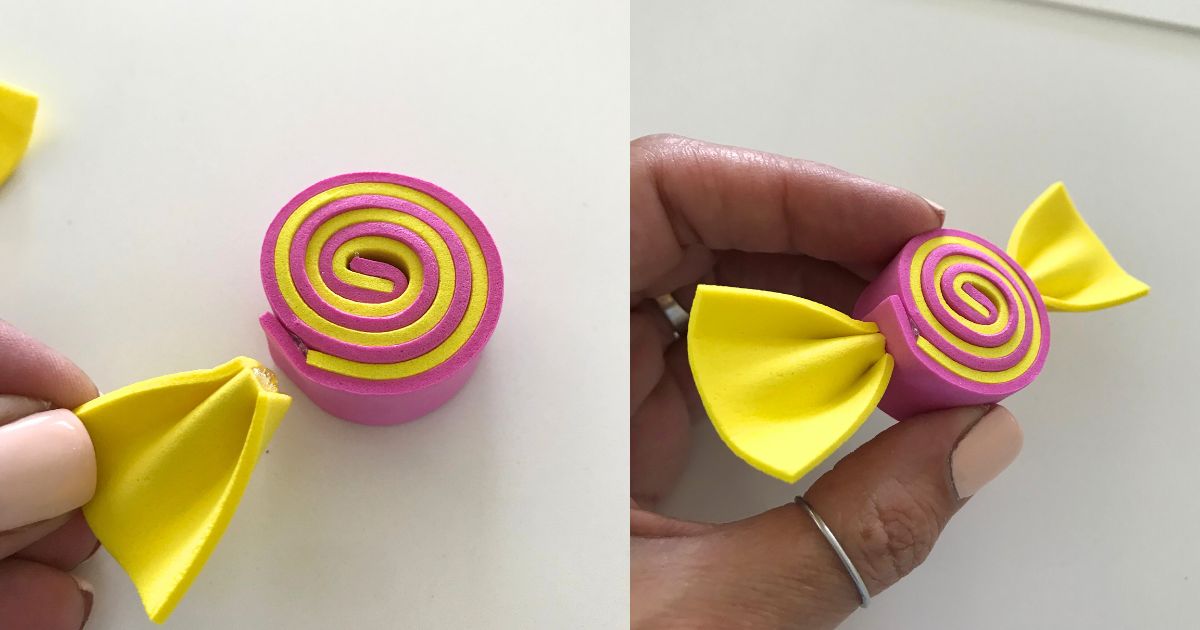
Now that the candy’s core is ready, let’s move on to crafting the two sides that will act as the wrapping.
For this, cut two squares of foam each measuring 1 1/4″. Apply a dab of glue at the center of each foam square and fold it, ensuring it adheres at that point.
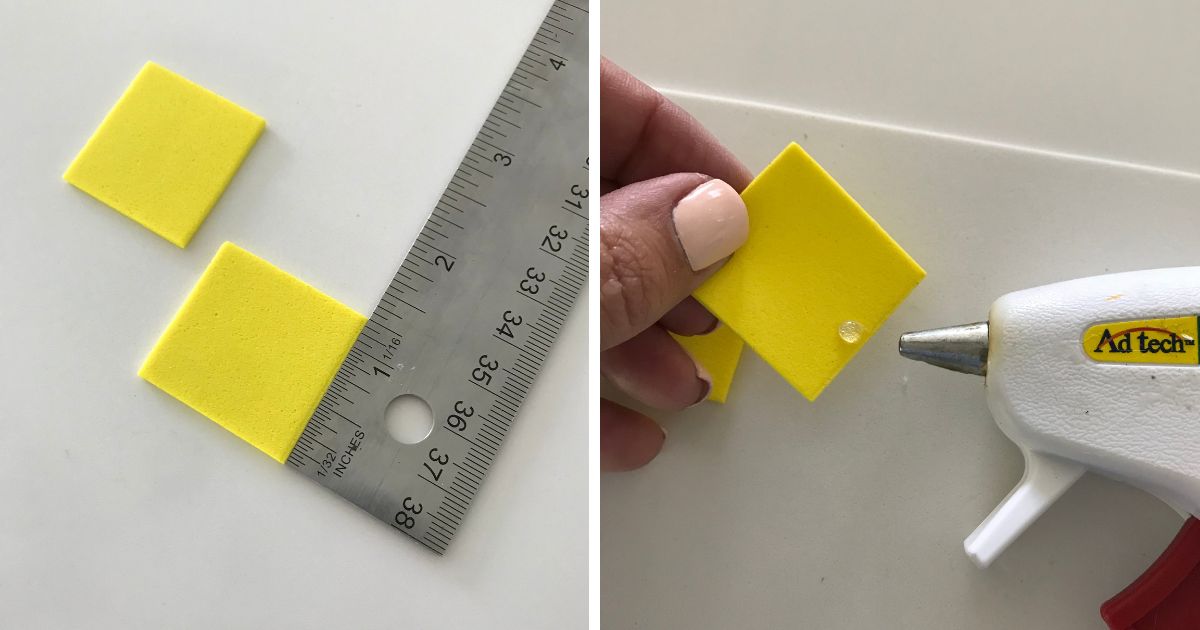
Attach these folded pieces to the candy’s core. If there’s any excess adhesive, trim the tips for a smoother finish when attaching to the candy.
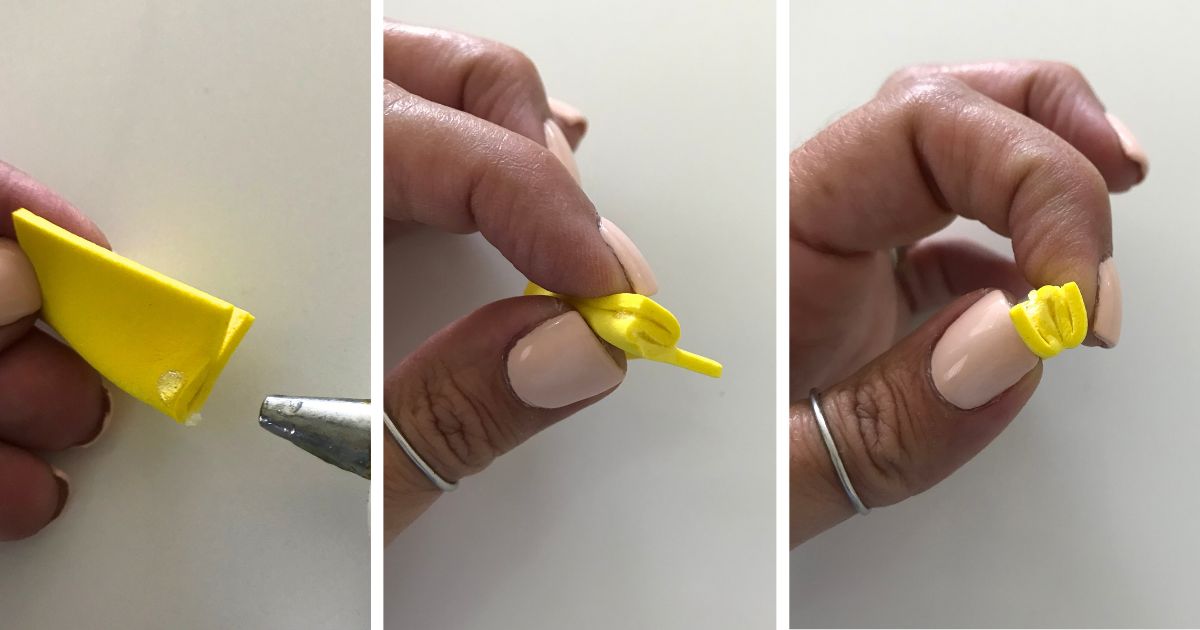
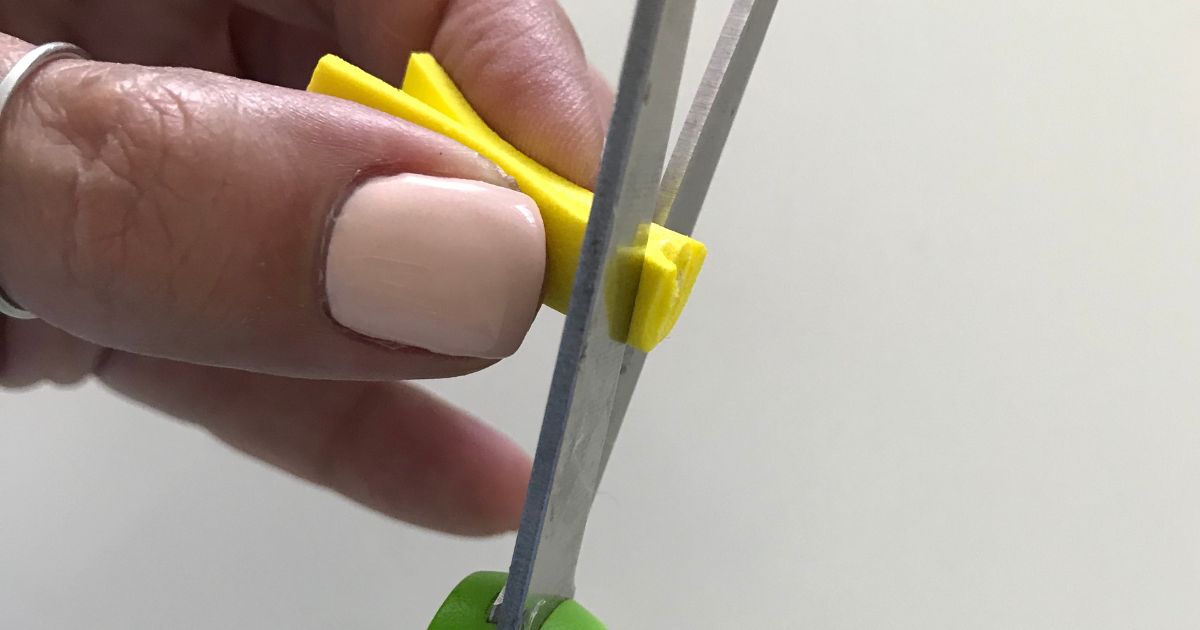
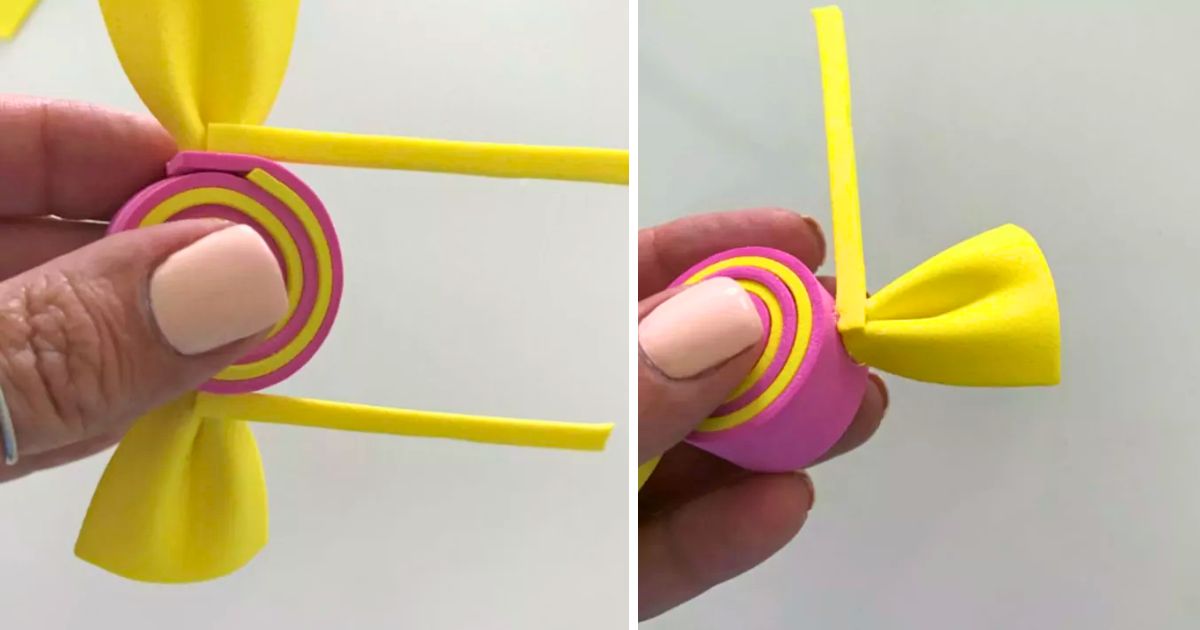
Finally, cut additional strips to serve as the wrapping seal. Stick one end of the strip to the rear of the wrapping first. Then measure the length needed to seal it completely, cut accordingly, and secure with glue.
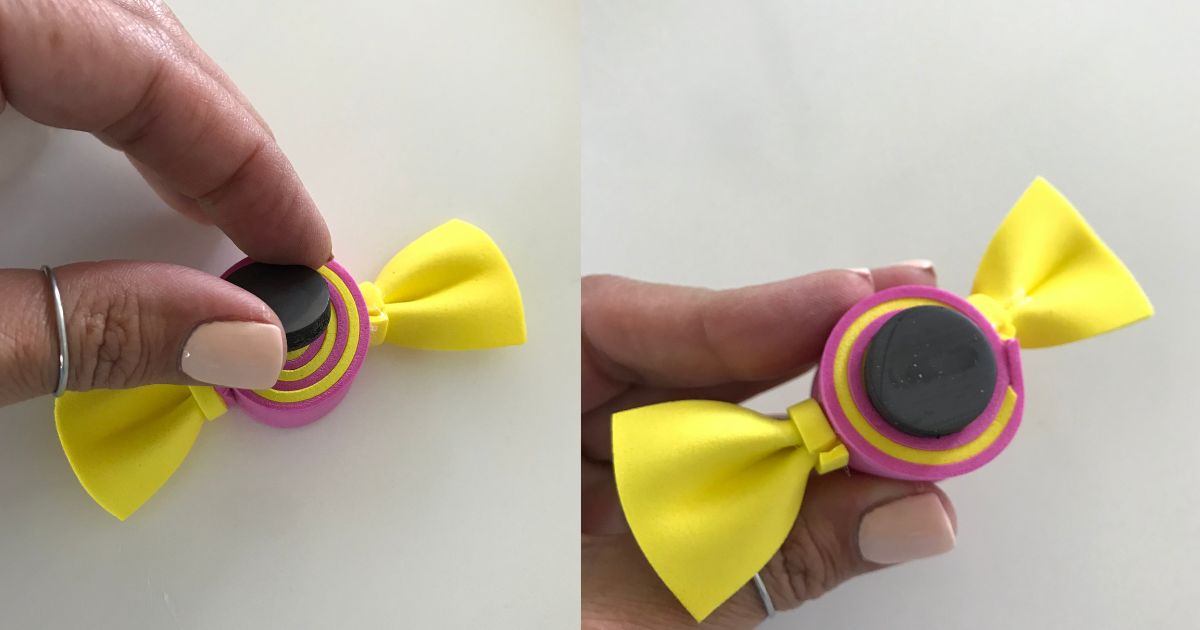
Then place the magnet …. and VOILÁ !!!!
If you liked these candy magnets I invite you to take a look to the flowers I made with the same material (foamy sheet)
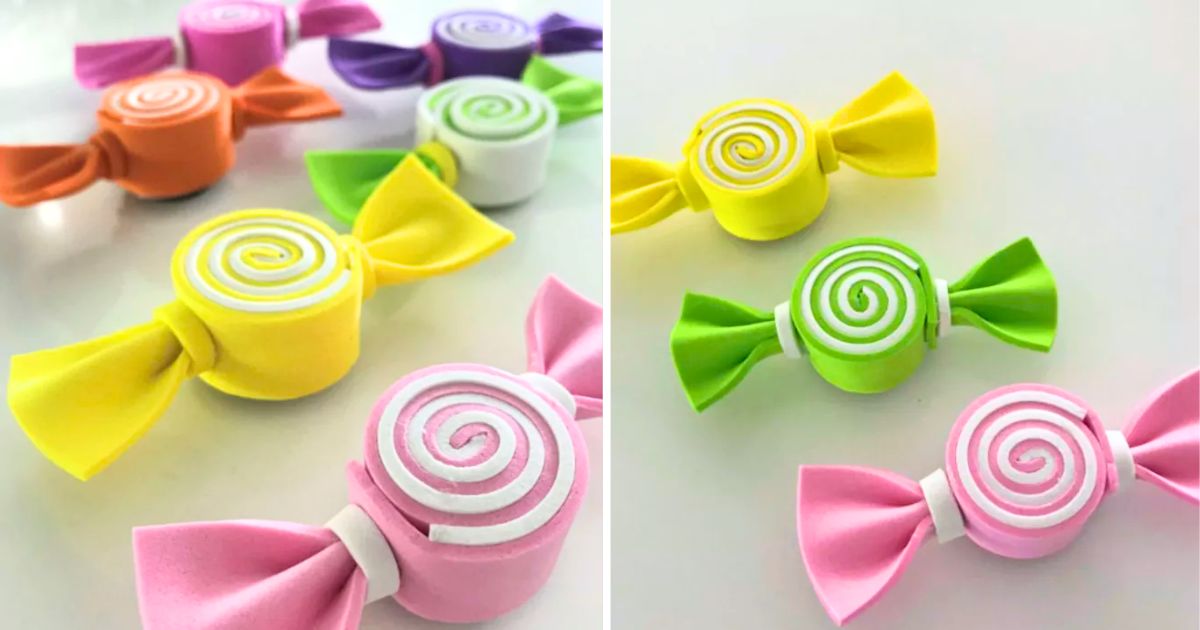
And this is how these charming candy-shaped magnets have finally turned out! This creative project has brought to life unique and versatile decorative pieces that you can enjoy in a variety of applications. From adorning your refrigerator and leaving fun notes to enhancing your birthday parties with a touch of sweets, these creations are truly multifunctional.
In summary, we have explored in this tutorial how to transform foam sheets into attractive candy-shaped magnets. Throughout this experience, you learned how to cut and assemble these colorful foam sweets with ease. Additionally, you discovered how these magnets can add charm to your daily life and special events.
So, the next time you’re looking for a simple and delightful craft to undertake, consider creating your own foam candy magnets. The results are delightfully adorable and ready to sweeten up any place you put them! Enjoy your new creation and keep exploring the exciting world of crafting!
You may interested in: Handmade Christmas Ornaments for Christmas Tree
Don’t forget to follow us in our Instagram , YouTube Channel and Facebook Group !!!!
DIY Tutoriales y mucho mas articipates in the Amazon Services LLC Associates Program, an affiliate advertising program designed to provide us with a means to earn money through links to Amazon.com and affiliated sites.
This post contains affiliate links and I may be compensated for this post. Read our disclosure policy HERE

Leave a Reply