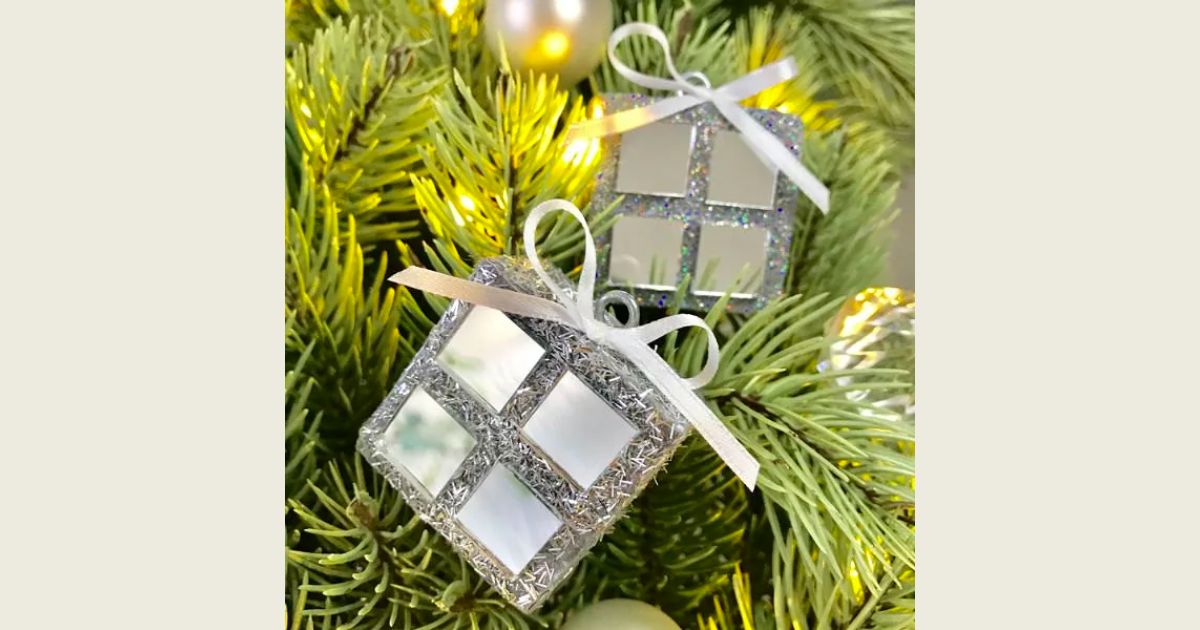
How to Make Wooden Christmas Ornaments for the Christmas Tree
Christmas undoubtedly emerges as one of the most beloved times of the year, brimming with joy and festive spirit. During this season, one of the most cherished traditions is adorning the Christmas tree, but have you ever considered the possibility of crafting your own ornaments to beautify it?
In this tutorial, you will embark on an exciting journey of creation as we guide you meticulously through the process of crafting exquisite Wooden Christmas Ornaments, an experience that will not only be enriching from a creative standpoint but also budget-friendly.
Materials You’ll Need:
- Wooden Pieces
Glitter
Paintbrush
Mod Podge
Hooks for hanging
Step by Step Tutorial for make these Wooden Christmas Ornaments
To embark on this exciting wooden Christmas ornament crafting project, the first step is to cut the square piece of wood into pieces of the desired size for your future ornaments. Armed with a saw and your creative vision, it’s time to shape these wooden pieces.
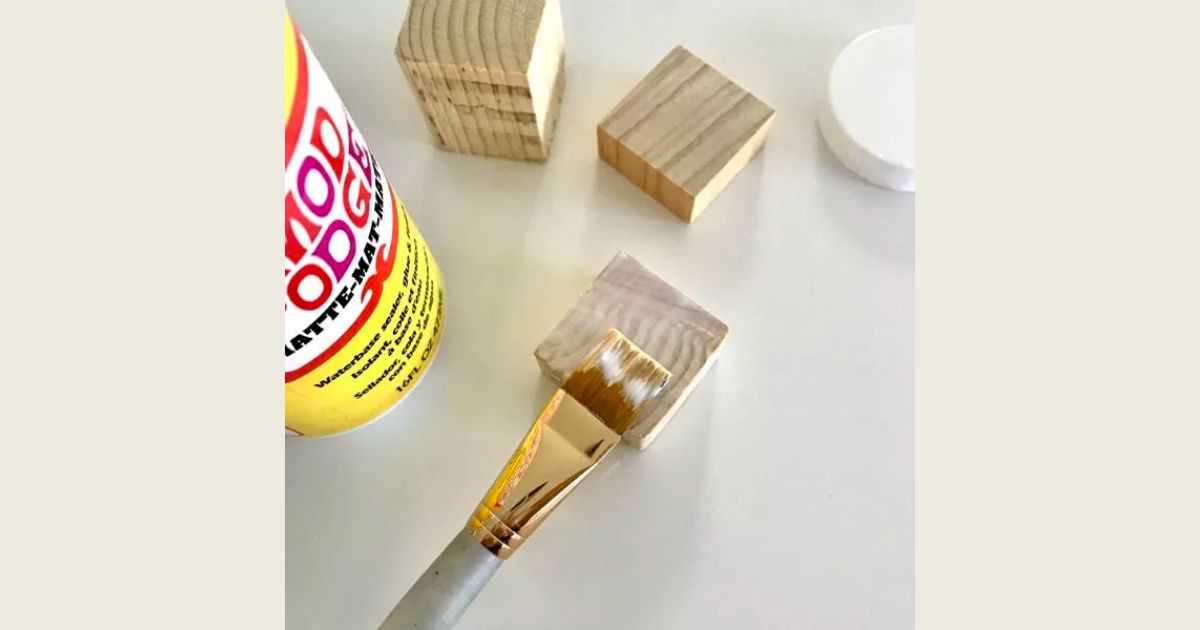
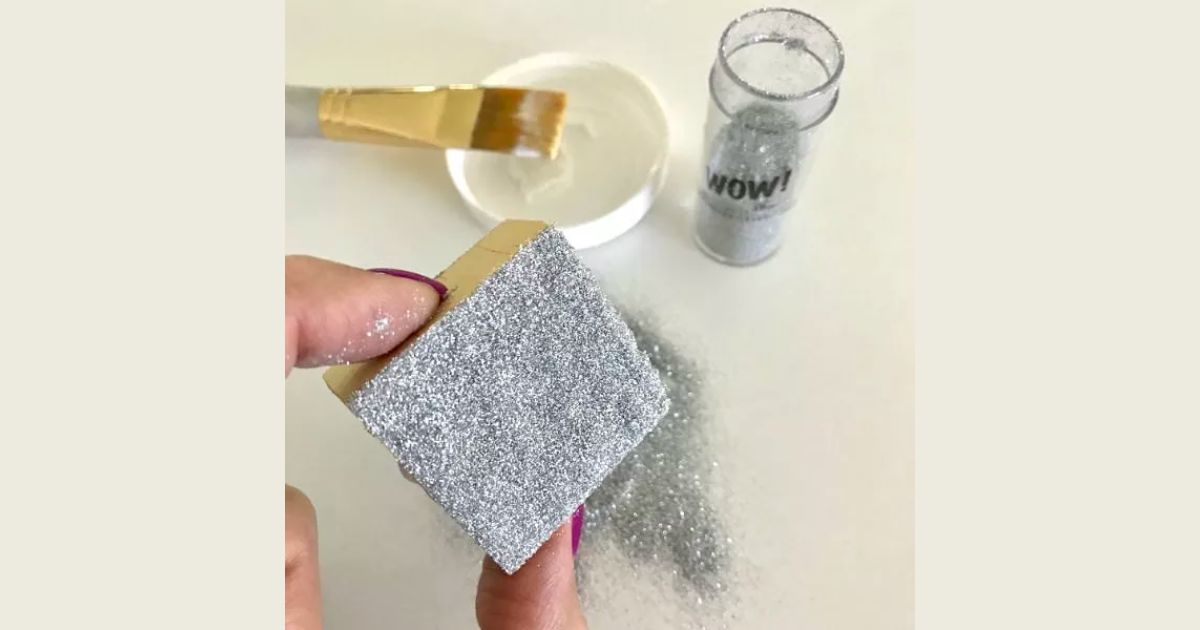
Next comes the stage of applying the glitter powder, also known as glitter or sparkle. However, here’s an important tip to keep in mind: when applying the Mod Podge, the magical glue that will bond the glitter to your wooden pieces, it’s crucial not to apply it all at once.
Mod Podge has the peculiar characteristic of drying quickly, and if you apply it hastily, the glitter won’t adhere optimally. It’s necessary to do it patiently and carefully to achieve the desired effect.
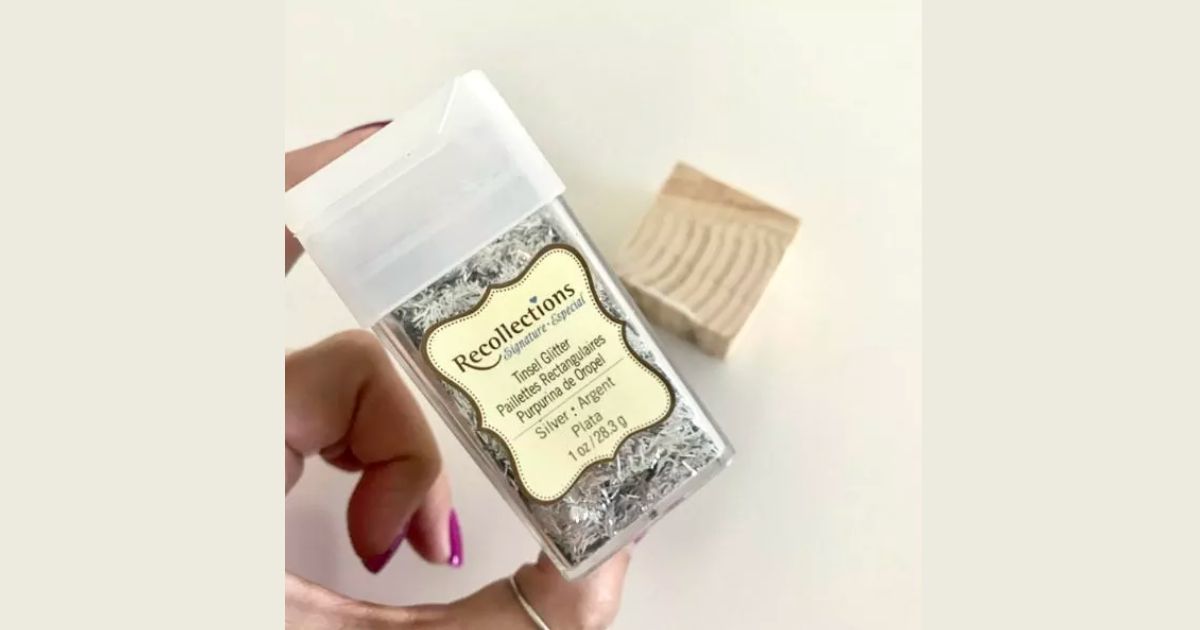
In the creation of these two ornaments, I opted to utilize a product from Recollections for one and the WOW brand for the other. However, you are not limited to these specific brands, as you can employ any glitter you have readily available.
My intention was to combine two distinct glitter textures to observe their visual impact, and I must say that both of them turned out remarkably well. This experimentation allowed me to explore the interplay of various glitter styles and how they contribute to the overall aesthetic of the ornaments.
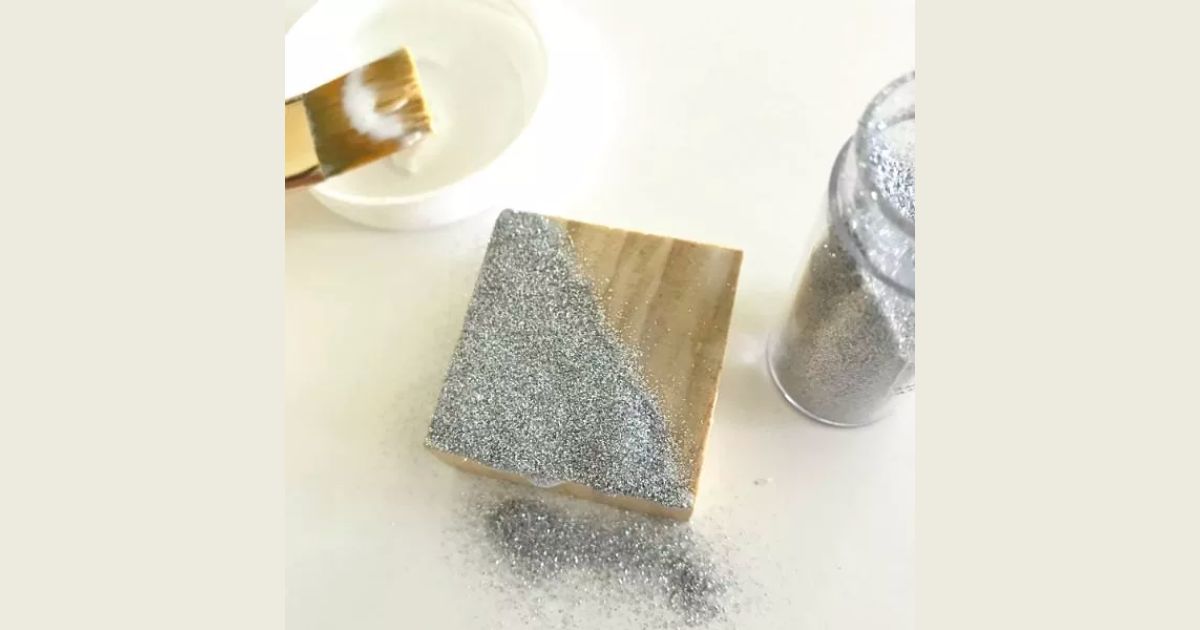
Make sure to apply a generous amount of glitter evenly onto the surface. Then, gently press with your finger, tapping to ensure that the glitter adheres uniformly and completely to the surface.
This process ensures that the glitter is distributed optimally, creating a dazzling and even effect on your ornaments.
For the ornaments in which I used Recollections glitter, once I applied the glitter and it was still wet, I took a brush and arranged the protruding pieces. This allowed me to achieve a smoother and more even finish on my ornaments.
This technique is effective in ensuring that the glitter is evenly distributed and that all the details of your ornaments shine spectacularly.
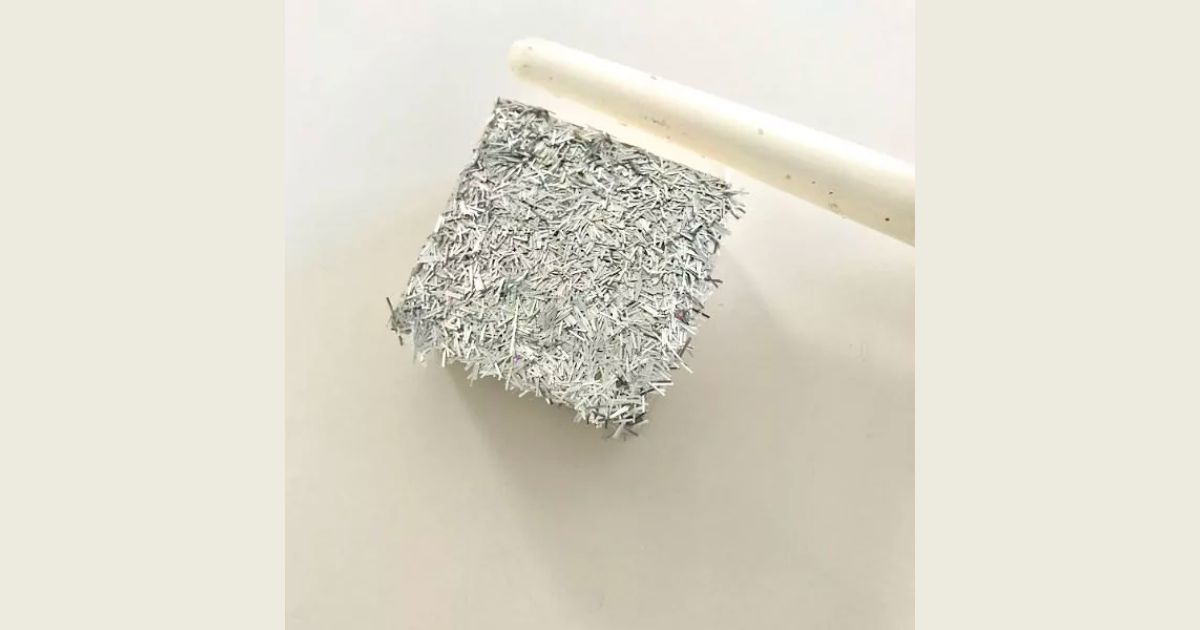
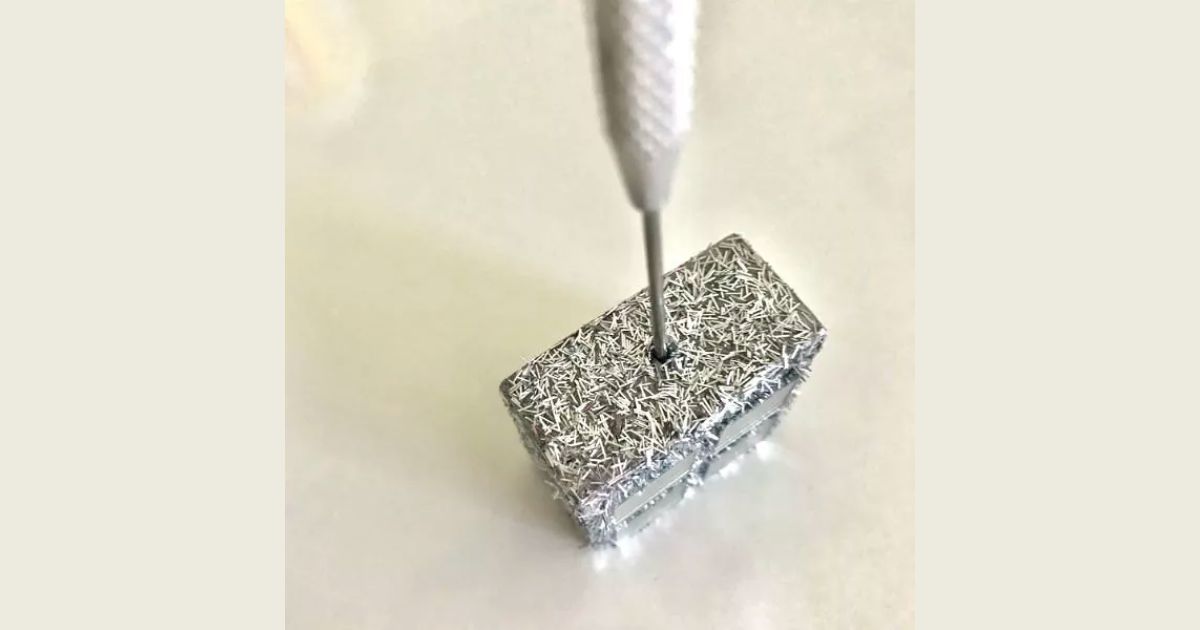
After they were completely dry, I used a sharp object to create a hole for inserting the hook system, in this case, the screw hooks that I used.
This step is essential for hanging your ornaments on the Christmas tree or wherever you choose to display them.
It ensures that your ornaments are ready to be showcased and admired during the holiday season.
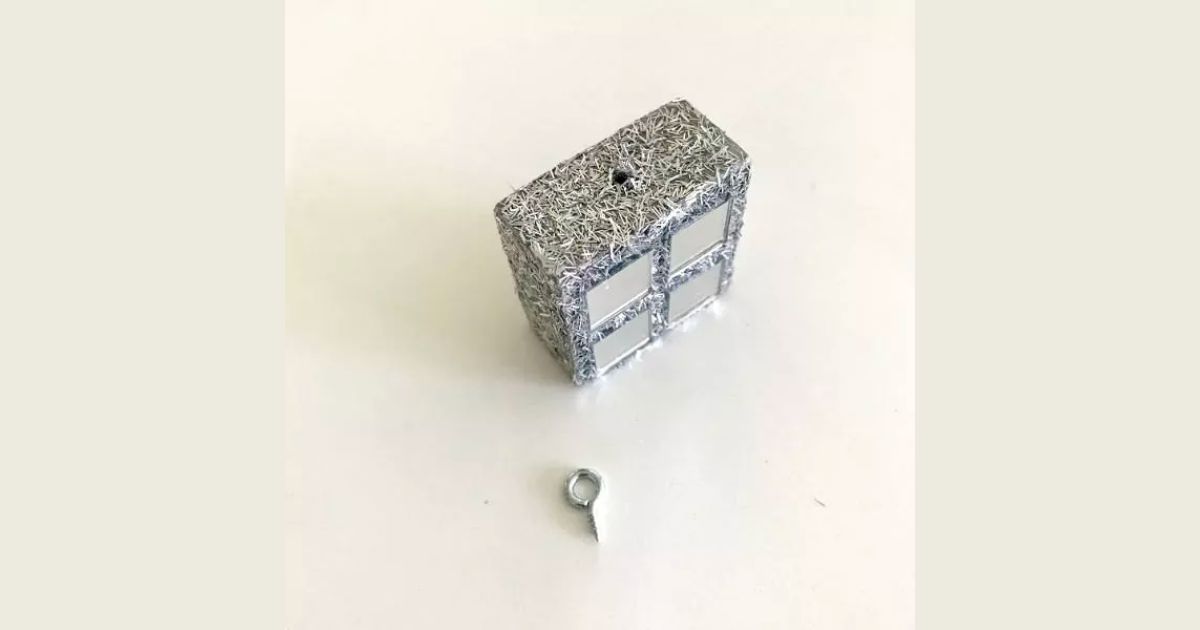
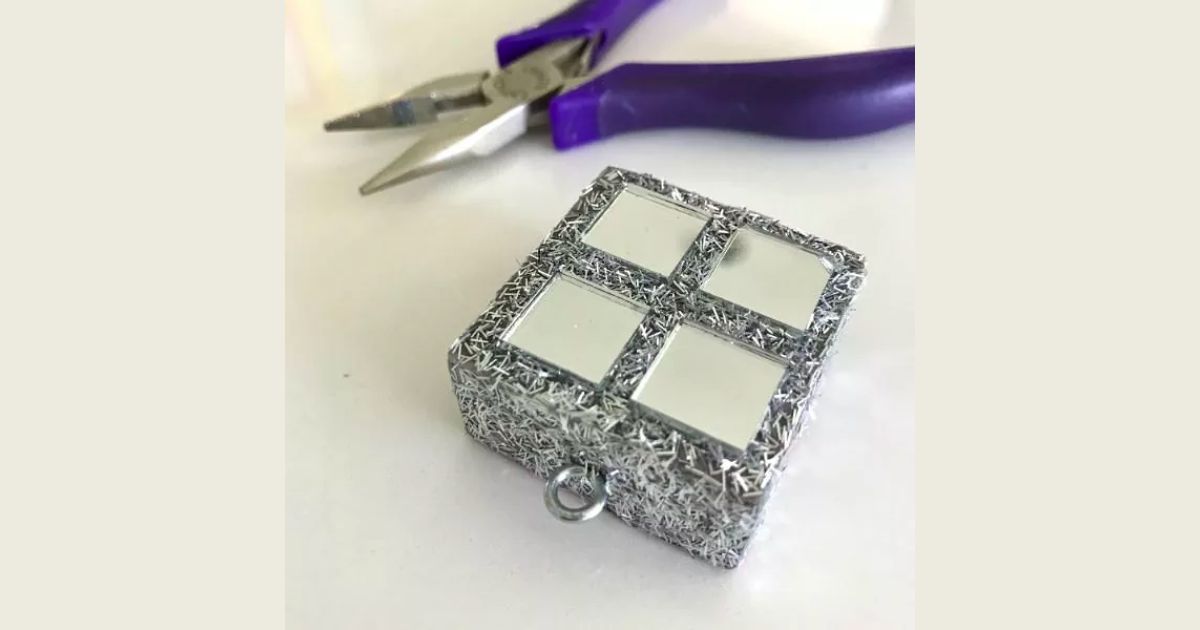
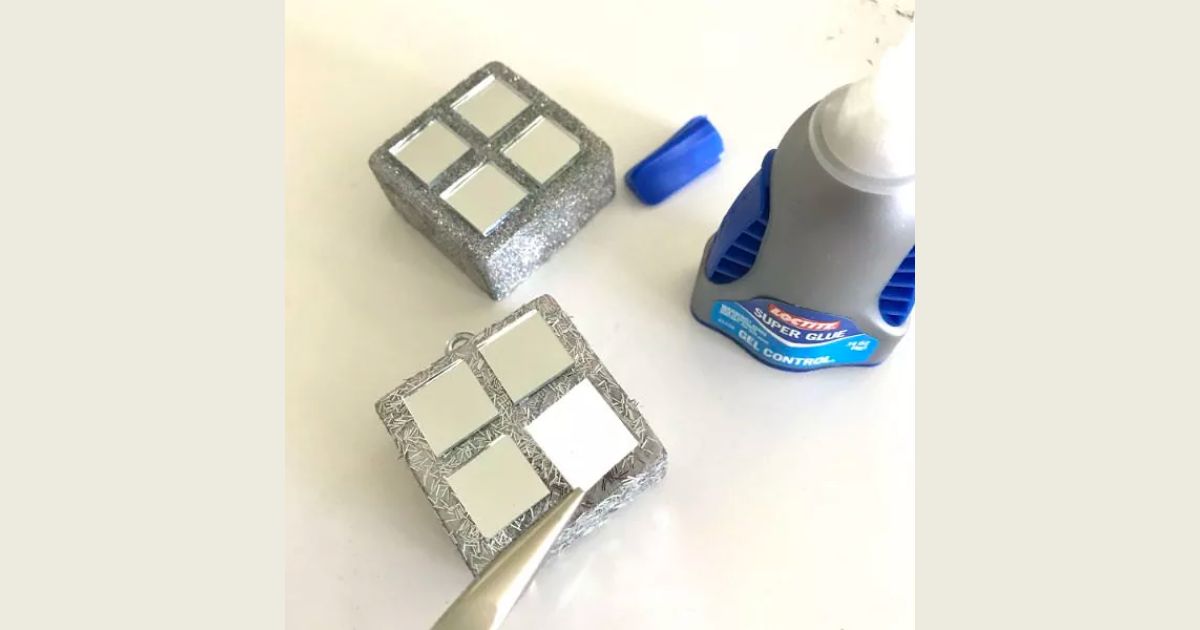
To attach the mirrors to the wooden pieces, I chose to use Loctite Super Glue, and simply placed them side by side, allowing the glitter to be visible through the divisions.
This mounting technique provided an appealing visual effect, adding a distinctive touch to my wooden Christmas ornaments.
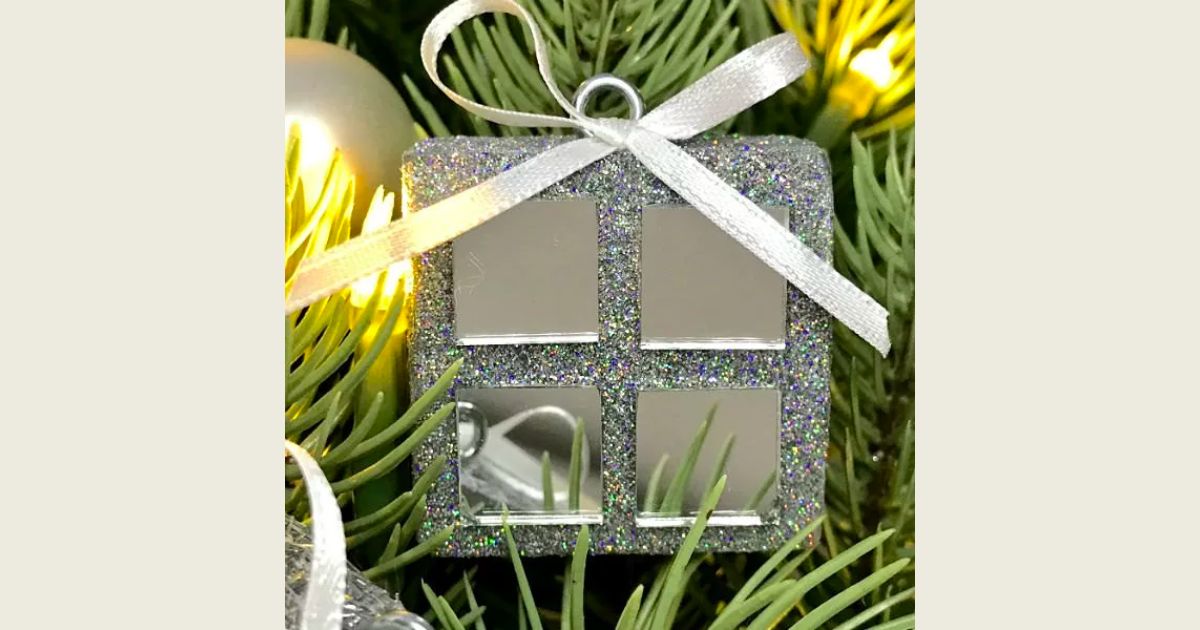
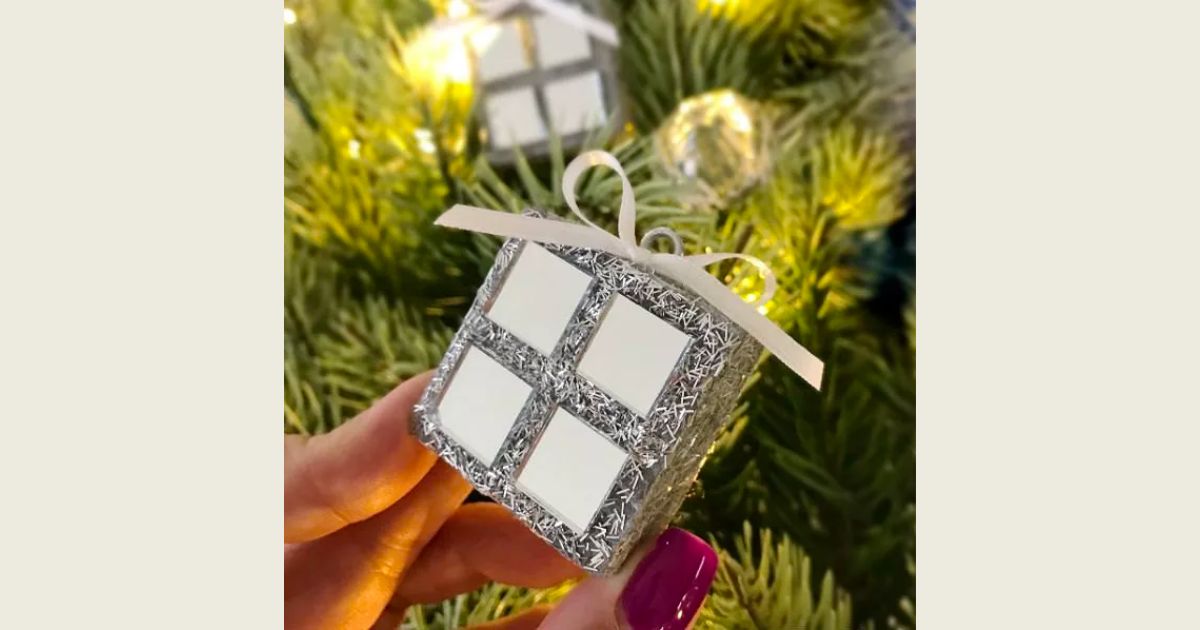
And Voilá!!! This is how they ended up!!!! What do you think of these ornaments for the tree?
They are very easy to make and the best thing of all is that you can create different styles and fill your Christmas tree with a single piece of wood that could cost you less than $ 3 Good idea to save money, right?

Conclusion:
Making your own Wooden Christmas Ornaments not only allows you to add a personal touch to your tree but also provides you with a unique opportunity to connect with the holiday spirit in a special way.
As you work on these ornaments, you can feel the magic of the season and enjoy moments of creativity and tranquility amidst the holiday hustle and bustle.
Furthermore, these handcrafted ornaments can become a family legacy as you can add new designs and traditions to your tree each year. What better way to create lasting memories than with ornaments you have crafted with love and care?
Another advantage of this activity is its budget-friendliness. In a season when expenses tend to rise, creating your own ornaments allows you to save money without compromising the beauty of your Christmas decor.
You can achieve stunning results on a limited budget and enjoy the satisfaction of knowing that you’ve created something special with your own hands.
So, gather your materials and let your creativity shine as you embark on this charming DIY adventure.
Customize your ornaments with the colors and designs you love most, and watch as your Christmas tree comes to life with a unique and personal charm.
Make this Christmas even more special with one-of-a-kind, handmade ornaments that reflect your style and the true holiday spirit.
Happy crafting and happy holidays!
¡No olvides unirte a nuestro Grupo de Facebook en donde puedes compartir tus manualidades con el resto del grupo y tambien te exhortamos a que te suscribas a nuestro Canal de YouTube. Tambien puedes seguir nuestro Fan Page en Facebook para que no te pierdas los tutoriales que iremos subiendo a la plataforma.
DIY Tutoriales y mucho mas participa en el Programa de Asociados de Amazon Services LLC, un programa de afiliación publicitaria diseñado para proporcionarnos un medio para que ganemos dinero a través de los enlaces de Amazon.com y sitios afiliados.
This post contains affiliate links and I may be compensated for this post. Read our disclosure policy HERE.

Leave a Reply