
How to Make a Dollar Tree Splatter Screens Pumpkin
Hello to all the crafting enthusiasts and seekers of inspiration! Today, I want to invite you to dive into a lovely crafting project that, honestly, I’ve really enjoyed, and I’m sure you’ll feel the same way too. Here, in this tutorial, we share our ideas and step-by-step instructions with you so that you can create it too.
Today, we’re going to learn how to create a beautiful fall pumpkin using something you probably never imagined would become a work of art: Dollar Tree Splatter Screens!
Yes, those kitchen utensils designed to control splatters can be transformed into surprisingly beautiful decorative pieces. And the best part is, it won’t break the bank.
So, make yourself at home, let your creativity soar, and let’s get started!
How to Make a Pumpkin Using Dollar Tree Splatter Screens – Step by Step
Here’s a list of materials you’ll need for this tutorial:
Dollar Tree Splatter Screens (remember, if you buy them in-store, they’re only $1.25 each)
26-gauge wire
Flowers
Hot glue gun
Foam sheets
Mesh tubing
Satin cord
Ribbon
Welcome sign (optional)
Spray paint
For this tutorial, you’ll start by painting all three pieces (splatters) with spray paint and allowing them to dry completely. Once they’ve dried, cover the handle with satin cord.

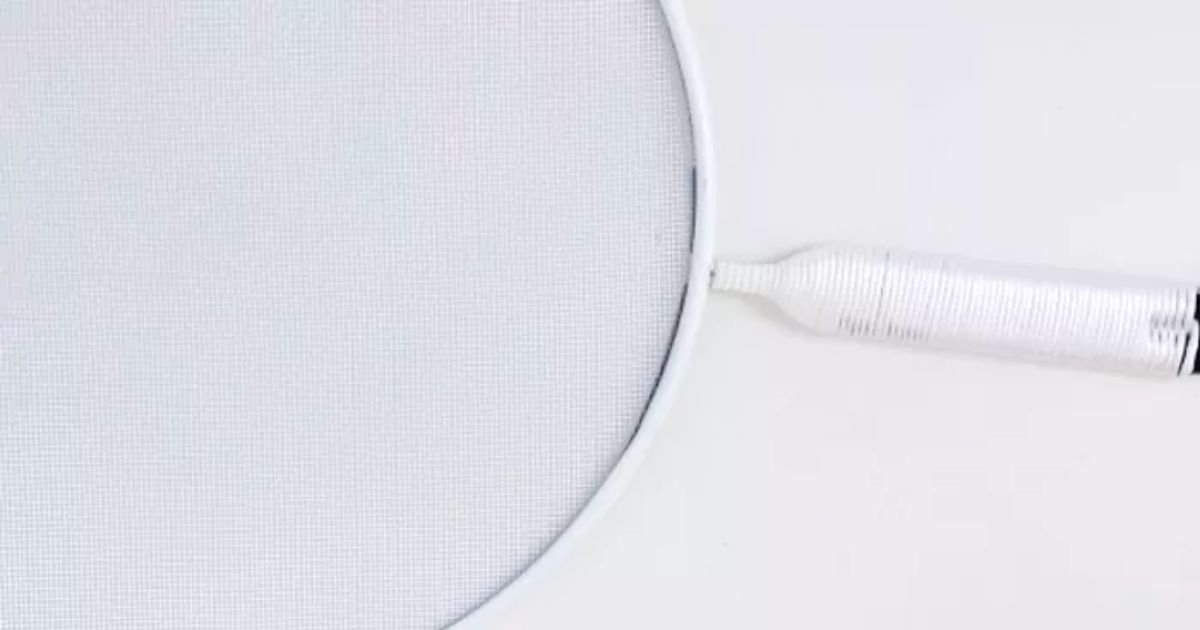
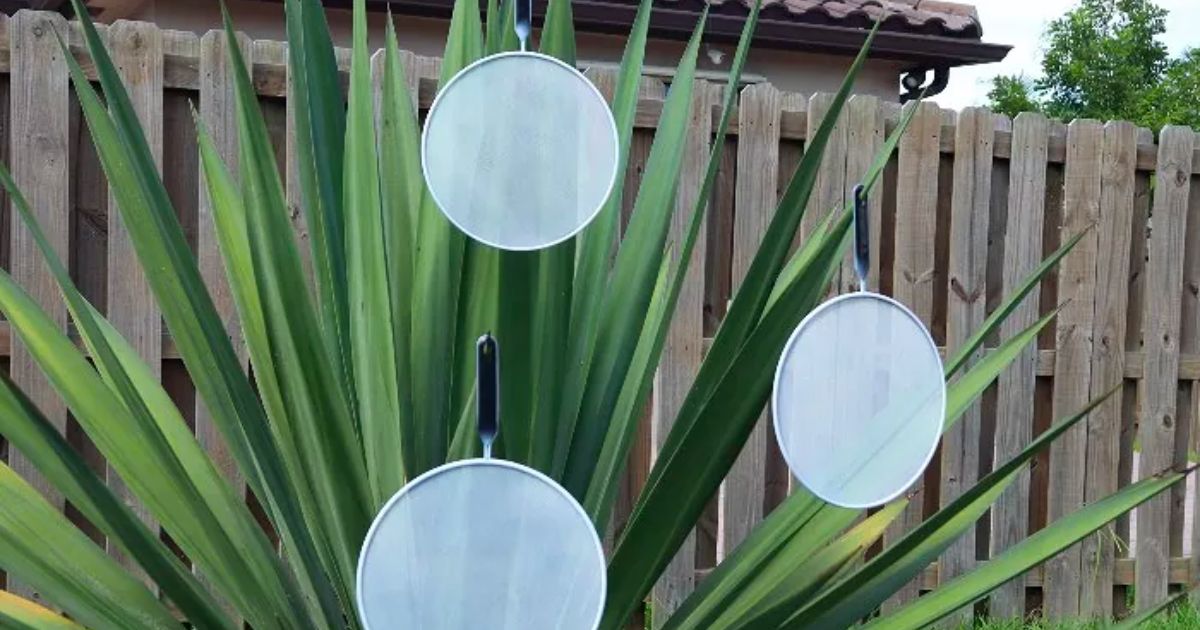
Place them to dry in a location where air can enter from both sides so they dry faster. After drying, cover the handle with the satin rope.
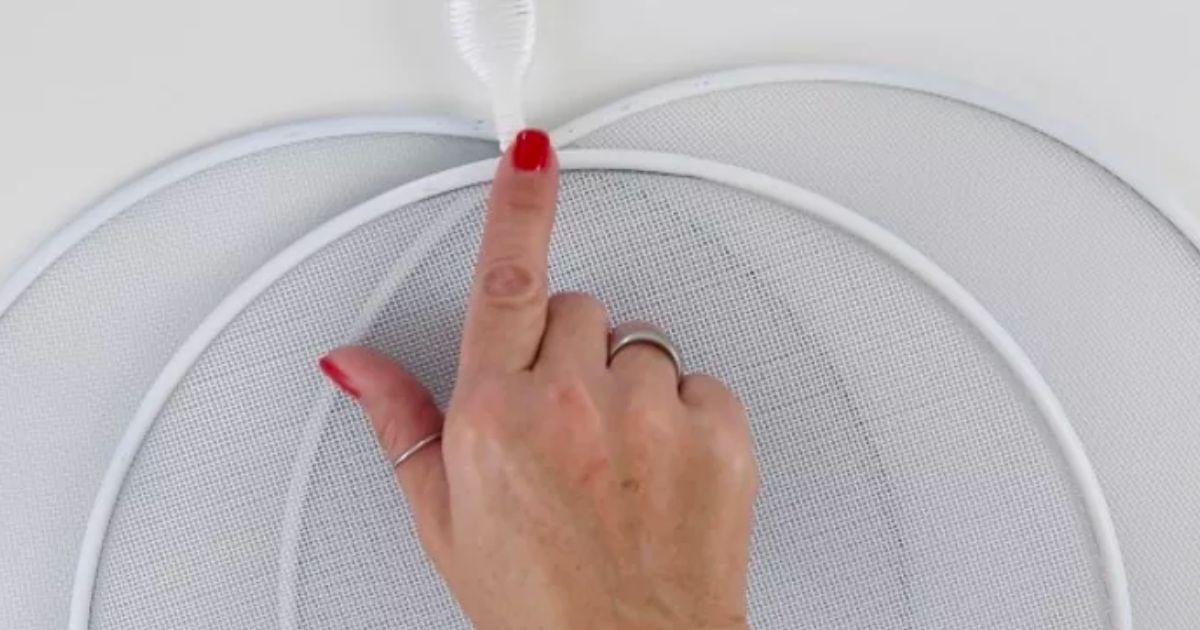
Take two of the splatters and fold the handle in the direction through the middle of the circle. Try to fold both as evenly as possible as these will be the base of the pumpkin.
Then, arrange the splatters as follows: two with the handle folded downwards and the other splatter with the handle unfolded on the opposite side as if it were the stem of the pumpkin. Personally, I like to lower it a bit to create a depth in the stem.
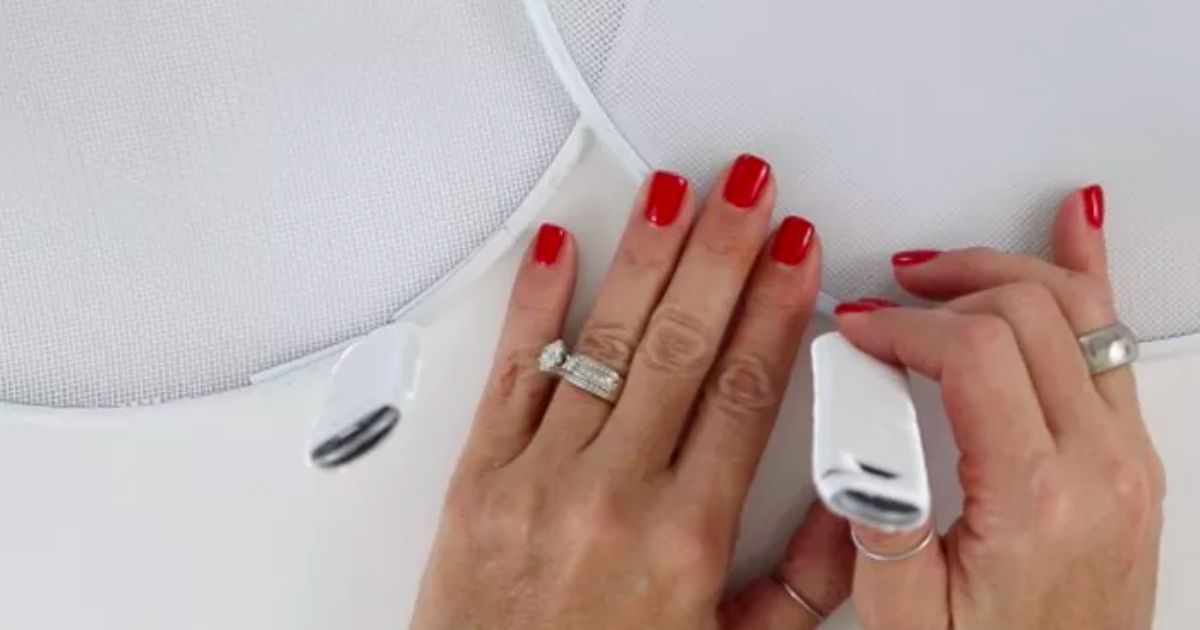
Once you have them in the position you want your pumpkin to have, hold them with a clamp or pin so that it is easy to tie them with the wire. Cut a piece of wire and tie the pieces from front to back.
As you can see in this photo just to the left of the clamp on the left, you can see a bit of wire holding both pieces (splatters).
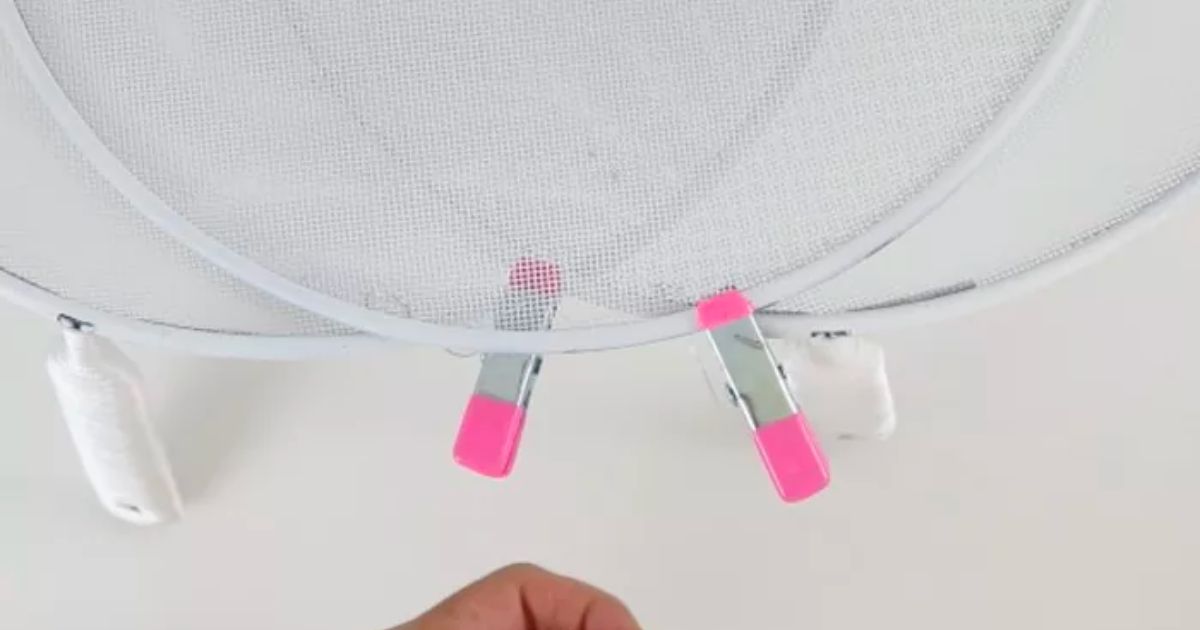
Continue holding the wires until you see that you can place the pumpkin on a flat surface. Now is the part where we are going to decorate the pumpkin.
I added a piece of foam sheet at the top with the intention of reusing the pumpkin next year and just changing the decoration without having to start everything from scratch.
This way, you just have to release the wires that will hold the foam sheet and you’re done. The foam sheet also works if you use hot glue that doesn’t damage the piece where you will be gluing the flowers and the rest of the decoration.
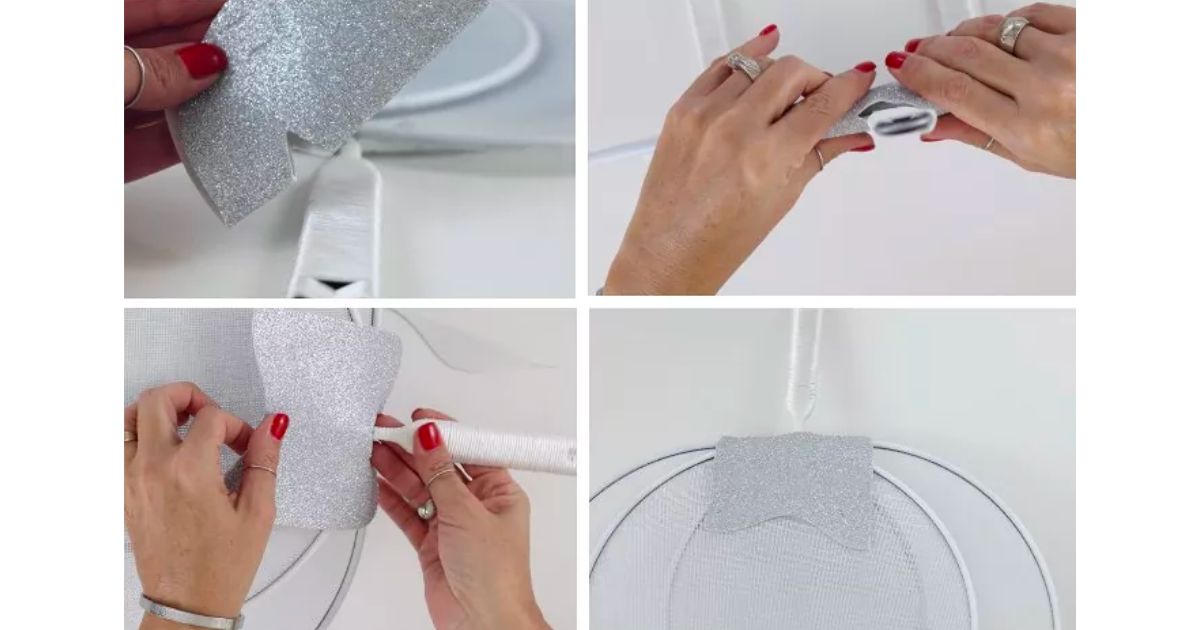
Hold it in place and use the wire to tie the foam sheet to the splatter.

Arrange the flowers. An easy way is to open in the middle and divide the flowers on both sides. You can cut and glue them individually using a clamp.
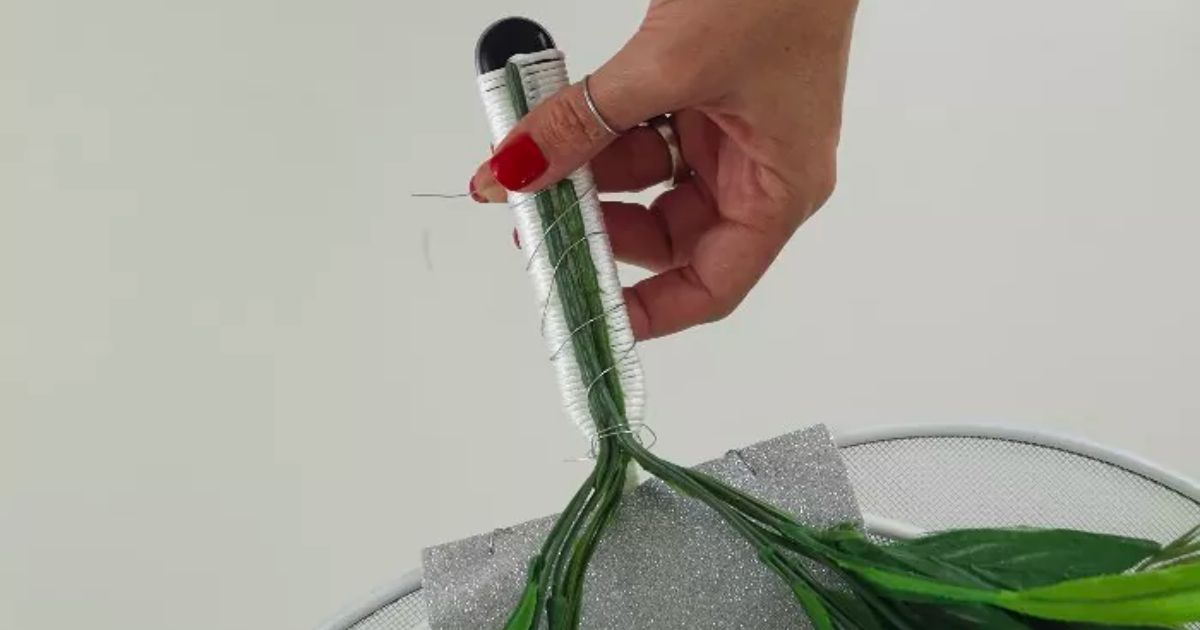
As I plan to reuse them later in some other tutorial, what I did was tie them with wire to the stem and then cover it with the mesh tube. To stick the mesh tube, I used hot glue.

Continue decorating your pumpkin.


The piece that says Welcome was placed in such a way that it covered the wires I placed in the center to join the pieces.

So this is the final result of this tutorial on how to make a pumpkin with Dollar Tree Splatters. I hope you liked it and don’t forget to join our Facebook Group where you can share all your crafts with the rest of the group and also subscribe to Our YouTube Channel where you will see more tutorials like this.
Don’t forget to follow us in our Instagram , YouTube Channel and Facebook Group !!!!
DIY Tutoriales y mucho mas participa en el Programa de Asociados de Amazon Services LLC, un programa de afiliación publicitaria diseñado para proporcionarnos un medio para que ganemos dinero a través de los enlaces de Amazon.com y sitios afiliados.
This post contains affiliate links and I may be compensated for this post. Read our disclosure policy HERE
Leave a Reply