Autumn is one of the most inspiring seasons of the year. The warm colors, the crunching leaves, and the cozy feeling of fall surround us. And, of course, we can’t forget one of the most iconic symbols of this season: the pumpkin. Wouldn’t it be wonderful to incorporate the essence of autumn into your home in a creative and sustainable way? Absolutely! In this tutorial, I’ll show you how to make your own fall pumpkins using something as simple as toilet paper rolls. Yes, you heard that right, those little cardboard tubes can be transformed into charming pumpkins that will brighten up your space and immerse you in the autumn spirit. So, gather your materials and let me guide you through this exciting project. See the video of this tutorial HERE!!
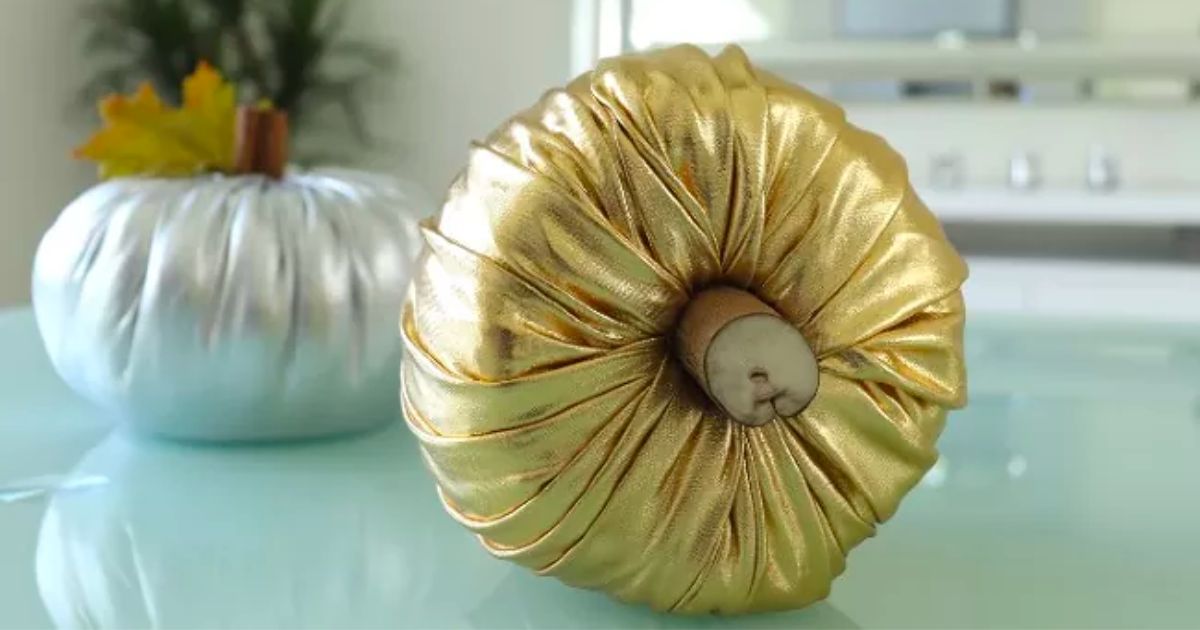
How to Make a Toilet Paper Pumpkin?
Materials Needed
Before we dive into creating our fall pumpkins, let’s make sure we have all the necessary materials on hand. The beauty of this project lies in its simplicity and accessibility. Here’s a list of what you’ll need:
Toilet Paper Rolls: Gather several toilet paper rolls. The quantity will depend on how many pumpkins you want to make. Remember that this project is excellent for reusing those rolls as many times as you want.
Scissors: You’ll need scissors to cut the fabric you’ll be using.
Glue: Use strong glue or a hot glue gun to attach the parts of your pumpkins.
Wooden Stick or Twig: To make the stem of your pumpkins, you’ll need a small wooden stick or twig. This will add a realistic touch to your creations. In this tutorial, we’ll use a cinnamon stick.
Fabric: I used this one . I recommend this one because has a good stretch. Choose fabric according to the decoration you want to achieve.
Artificial Leaves for the finishing touch.
Now that you’ve gathered your materials, you’re ready to embark on your exciting creative journey. Follow these simple steps to make your own fall pumpkins using toilet paper rolls:
It’s very straightforward; take the toilet paper roll and unroll some of it, then wrap it around the roll again, but not flat as it comes, place the paper in a messy and bulky way to disguise the shape and not notice that it is a toilet paper roll when we cover it with fabric and give it a pumpkin shape.
Steps to Follow
Cut a piece of fabric 18″x18″ if the fabric has spandex. If the fabric does not have spandex, then cut the larger piece approximately 20″x20″.
Place the toilet paper roll on the piece of fabric and position it in the center. The nice side of the fabric should be facing down so that when we cover the toilet paper roll, the nice side is exposed. Start by lifting the fabric from one of the corners and place the excess in the center (hole).
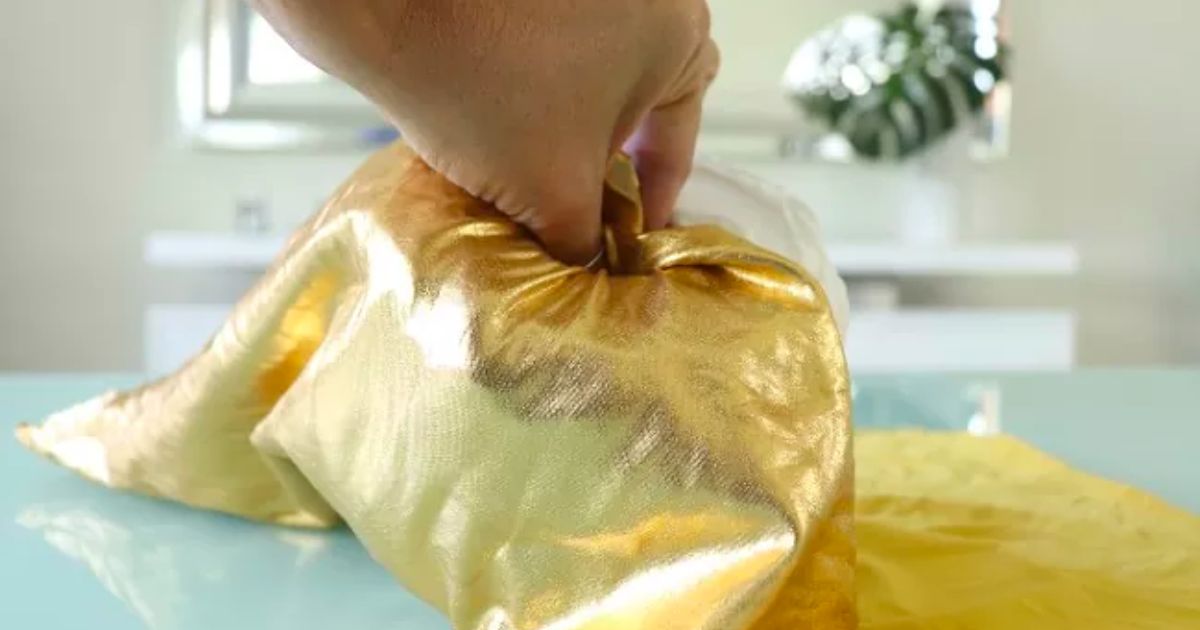
Continue with the process of covering the paper roll with the fabric of your choice, and as you progress in this stage, I advise you to adjust the fabric consciously and precisely so that the folds and pleats take on the shape and appearance that best aligns with your creative vision.
The manipulation of the fabric plays a fundamental role in the final look of your project. You can experiment with different angles and curves, smooth or enhance folds as desired, and ultimately breathe life into a unique and personalized composition that reflects your style and creativity.
So, with patience and attention to detail, continue working in this phase to achieve a result that fully satisfies you and showcases your creativity.
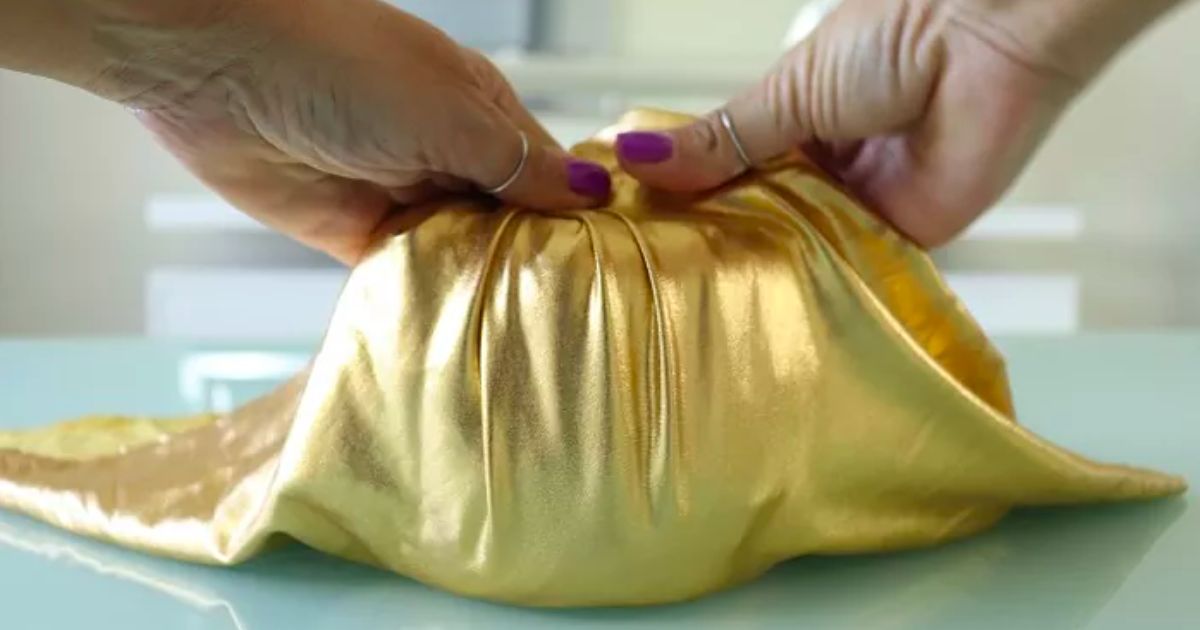
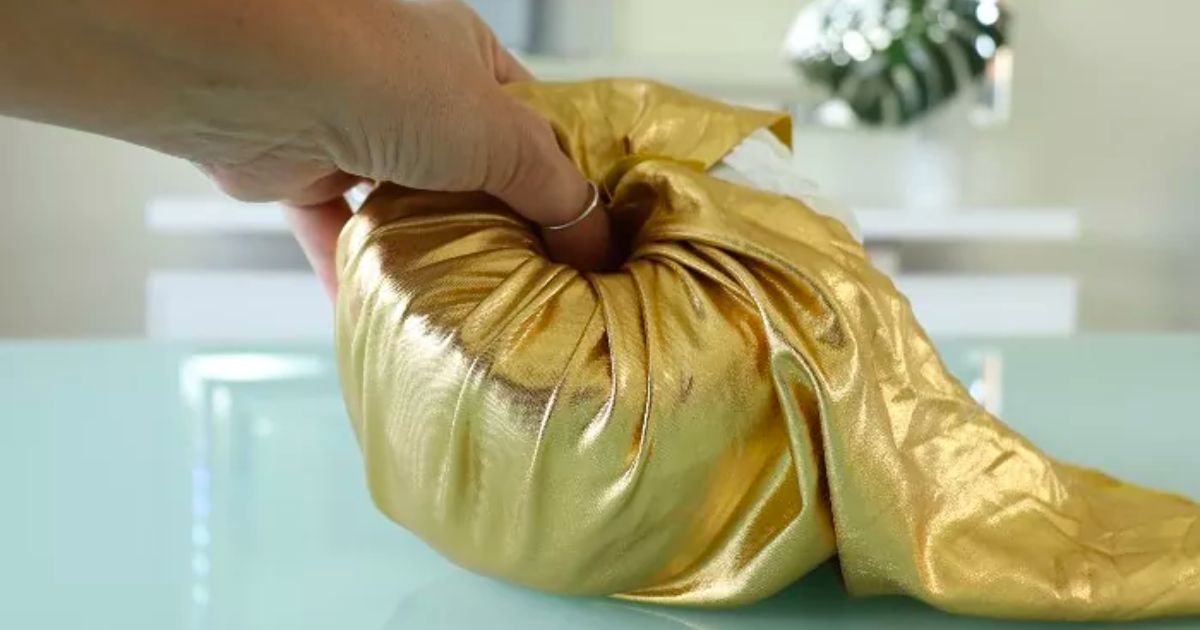
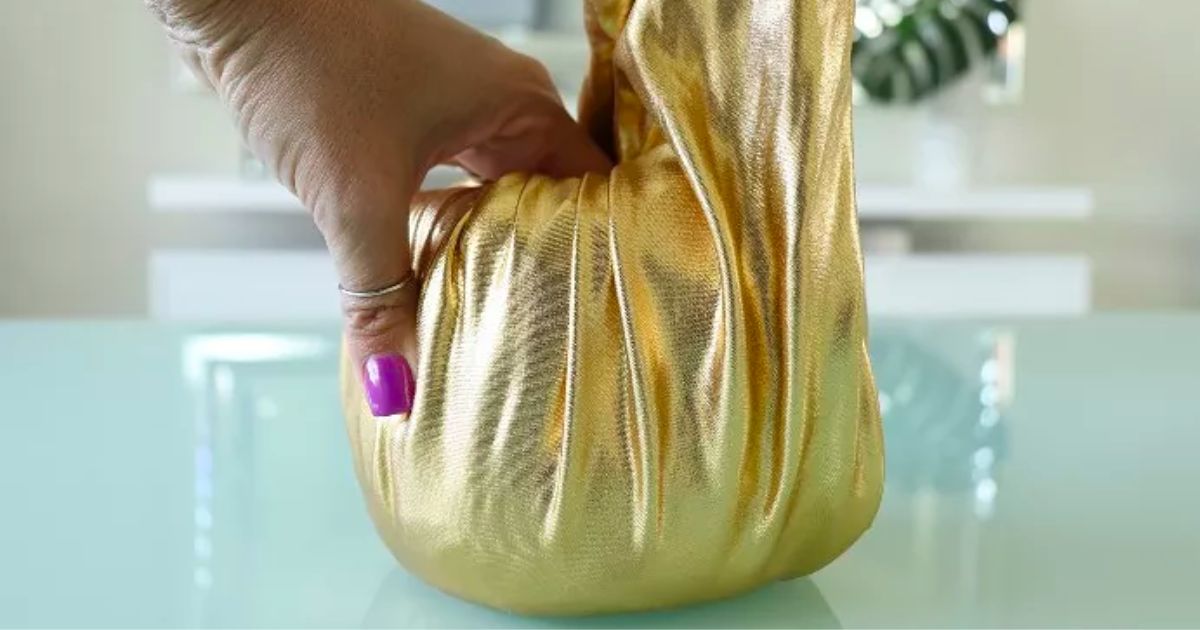
Close it hiding everything inside the center of the paper roll. As you can see, I don’t need glue to hold the fabric.
But if you find it difficult or the fabric you are using does not behave in the same way, then apply a little hot glue inside the hole so you can fix in place and do not disassemble.
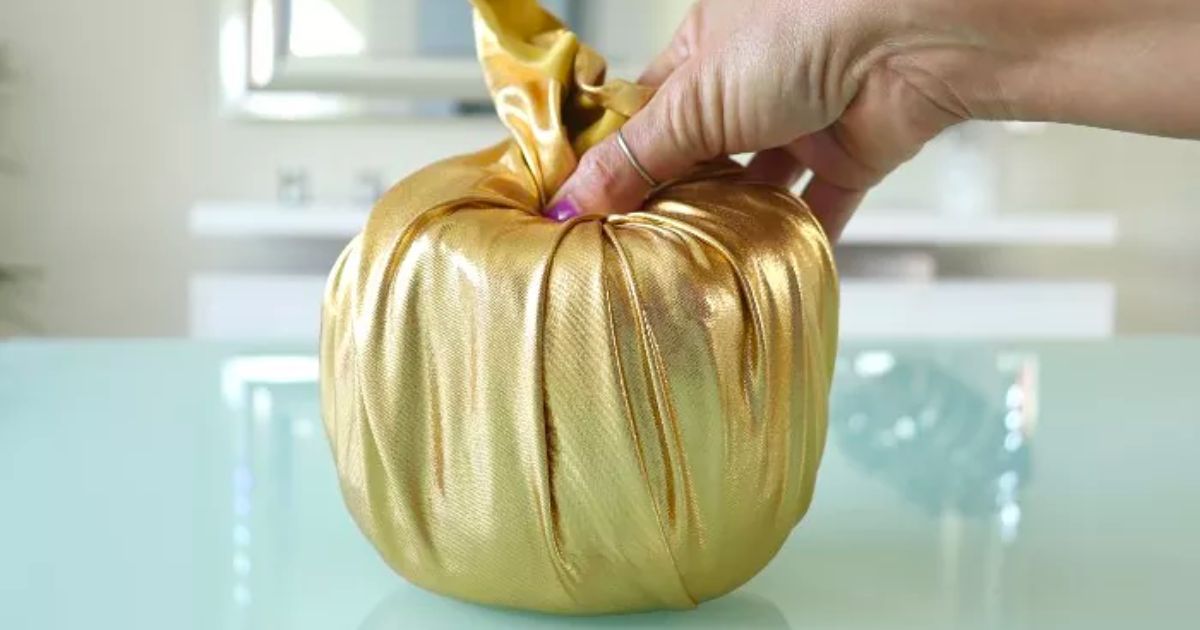
To create the stem of your project, I recommend using cinnamon sticks, which will add an aromatic and visually interesting touch. Cinnamon sticks are not only versatile and easy to handle but also impart a warm and comforting aroma to your creation, which can add an additional sensory element to your artwork.
When selecting the sticks, choose ones that are the right size and shape for your project, ensuring they fit harmoniously within the overall composition. Once you have chosen the cinnamon sticks, you can decide whether to leave them in their natural color or further decorate them with paint, thread, or even small beads and other decorative elements.
This will allow you to further customize your project and give it a distinctive touch that makes it truly unique.
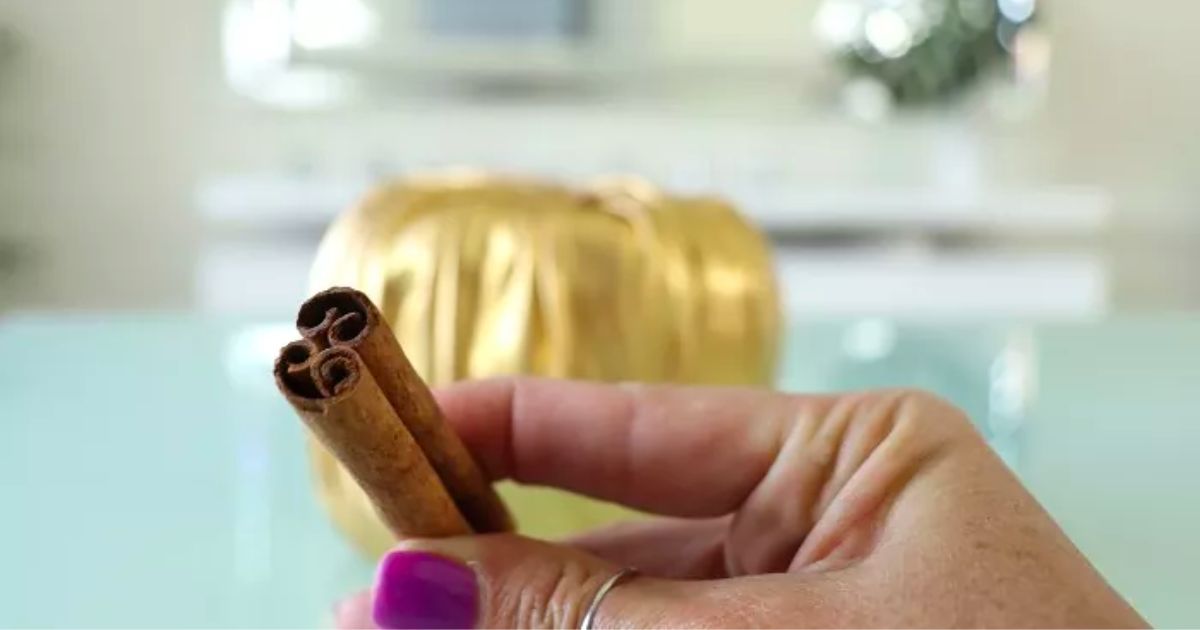
To place them I did not use glue, but my advice is that you must place a little. Otherwise simply insert the cinnamon sticks by pressing them into the hole where you hid the excess cloth. Depending on the size of the cinnamon it will depend on how many you will need. If they are thick it is possible that with only three of them you can create the stem.
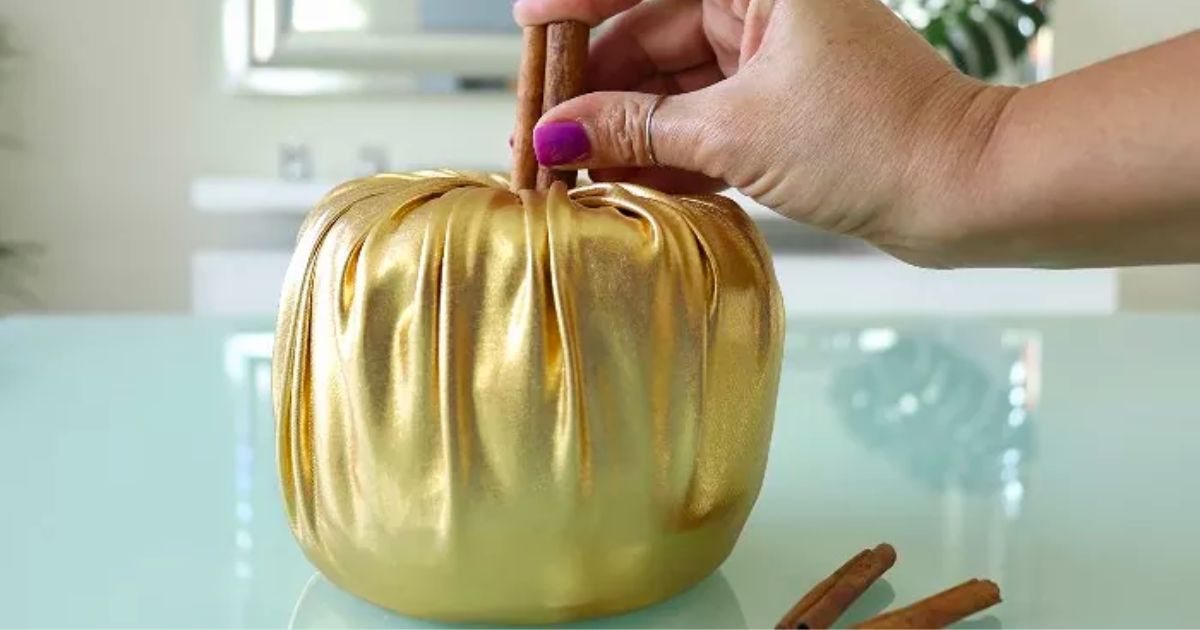
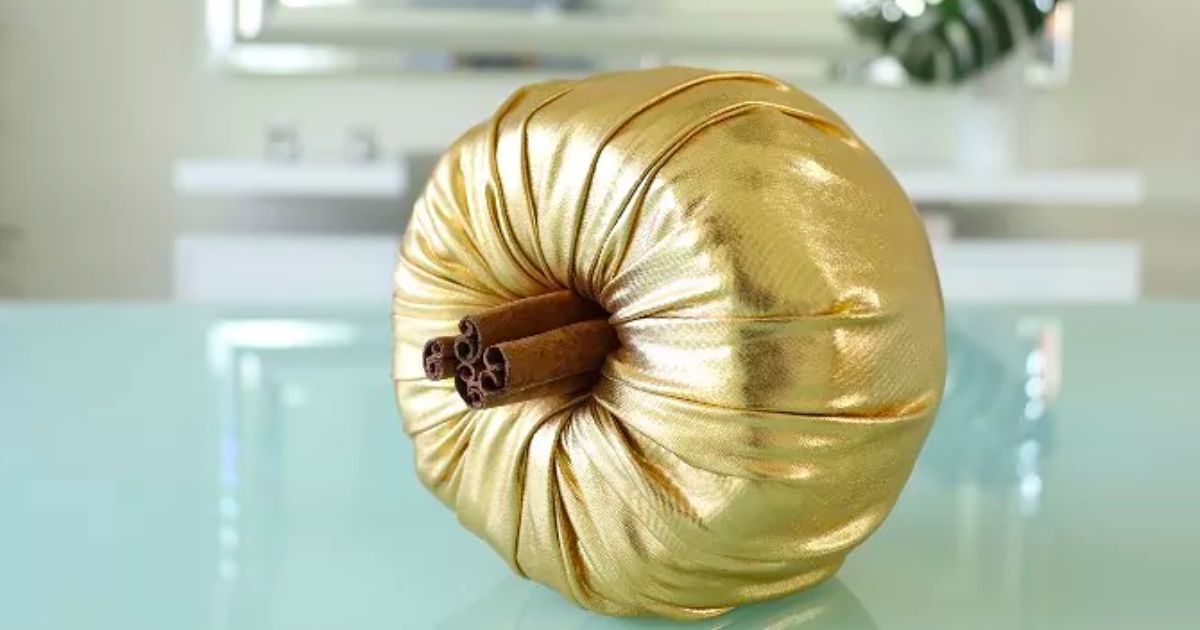
This is optional, but it also gives a very nice and natural touch. Place a leave and Voilá!
You can also use a piece of trunk to make the stem and it looks very pretty as well. In the next photo I show you how it looks.

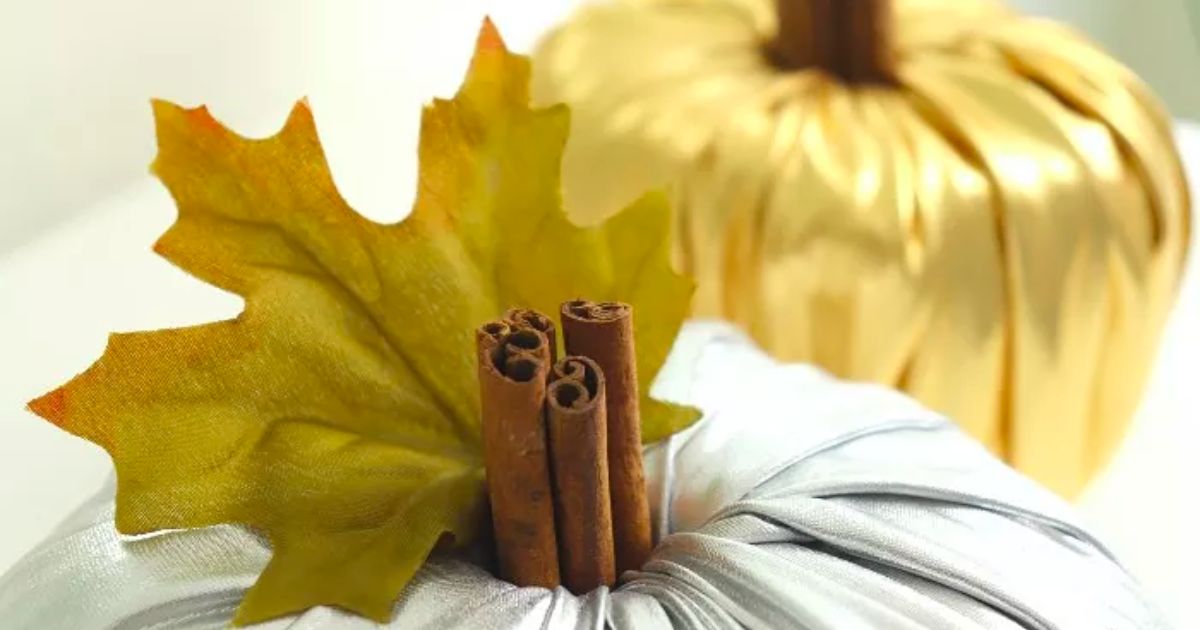 Another alternative that you can use to make the pumpkin is to add filling around the roll of toilet paper. When using the filling it is not necessary that you unroll the paper because the filling will already have the function of giving it volume and shape. Watch the video at the end of this article where I show you the the step by step of both ways to make pumpkins and also stems. I made the silver pumpkin with the filling. You can notice the difference.
Don’t forget to follow us in our Instagram and Facebook Group !!!!

Leave a Reply