How to Make Handmade Easter Bunny Cards
Greetings to all craft enthusiasts, and welcome back to our blog! Today, we’re excited to dive into the magical world of Easter with a delightful and fun project: Easter Bunny cards. Easter is a special time filled with joy and color, and what better way to celebrate it than with handmade cards that radiate warmth and creativity.
These cards are perfect for sending greetings to friends and loved ones or adding a special touch to your Easter decorations. So, get ready to immerse yourself in the magic of Easter and unleash your creativity in this exciting project.
Take advantage of these Holy Week days to unleash your creative side and design some cards to share this upcoming Easter Sunday with your loved ones. Create your own Easter Bunny Cards and surprise your loved ones with an easy-to-make detail. To make these Easter Bunny cards you will need the following:
Materiales you will need:
- Bright colored poster board (Dollar Tree)
- Glue (Dollar Tree)
- Silver cardstock or blank cards
- 1 1/2″ inch circle punch
- 2″ circle punch
- Flower-shaped punch
- Decorative pearls
- Pipe cleaner
- Black marker
- crafty eyes
- Colored adhesive tape
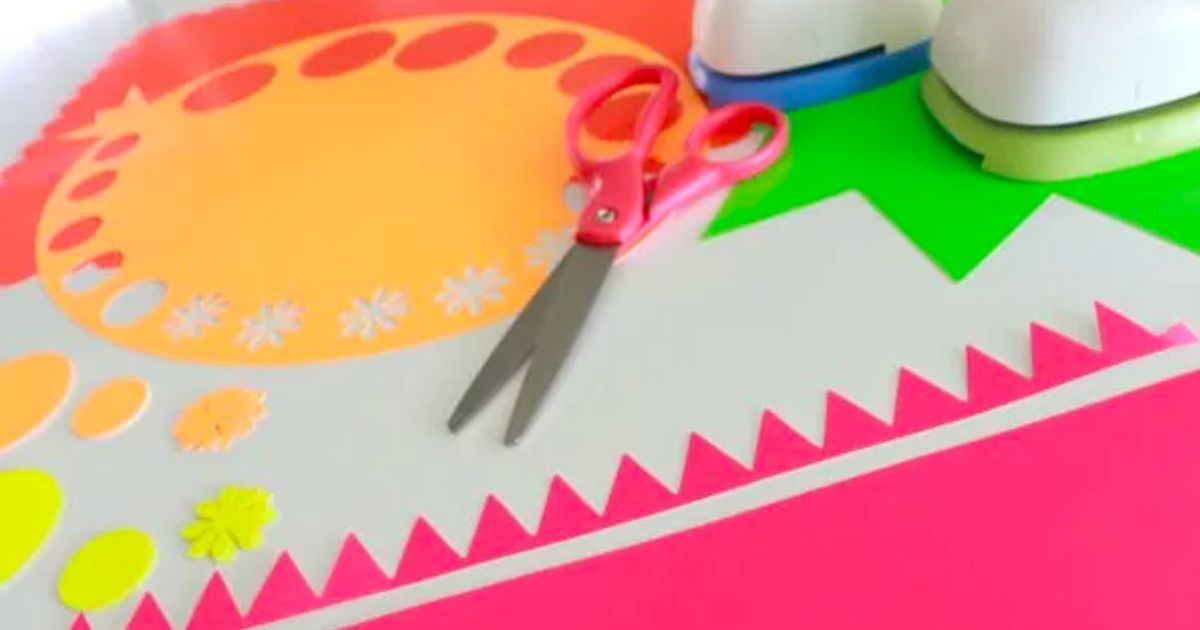
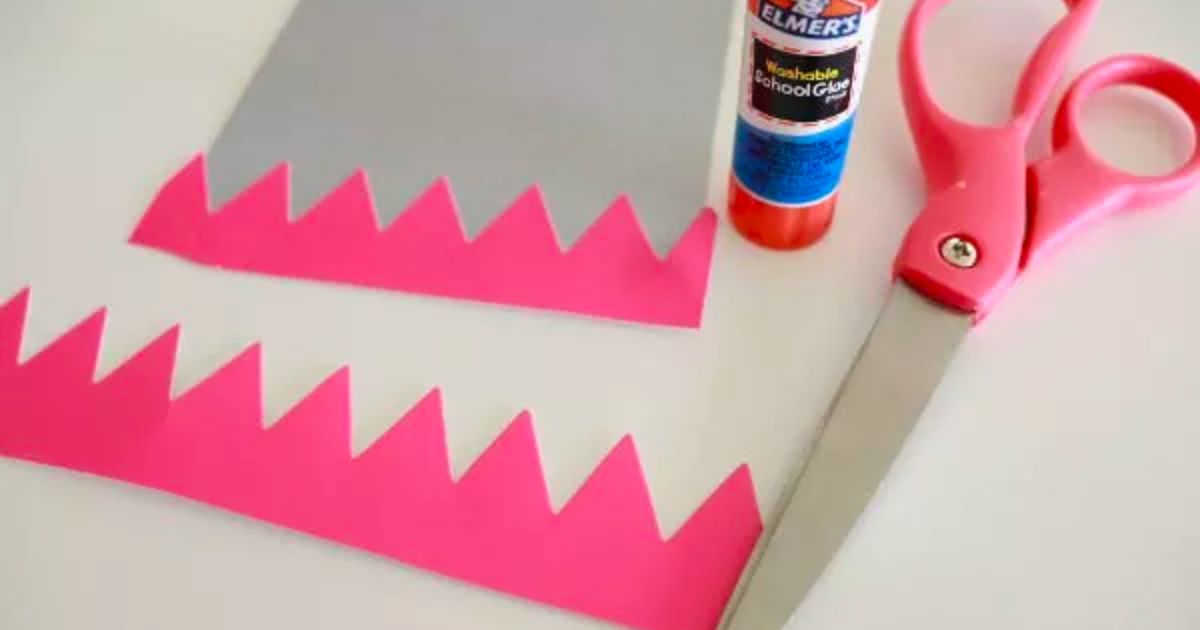
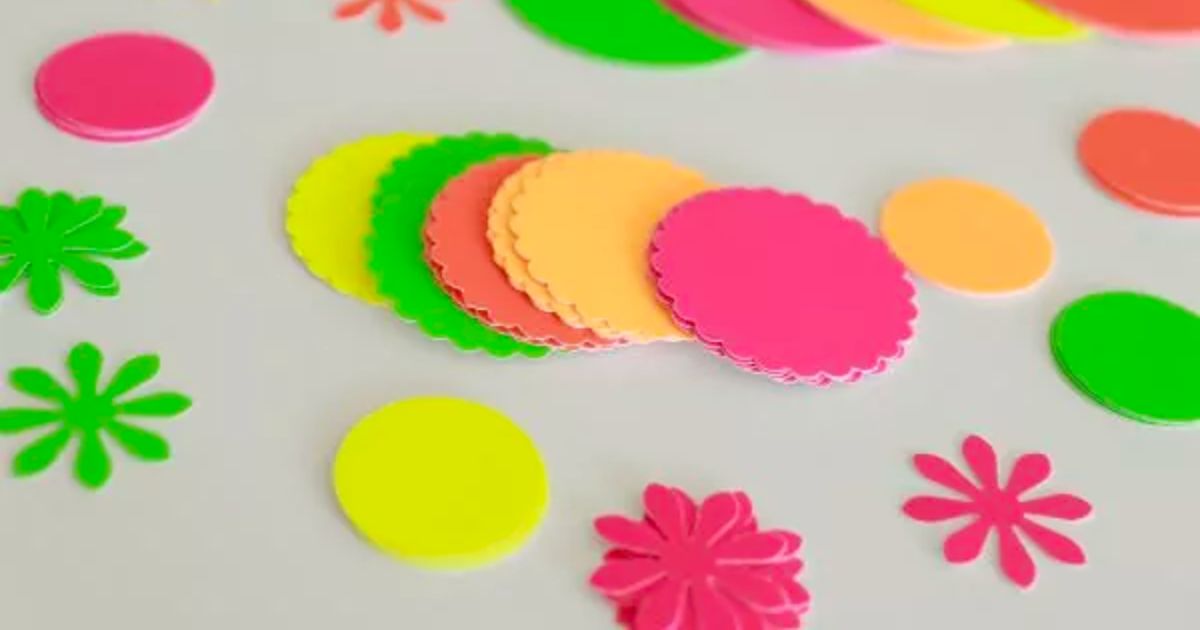
Take advantage of the pre-cut posters with different shapes that you can use to create your Easter Cards. For example, this pink poster already had these peaks that I thought were perfect to add a detail to the top and bottom of the card.
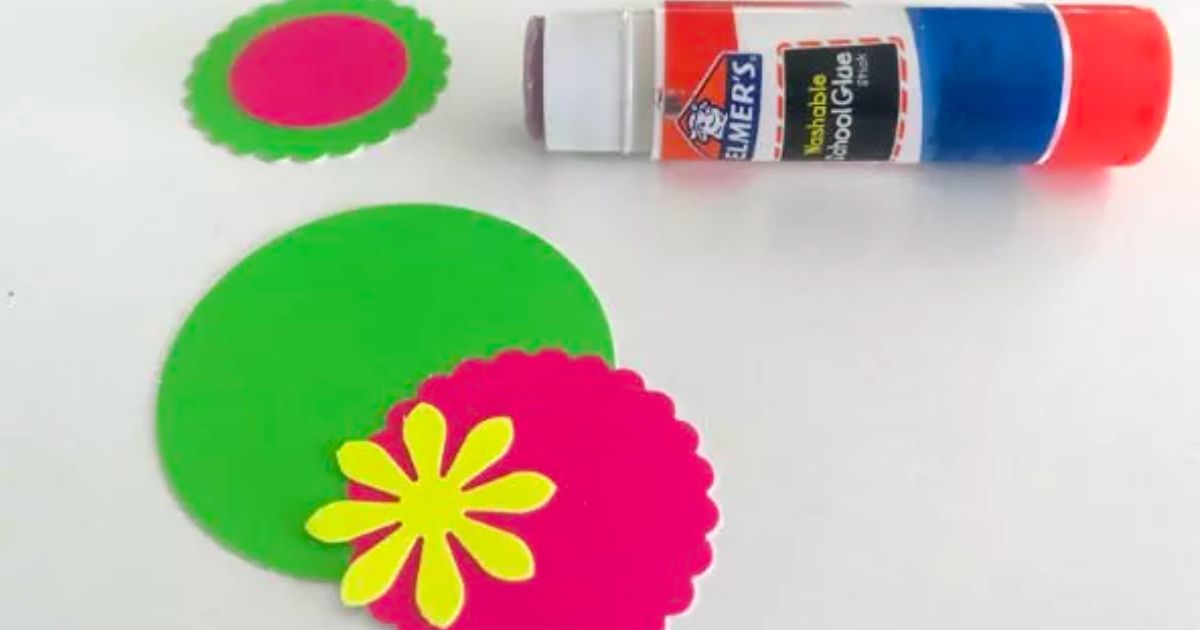
Use the punches to create enough circles of different sizes. With these circles, you will create the shape of the rabbit’s body to glue it to the card.
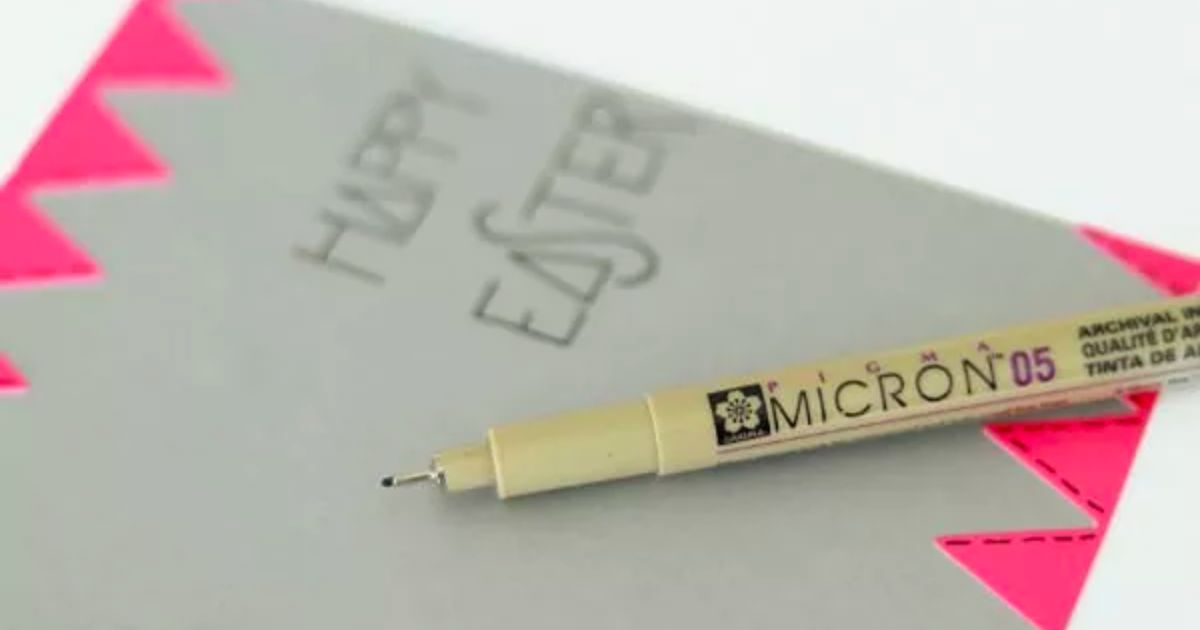
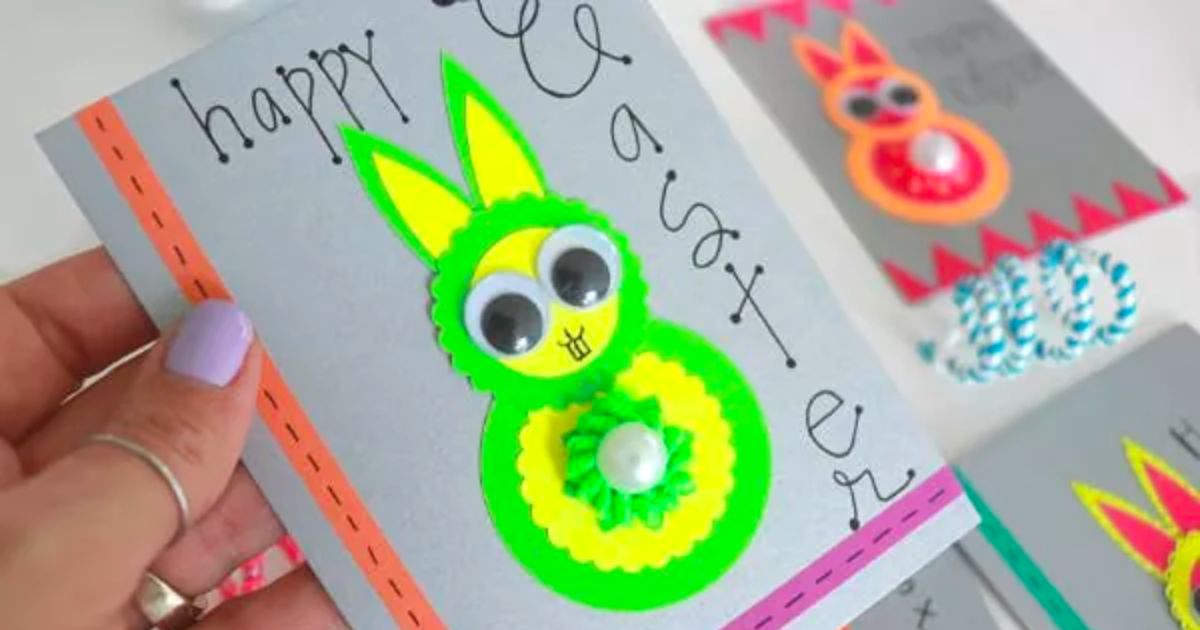
Use one of the markers to write a message. In these ones that I made, I just wanted to write HAPPY EASTER to not take up too much space since I wanted to fill the rest of the space with the Easter bunny.
Now that you have the circles cut, start by gluing them together just to give contrast and lots of color. But if you prefer, you can make your bunny of a single color.
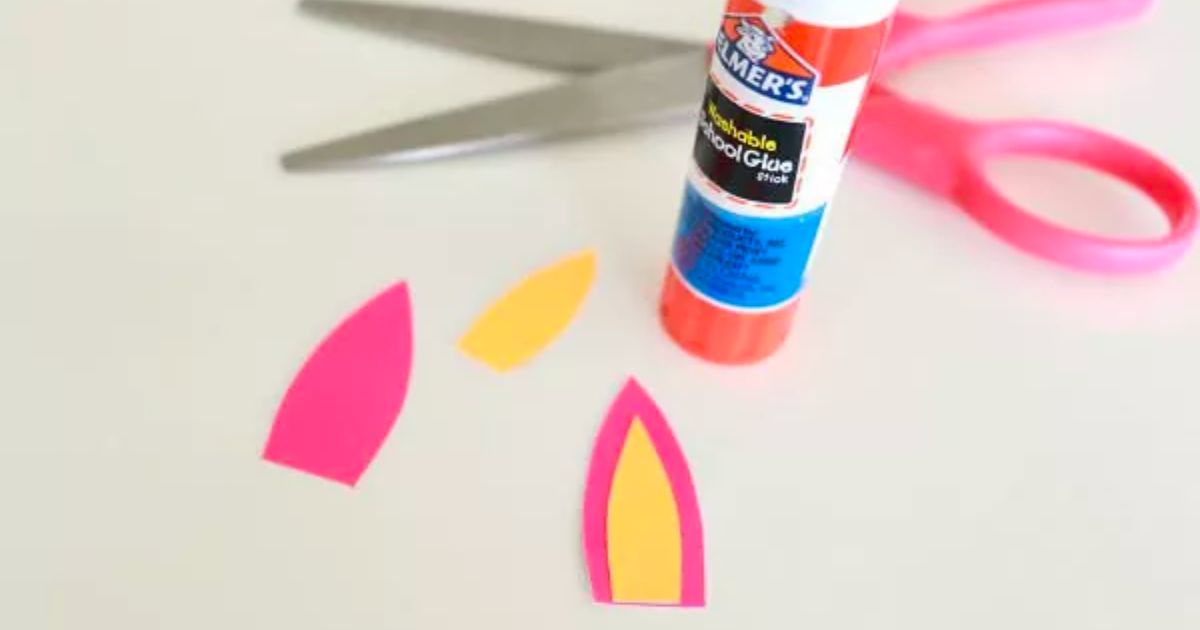
To make the bunny’s ears, if it’s too difficult to draw them, you can make a rectangle and once you have it cut, cut the two corners to make them pointed as I show you in the following photo.
To make the inside of the ears, repeat the same but decreasing the size of the rectangle.
And this is how it looks when you glue everything together and it takes shape. Decorate it by adding the eyes and the pearl in the center, and you’re done!!
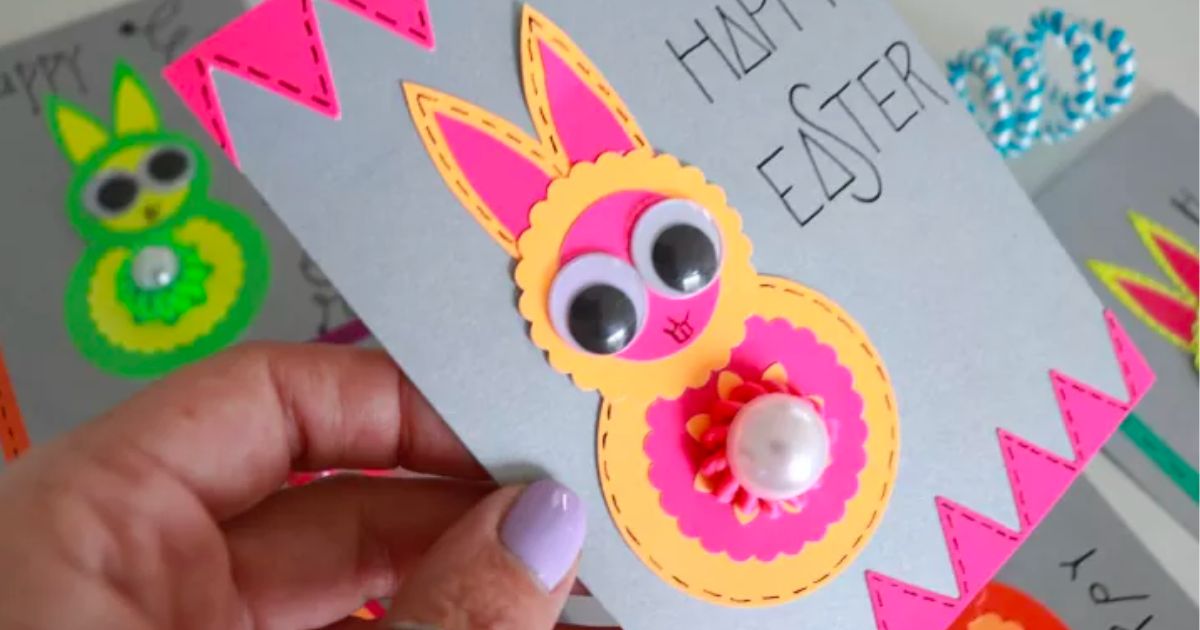
If you don’t want to use the edges like in the previous card, you have the option of using colored adhesive tape and creating borders with it.

Conclusion
We genuinely hope that this tutorial has inspired you to embrace the Easter season with a personal and handmade touch that stands out amidst the sea of commercial cards. Handmade cards are not mere paper objects; they are a tangible manifestation of love and care. Each card is unique, just as each one of us is, and by sending or gifting an Easter card you’ve created with your own hands, you’re sharing a piece of your heart and creativity with those you cherish.
Easter, with its symbolism of rebirth and hope, is a wonderful time to celebrate life and the joy that surrounds us. Our Easter Bunny cards capture the essence of this holiday, conveying a message of happiness and renewal. So, we wholeheartedly encourage you to put into practice the skills you’ve acquired and share the magic of Easter with your loved ones. Whether you choose pastel colors or venture into bolder designs, your creativity will find its place in these unique cards.
As you immerse yourself in the creation of Easter cards, remember that the process itself is an act of love and self-expression. Enjoy every moment of design, every stroke of color, and every choice of details. Happy crafting and happy Easter!
Leave a Reply