This post contains affiliate links and I may be compensated for this post. Read our disclosure policy HERE.
How to Make a Straw Wall Decoration
Interior design has evolved to include everyday items transformed into true works of art. Drinking straws, those little plastic tubes we normally use for beverages, can become an impressive decorative piece for your wall. In this tutorial, you’ll learn step by step how to make a wall decoration with straws, adding a unique and modern touch to your home.
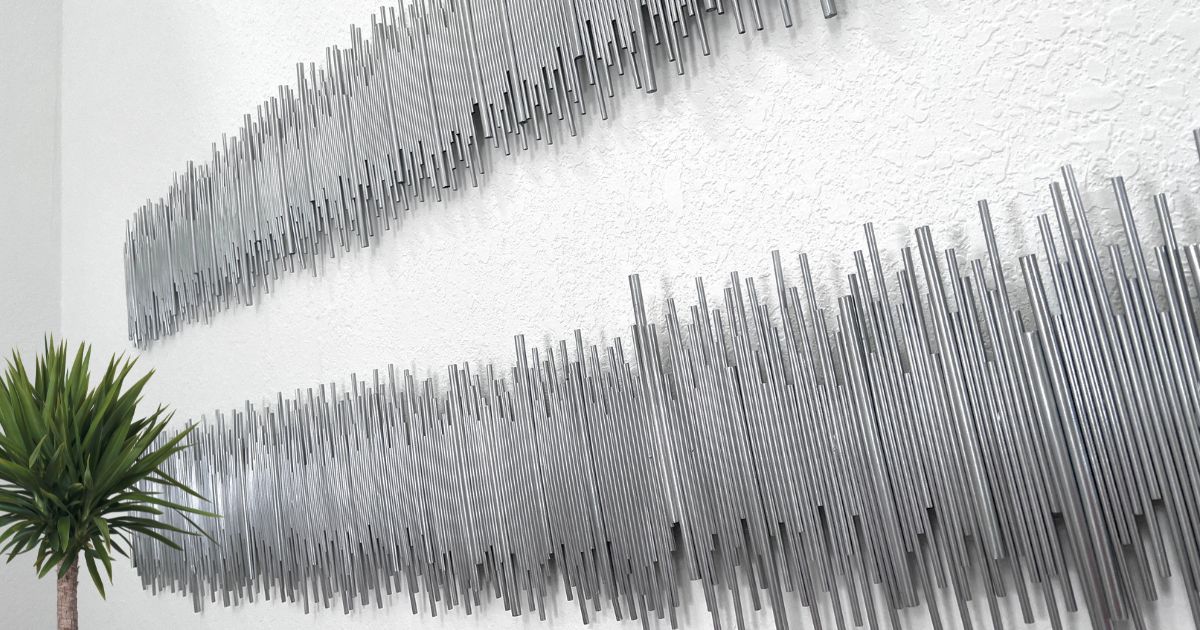
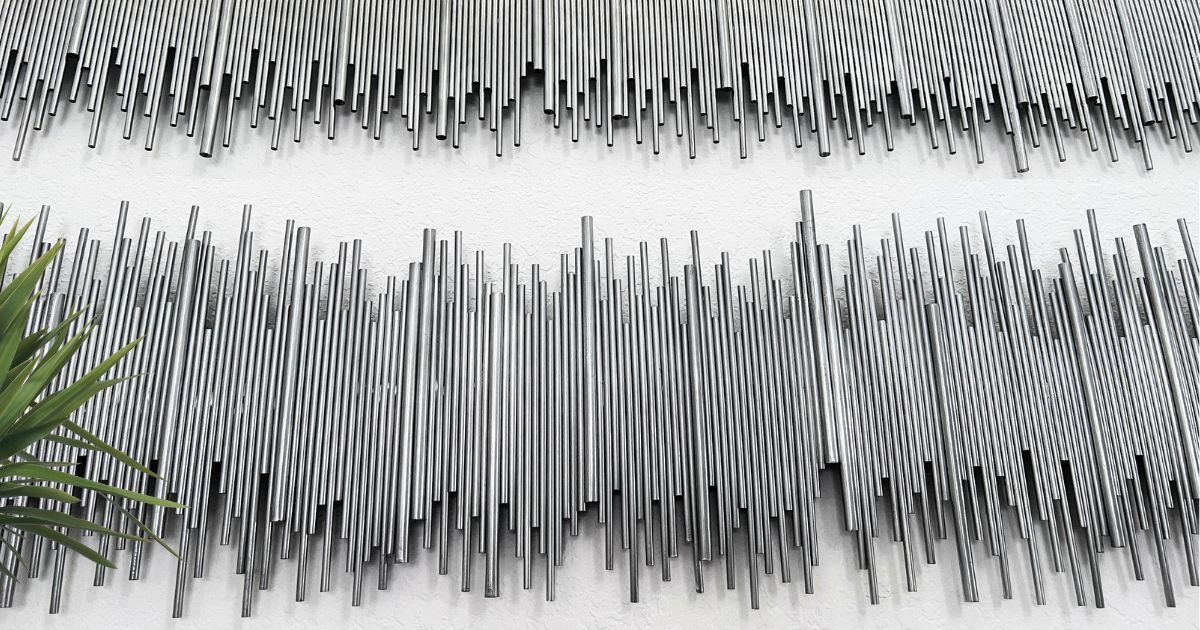
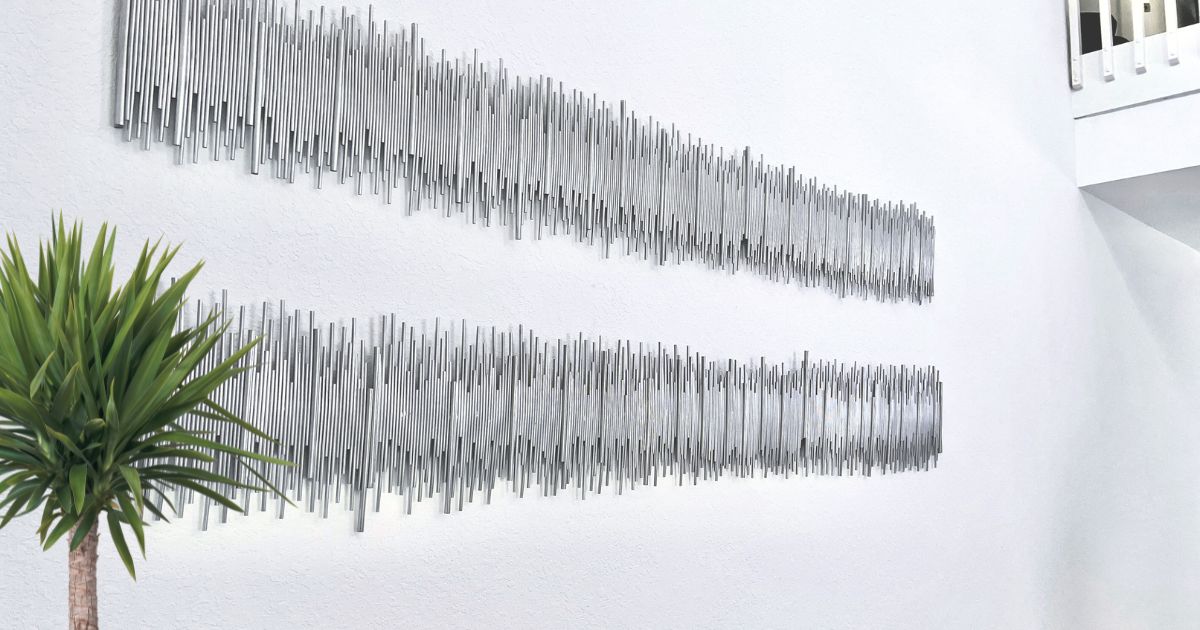
With this idea of using straws for decoration, you can also create other styles to decorate your walls just by changing the shape. Here you can see a much more expensive piece that you can easily make for much less and give it your personal touch.
Here’s another piece and WOW, for the price makes it worth trying to make our version of that piece.
Materials needed:
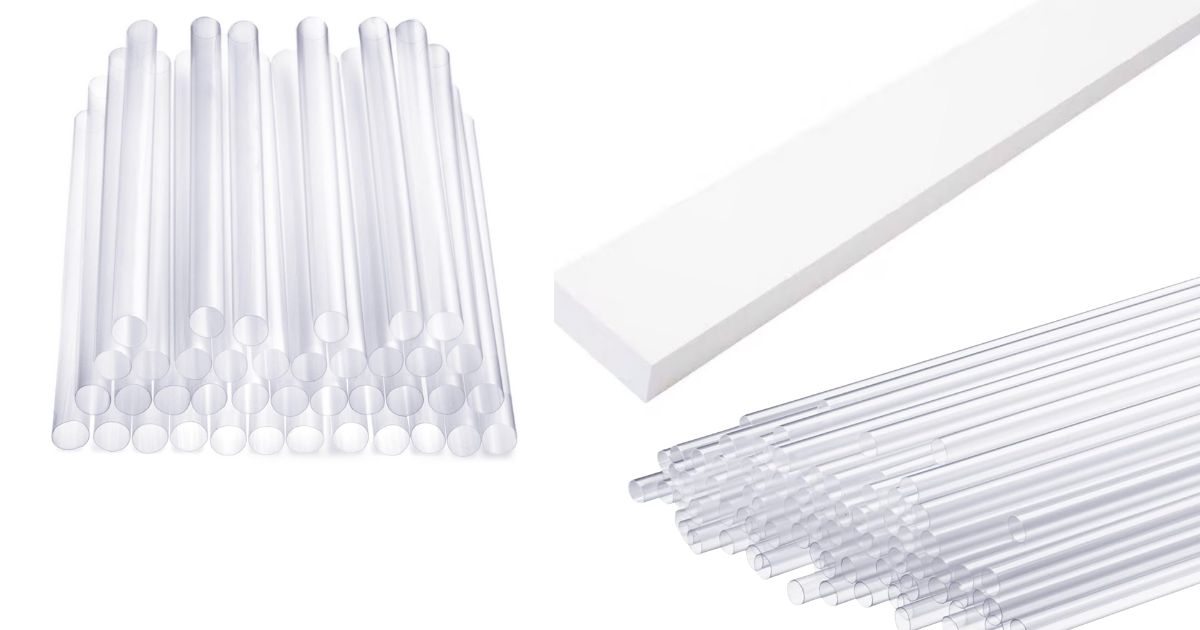
Straws
Straw (thick)
A piece of wood 3 inches wide and the length of your choice
Hot glue
Scissors
Spray paint
Hot Glue Gun
Step-by-Step Tutorial: How to Make a Wall Decoration with Drinking Straws
Step 1: Preparing the Base
Start by measuring and cutting a piece of wood to the desired length. This will be the base on which you will glue the straws. If you prefer, you can paint the wood to match your decor or to contrast with the colors of the straws, especially if you plan to glue them with some space between each piece. If this is the case, you should spray-paint the straws first.
Step 2: Arranging the Straws
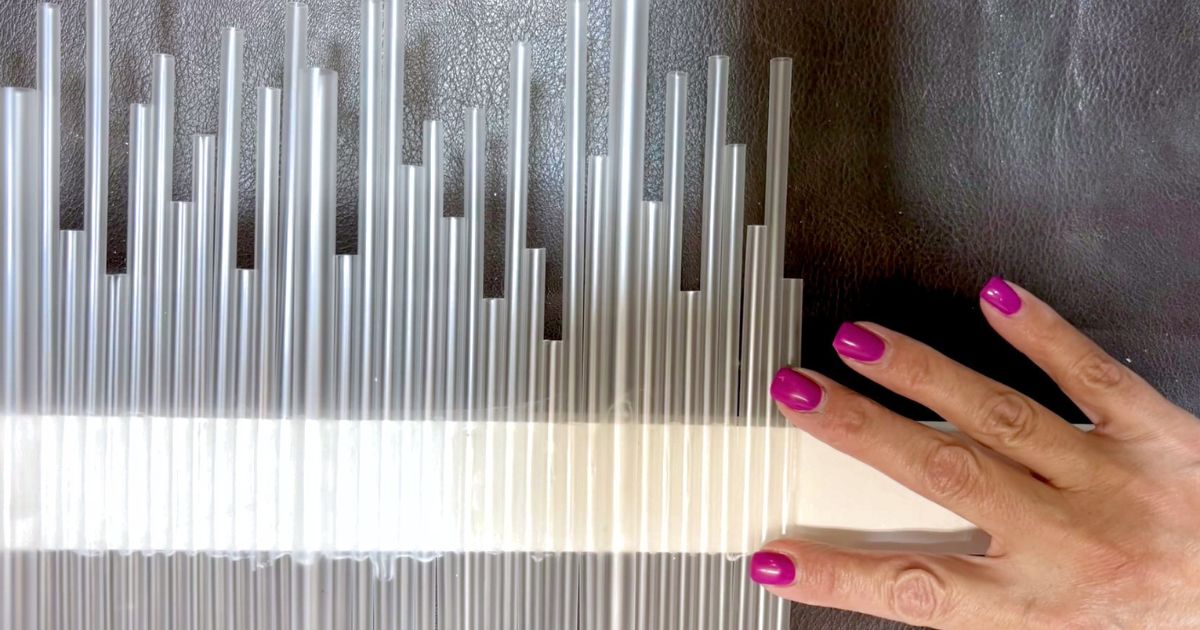
Before you start gluing, decide and arrange the straws in the desired pattern. In this project, I aimed for a flowing effect, so I placed the straws irregularly, some higher and others lower. In this tutorial, all straws are in the same silver color, but if you want to experiment, you can arrange them by color and length to achieve your preferred design. If that’s the case, you should paint the wood and the straws separately before gluing. If you’re following this tutorial, you can glue everything together and paint it later.
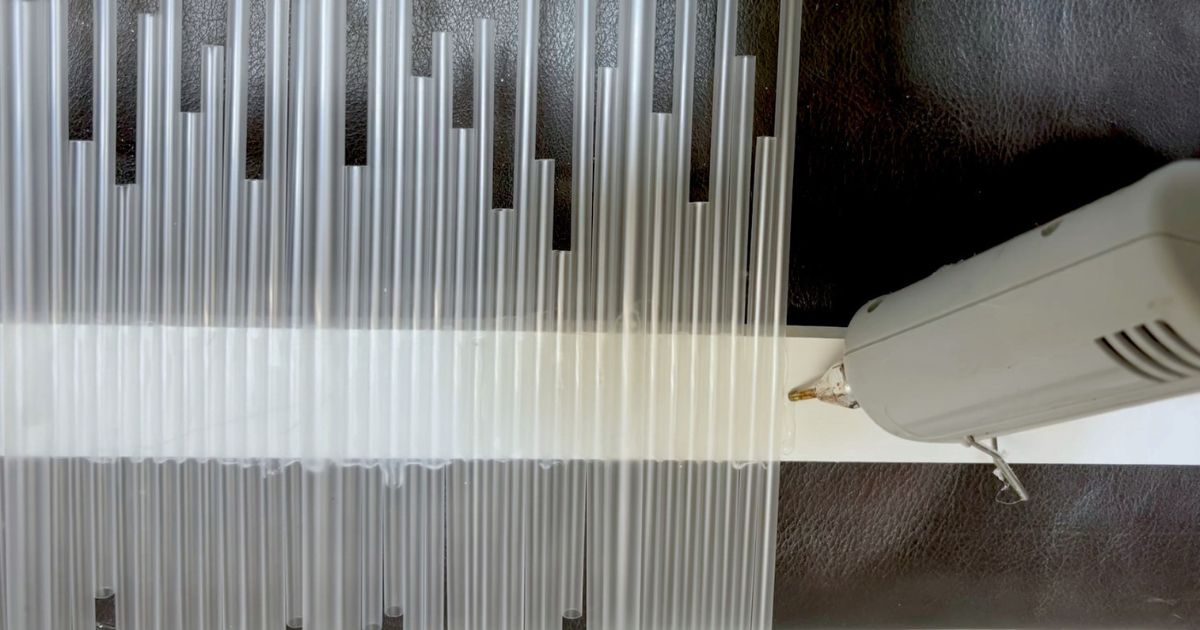
Step 3: Gluing the Straws
Use hot glue to attach each straw to the wood. Start at one end and move forward, ensuring each straw is well adhered and following the pattern you organized earlier. As you can see in the photos, I mixed in some thicker straws to break up the pattern a bit and create some dimension.
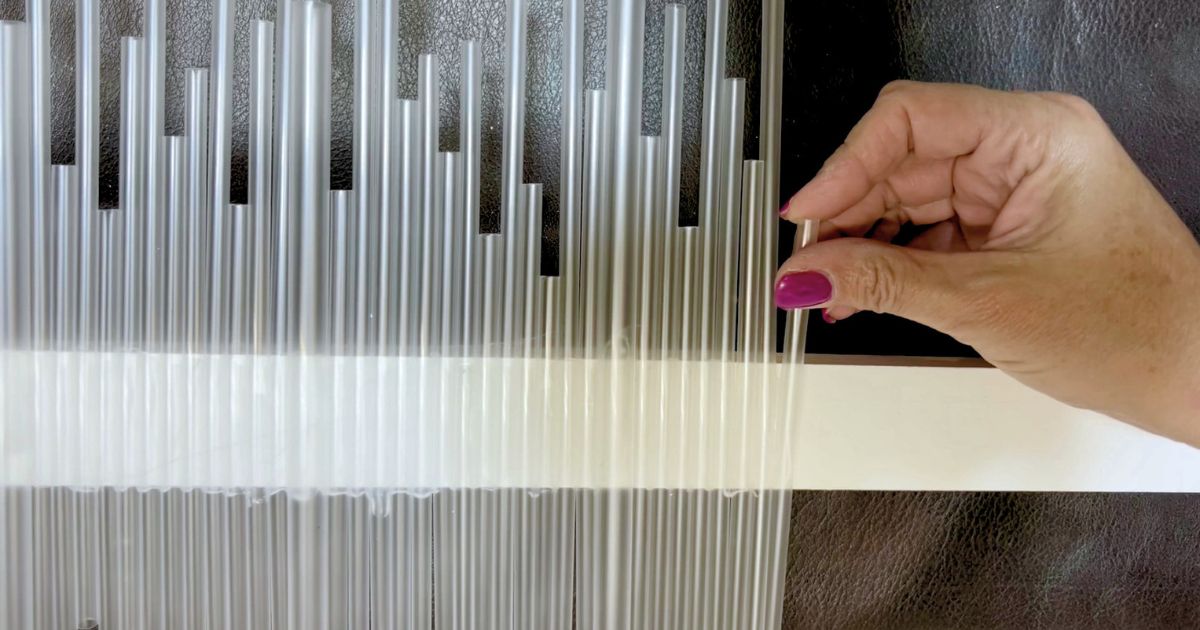
Step 4: Cutting and Adjustments
In this project, I chose not to cut them, using them in their original size and arranging them at different heights to create movement and an irregular edge.
Step 5: Painting the Piece
Once all the straws are glued and adjusted to your liking, proceed to paint the piece in your chosen color. I used Rust-Oleum spray paint in silver. Try to apply thin layers, as too much spray can cause the straws to bend slightly.

Step 6: Installation
To install your wall decoration, you can use picture hangers. Make sure it is well secured to prevent it from falling.
Conclusion:
With this simple tutorial, “How to Make a Wall Decoration with Straws,” you have created a decorative piece for your wall that is not only beautiful but also modern, personalized, and economical. Decorating with straws is an innovative way to add texture and color to your spaces, and the best part is that you made it yourself! Explore different patterns and colors to create unique pieces that reflect your personal style.
Here’s another one of our tutorials: “Create Christmas Tree Ornaments Using Jenga Blocks.“