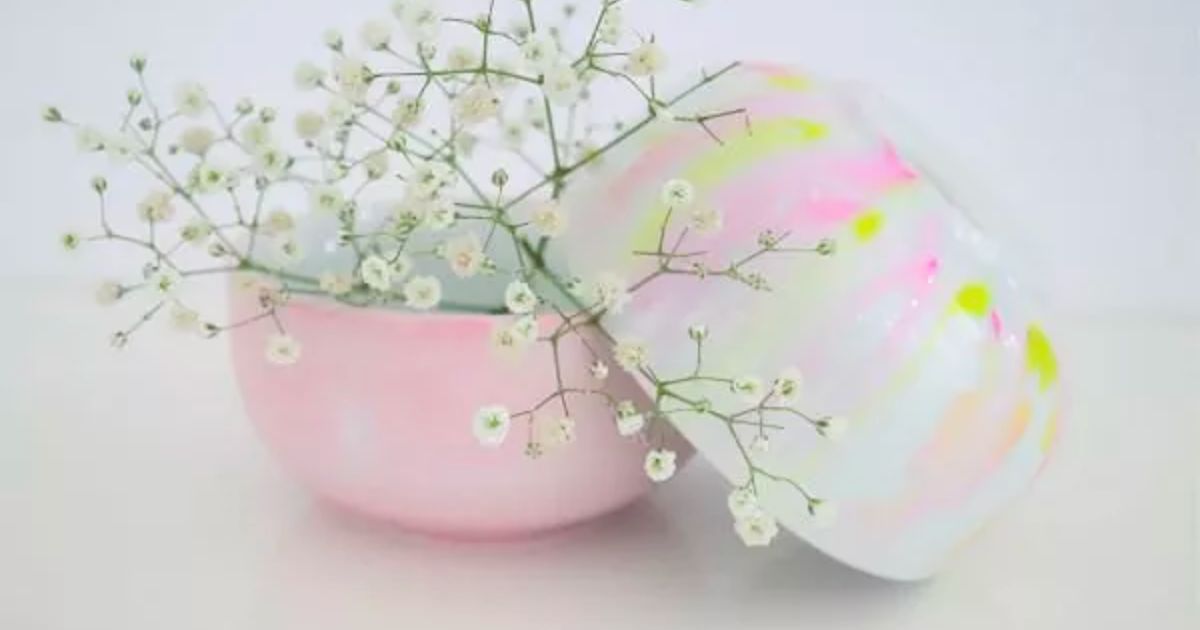
How to Decorate Bowls With Permanent Markers and Alcohol
Greetings, creativity enthusiasts and DIY lovers! Today, I’m thrilled to share with you an exciting artistic adventure that will transform your ordinary containers into unique masterpieces. In this tutorial, I’ll guide you through the fascinating world of container decoration using permanent markers and alcohol.
Why settle for dull containers when you can bring them to life with a personal touch? Gather your materials, ignite your creativity, and let’s embark on this thrilling journey filled with colors and unique designs.
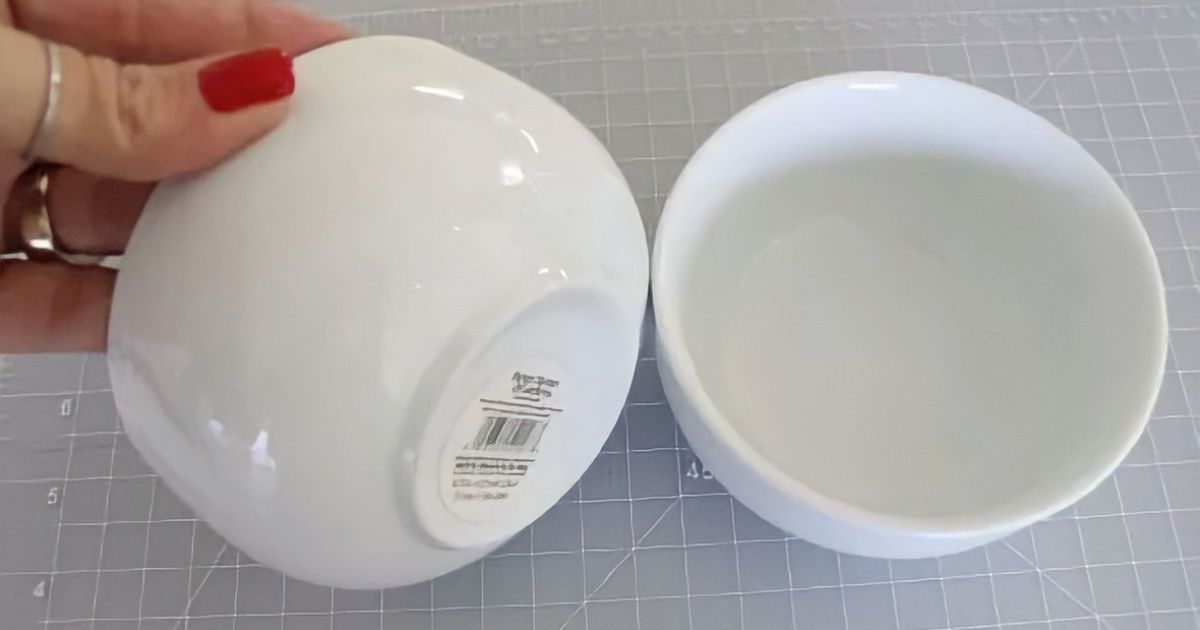
Materials:
- Permanent Markers
- White Porcelain Bowls
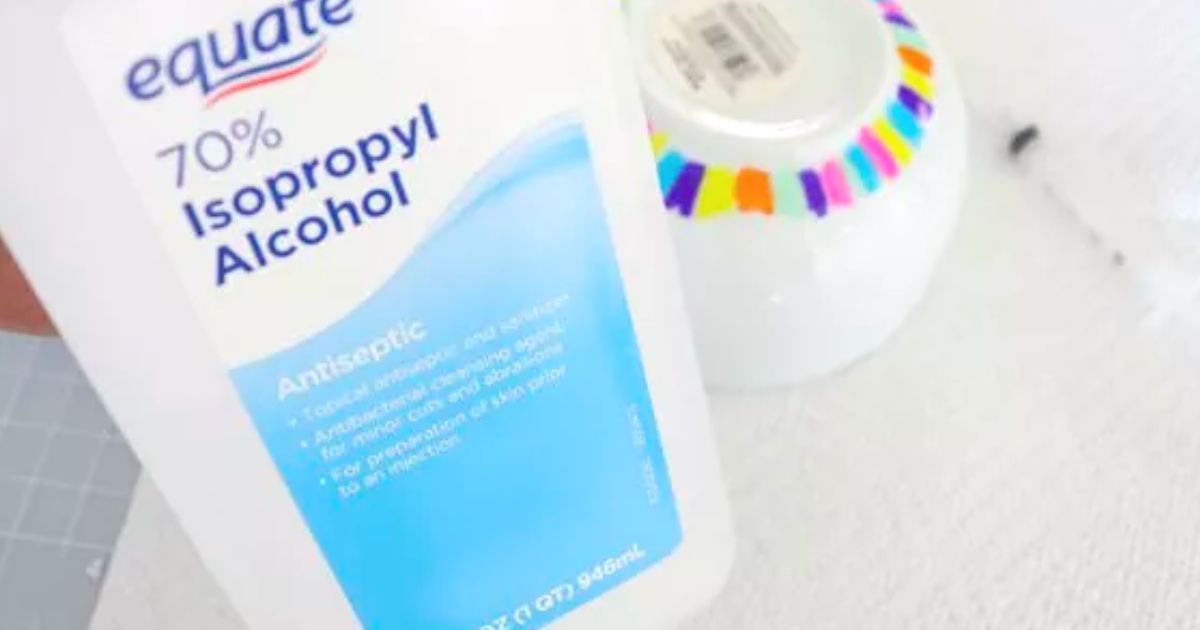
- Alcohol
- Napkins
- Mod Podge Dishwasher Safe Water-based Sealer
- Plastic Syringe (optional)
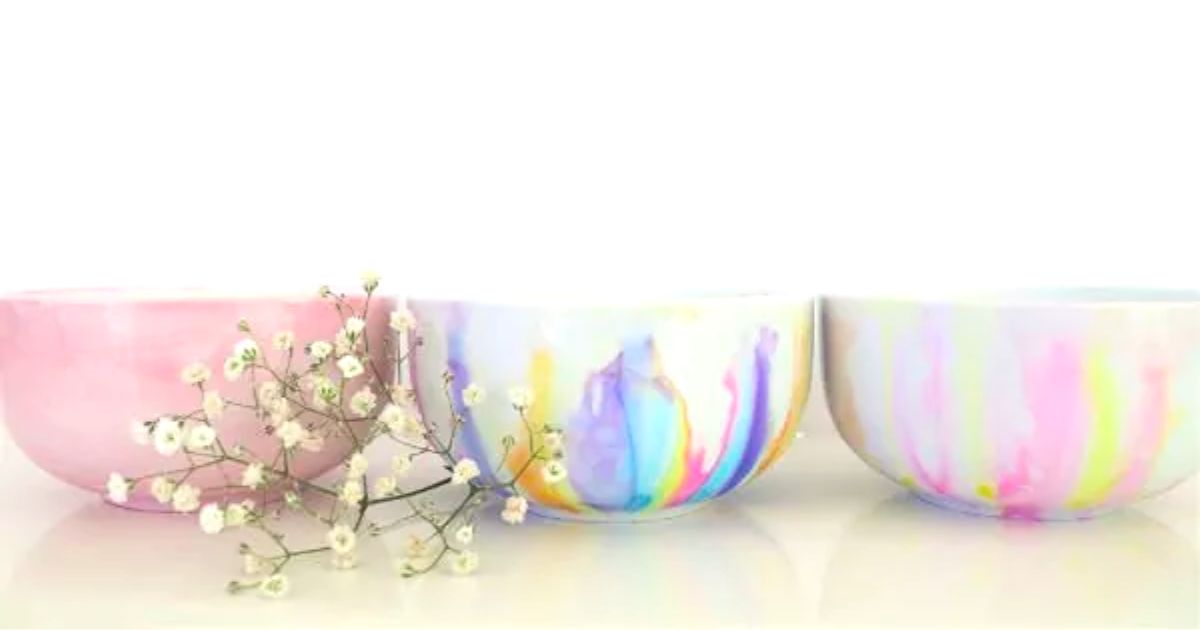
Draw on the bowls using the permanent markers and the colors of your choice.
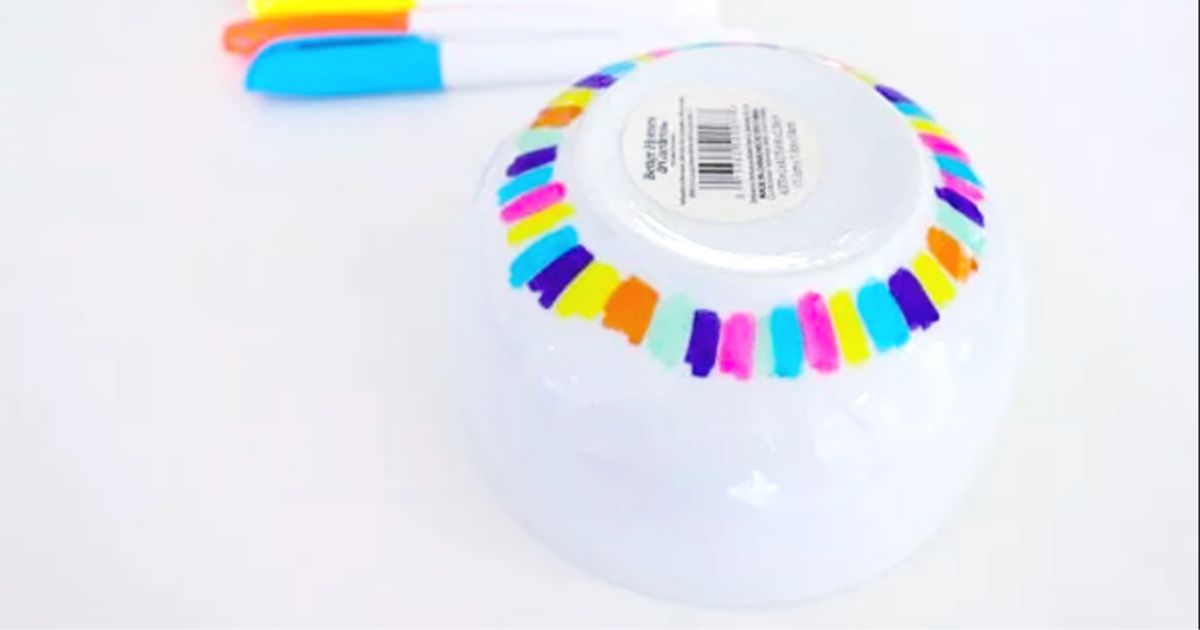
Fill the plastic syringe with alcohol and start pouring it onto the colors on the bowl.
The alcohol will mix the colors together, creating an abstract design.
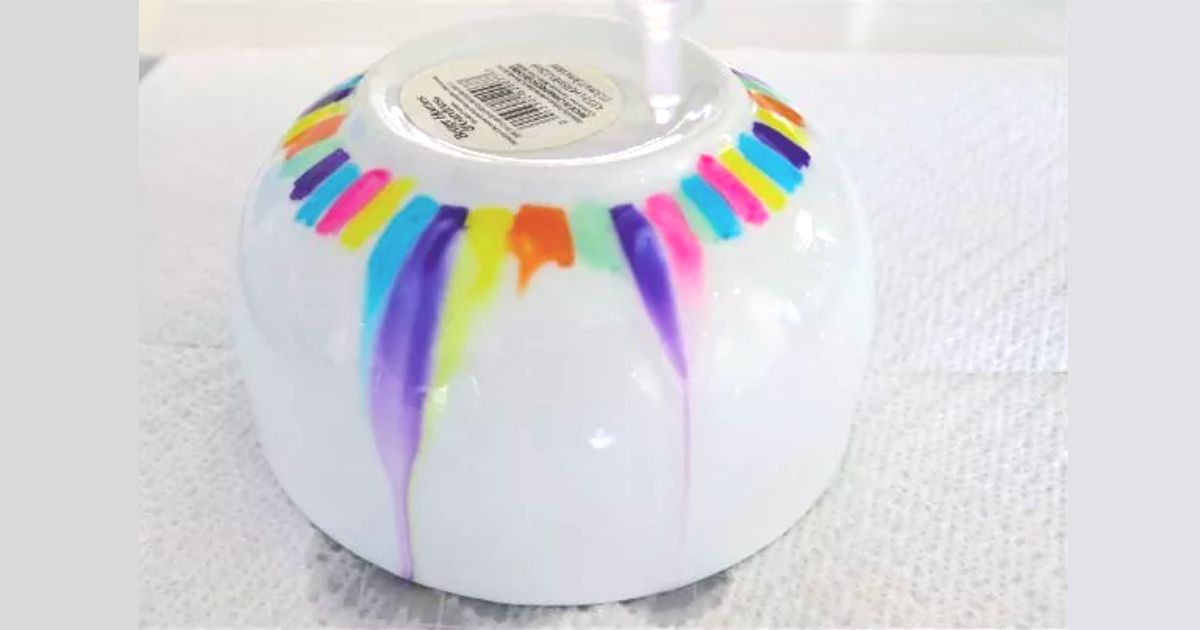
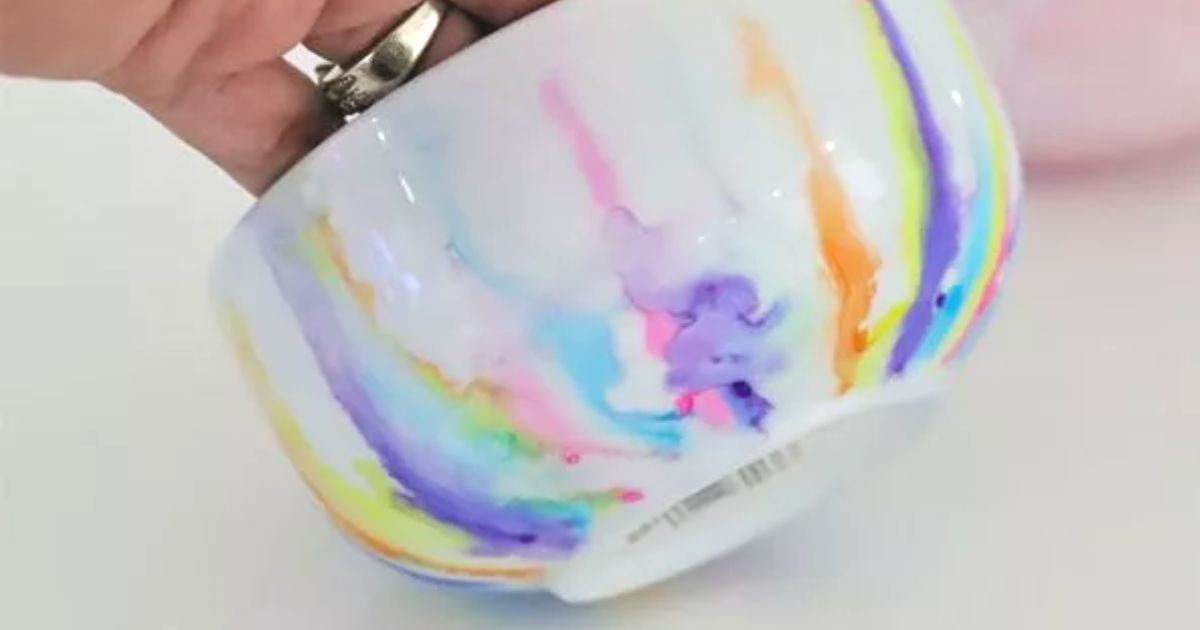
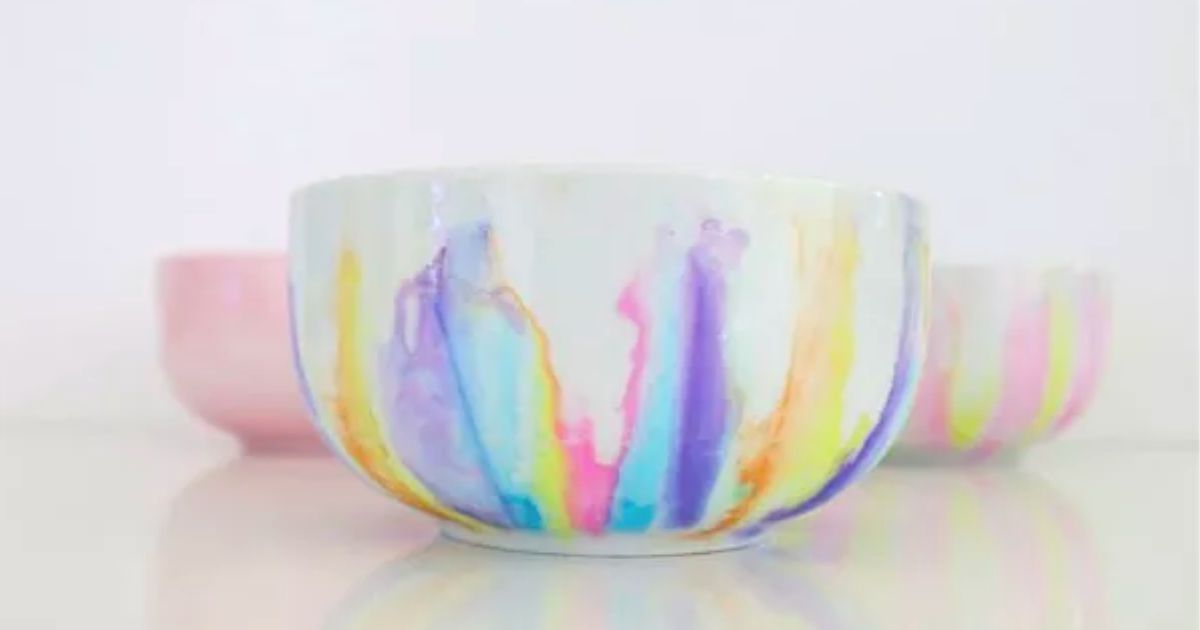
To create another design, you can use only two colors, such as pink and yellow. Then, pour alcohol onto the colors.
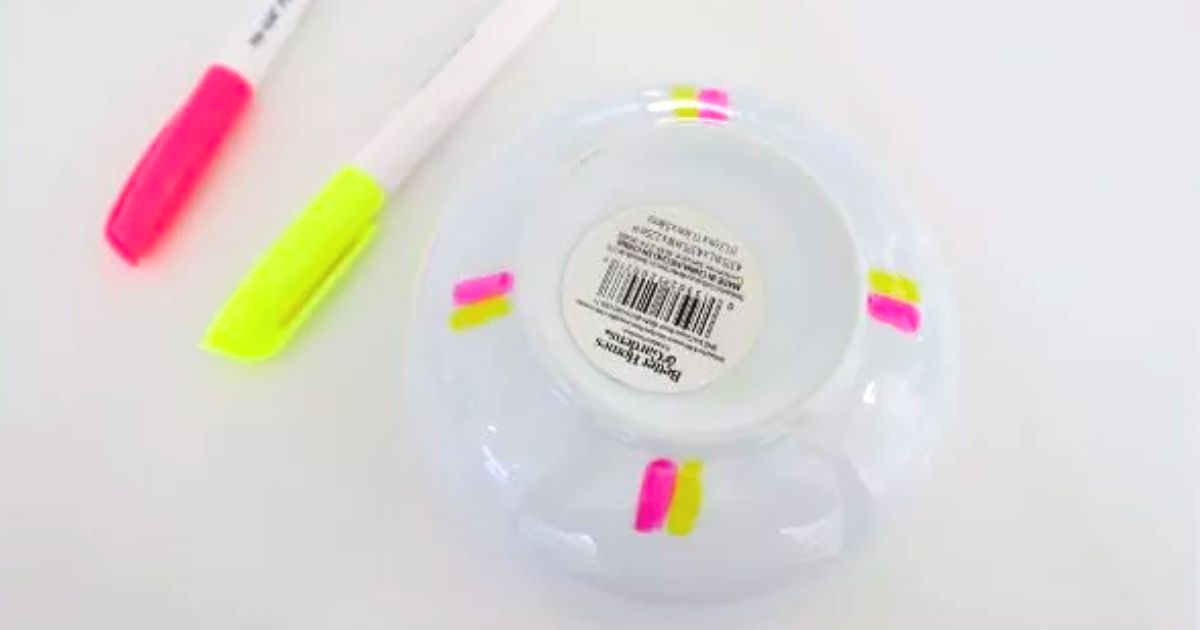

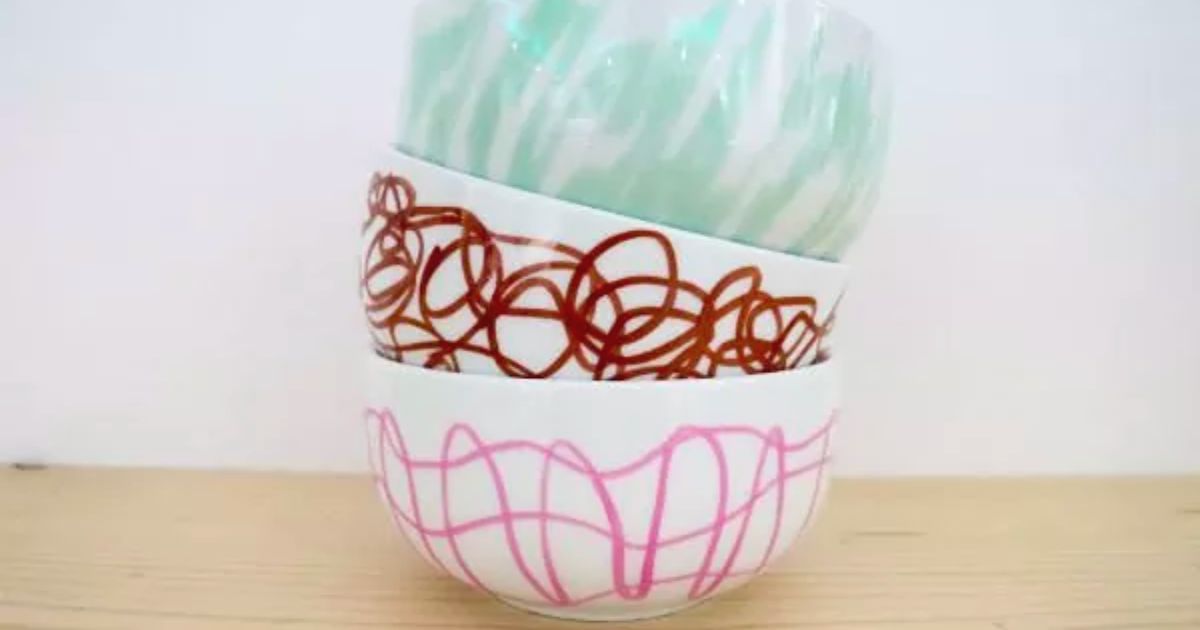
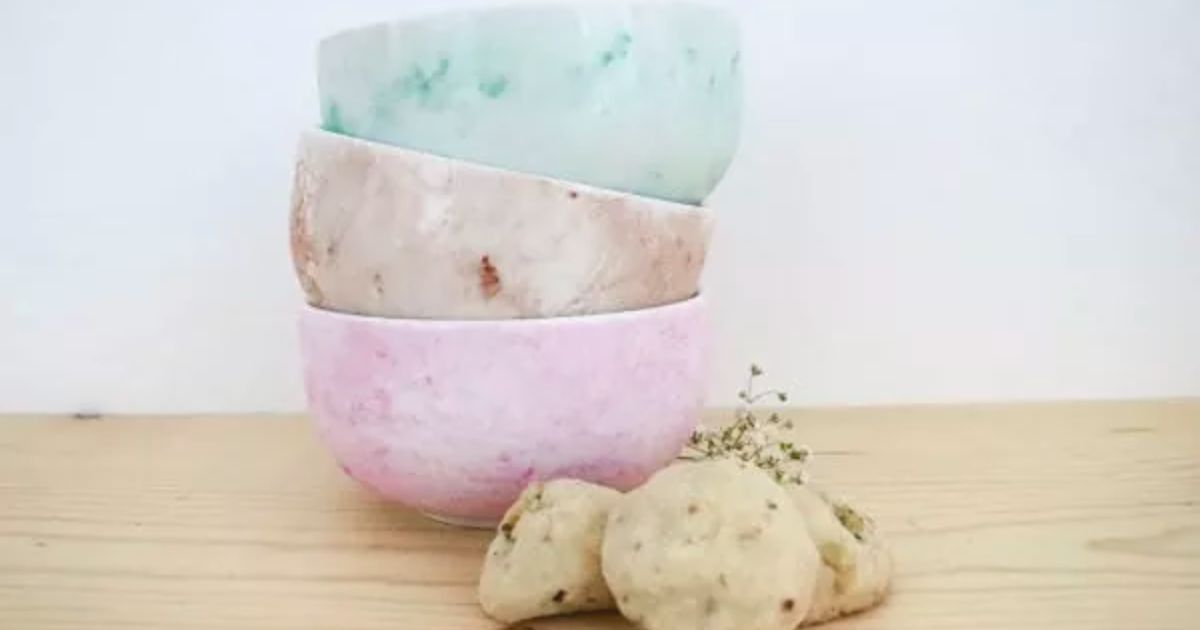
If you’re not an artist, don’t worry! Just sketch uneven lines using the marker, then gently dab the colors using a cloth and a touch of alcohol to fashion your unique pattern. The final result will never be exact, but similar.
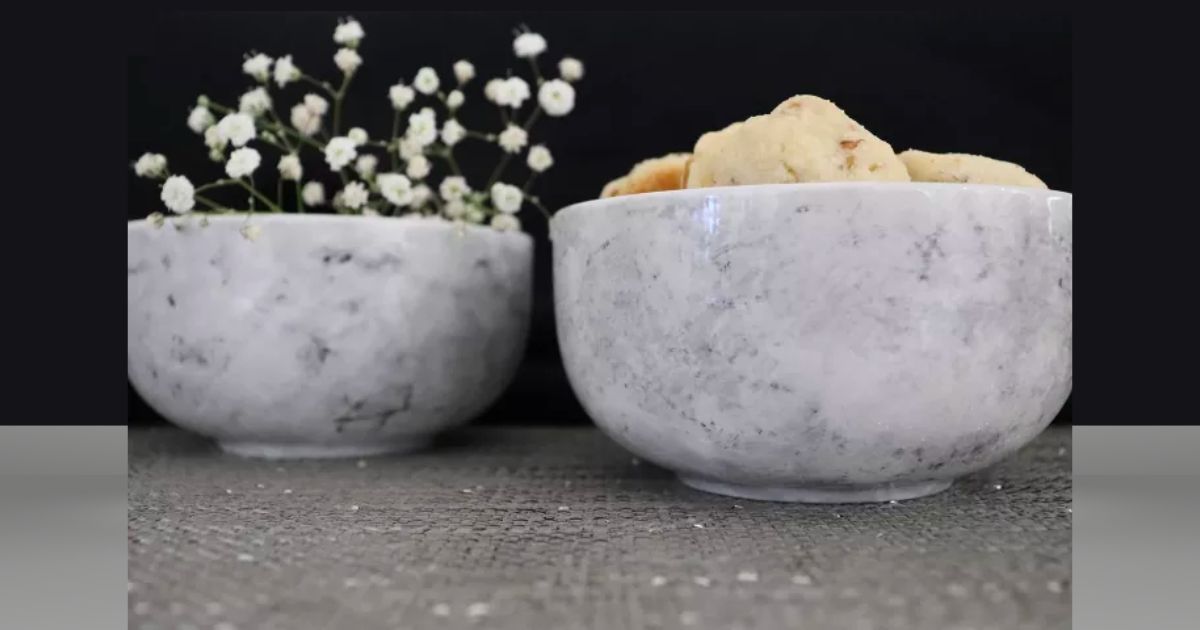
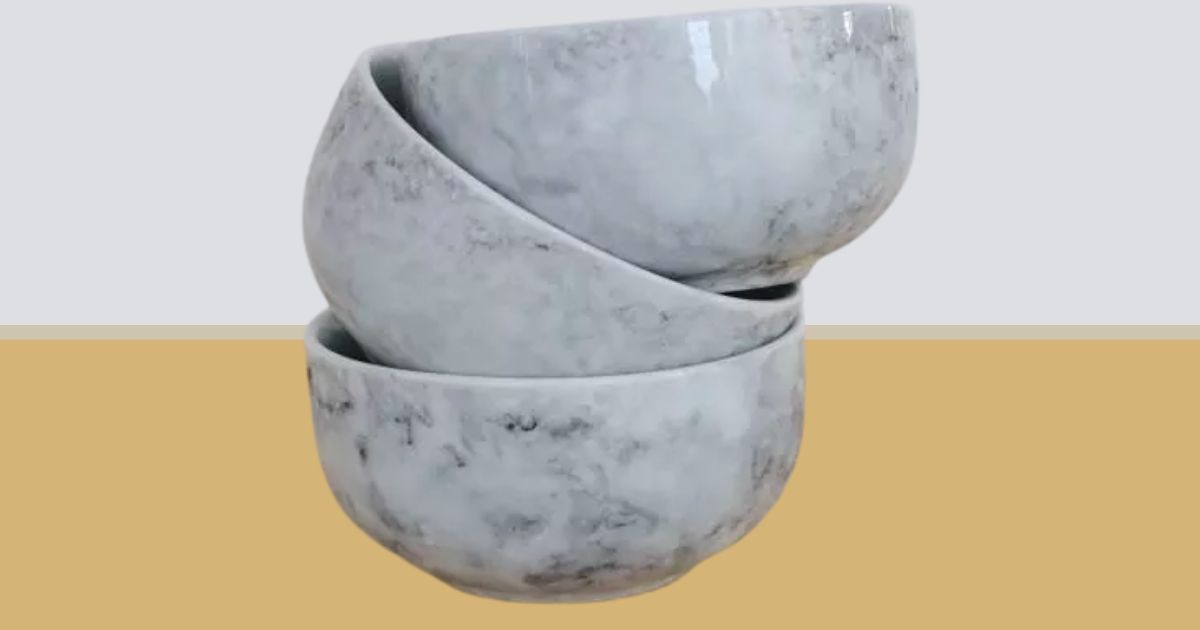
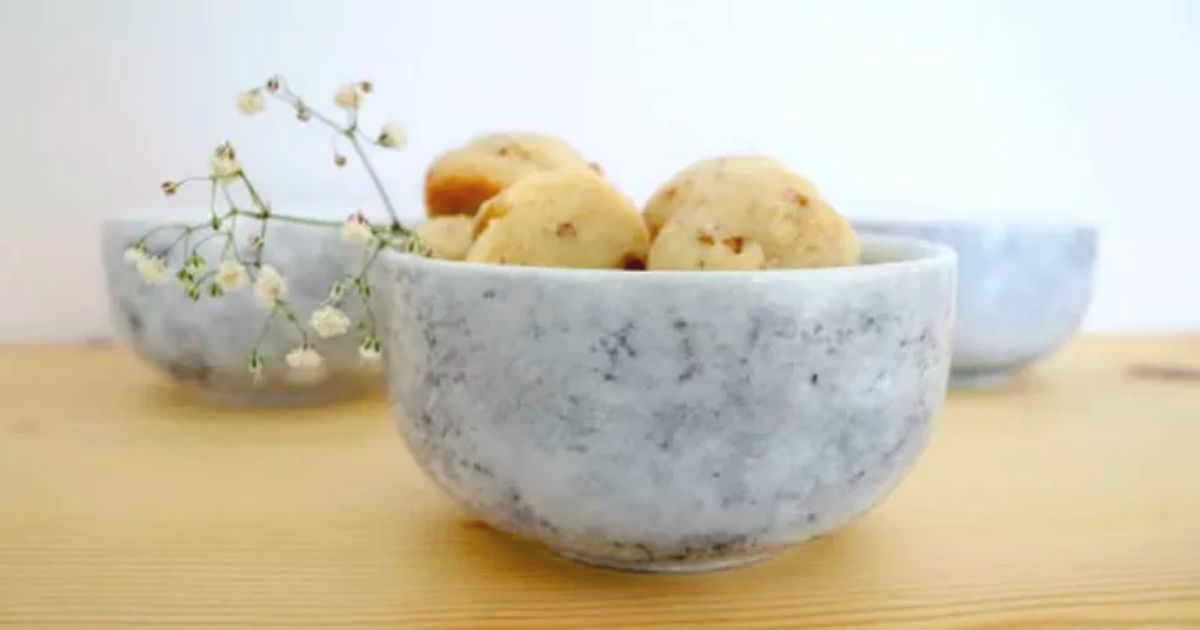
To achieve the “marble carrara” effect, draw anything with a black permanent marker and then tap it with a napkin moistened with alcohol until you get the desired design. Once it’s dry, apply a sealer.
You can use Mod Podge, which is specifically made for dishwasher-safe items. However, be careful not to go over the same area several times as this will ruin your work. Another option is the Krylon Clear sealer.
You can decorate a variety of objects with Sharpie and alcohol to create unique and artistic designs. Some popular objects to decorate include:
Cups and glasses: You can customize coffee cups, tea mugs, and glass or ceramic glasses with your favorite designs using Sharpie and alcohol. Afterward, bake the cups to permanently set the ink.
T-shirts and clothing: Create personalized T-shirts with unique designs using Sharpie and alcohol. You can make patterns, illustrations, or write messages on your clothing.
Canvases and art: Use Sharpie and alcohol on canvas to create abstract and expressive art. The alcohol blending technique can result in stunning effects in your artwork.
Shoes: Decorate your fabric sneakers with custom designs. Permanent Sharpies work well on fabric surfaces, and once you’re done, you can seal the design with a fixative spray for added durability.
Phone cases: Customize your phone case with your preferred designs. Be sure to use a permanent Sharpie to prevent the design from fading over time.
Pots and vases: Decorate ceramic pots or glass vases with creative designs using Sharpie and alcohol. This can add an artistic touch to your plants and flowers.
Candles: Create custom candles by decorating their surfaces with Sharpie before lighting them. As the candle melts, the designs will become even more fascinating.
Notebooks and journals: Personalize your notebooks and journals with unique designs using Sharpie and alcohol. This can make keeping a record of your thoughts more enjoyable and attractive.
Keys and tags: Creatively identify your keys and tags with colorful designs. This can help you organize your keys and items easily.
Photo frames: Decorate photo frames with Sharpie and alcohol to frame your memories in a special way.
Remember that, in most cases, you should apply alcohol with a brush or cotton swab over the Sharpie ink to achieve the blending effect. It’s also important to consider the material of the surface and, in some cases, apply a sealing coat to keep your design intact. Have fun experimenting with these decorating techniques!
Conclusion:
And so concludes our creative journey today. I hope you’ve enjoyed as much as I have exploring the possibilities that permanent markers and alcohol offer in transforming ordinary containers into personalized works of art. Now, you have the ability to add a touch of color and originality to your everyday life through container decoration.
Never underestimate the power of creativity, as it can turn the mundane into the extraordinary. So, don’t hesitate to venture beyond what I’ve presented here and discover new ways to express yourself through your decorated containers!
With your newfound decorating skills, you’re ready to embark on exciting projects. From personalized gifts to thematic event decorations, the only limit is your imagination. I look forward to seeing your creations soon and hope you’re inspired to continue exploring and experimenting with the art of container decoration!
May be interested in: Christmas Tree Ornaments made of Foam Sheets
Don’t forget to follow us in our Instagram , YouTube Channel and Facebook Group !!!!
DIY Tutoriales y mucho mas participa en el Programa de Asociados de Amazon Services LLC, un programa de afiliación publicitaria diseñado para proporcionarnos un medio para que ganemos dinero a través de los enlaces de Amazon.com y sitios afiliados.
This post contains affiliate links and I may be compensated for this post. Read our disclosure policy HERE

Leave a Reply