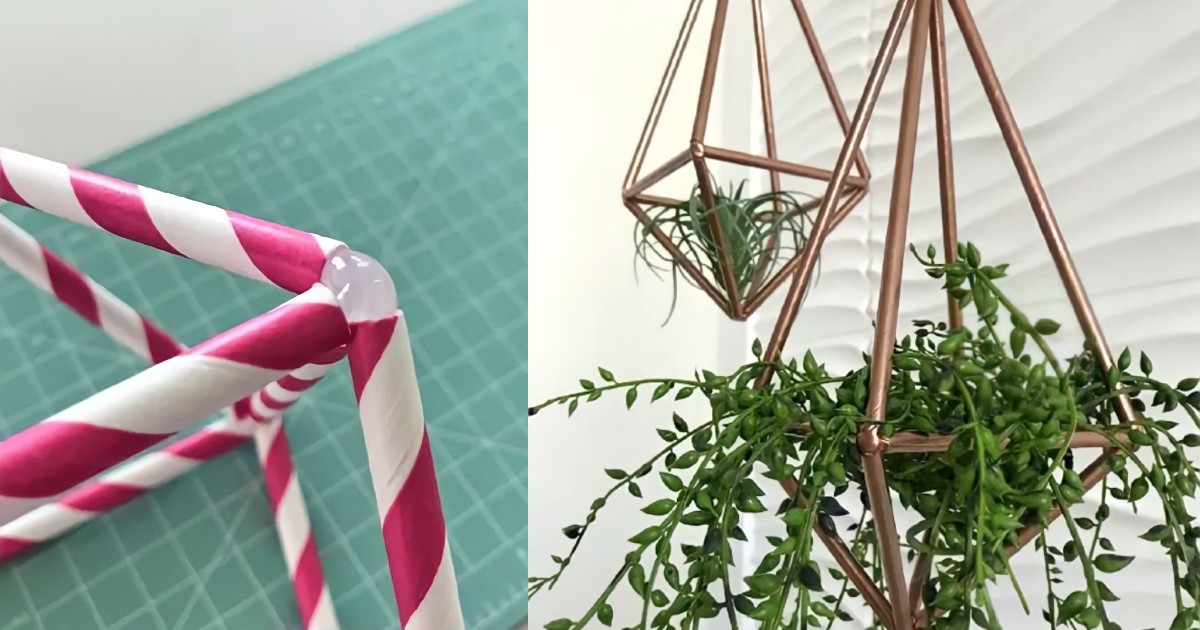
How to Make a Himmeli?
The Himmeli, those intriguing decorative objects that have become synonymous with Nordic elegance and simplicity. Originating from Sweden and Finland, these geometric pendants have captured the imagination of interior design enthusiasts around the world. Traditionally crafted from slender pieces of reed, their construction serves as a clear example of how simplicity and geometry can come together to create something truly aesthetic. With their unique geometric structure, Himmeli are much more than simple ornaments: they are a style statement, an expression of individuality, and a visual focal point in any space.
In recent years, Himmeli have experienced a resurgence in popularity and have become key pieces in the realm of contemporary decor. It’s no wonder that many people are looking for creative and affordable ways to incorporate these geometric objects into their home decor. The beauty of Himmeli lies not only in their design but also in their versatility; they can adapt to a variety of decorating styles, from minimalist to bohemian.
So today, I will be presenting you in this tutorial with an innovative and economical way to create your own Himmeli. The key? Using straws, also known as “sorbetos” in Spanish, or “popotes” or “pajitas.” Yes, you read that correctly. These everyday items, normally associated with beverages, can be transformed into a work of art for your home. The advantage of using straws is their accessibility and low cost, making this project ideal for those looking to add a touch of Nordic elegance without breaking the bank.
So, if you’re ready for this creative adventure and to add a sophisticated and culturally rich touch to your space, stick with me as we break down the process step by step. Through this tutorial, you will not only learn how to create a Himmeli from scratch, but you will also discover how these fascinating objects can transform your space.
Materials you will need for this Tutorial
You will need 4 straws in its original size and 8 pieces of 4 inches.

Steps to Make the Himmeli
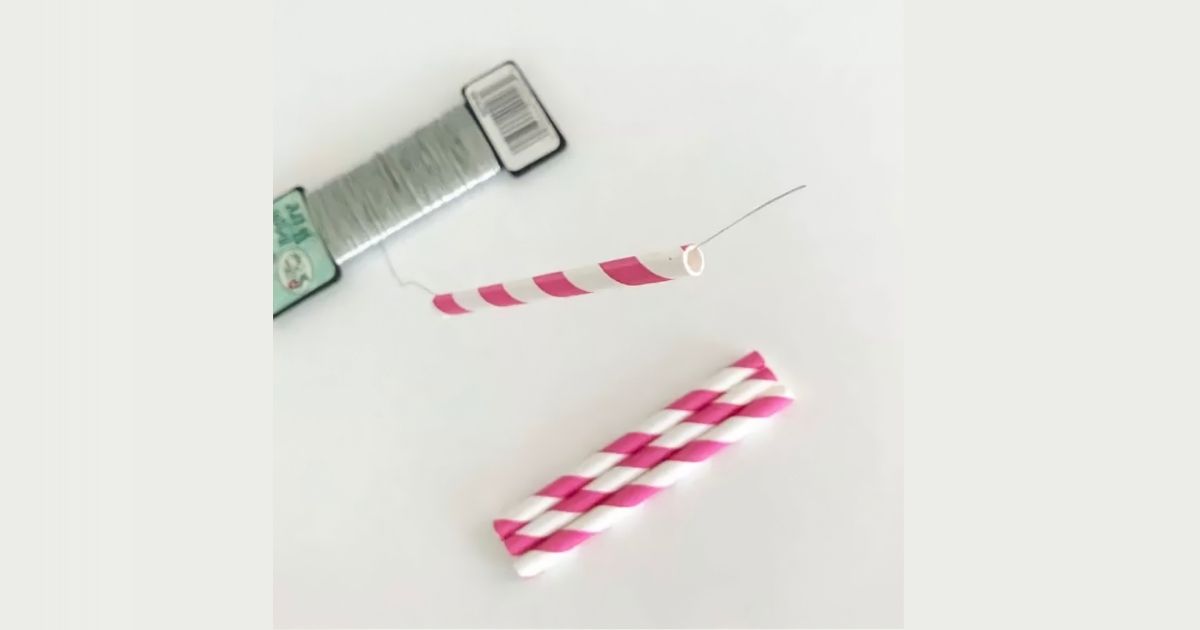
Cut a piece of wire long enough and insert 4 straws (4 inches) and join the two ends of the wire by intertwining them to make the closure.
A square has formed that will be the base of the Himmeli. From the base, you will work on the bottom part of this piece and then the upper part.
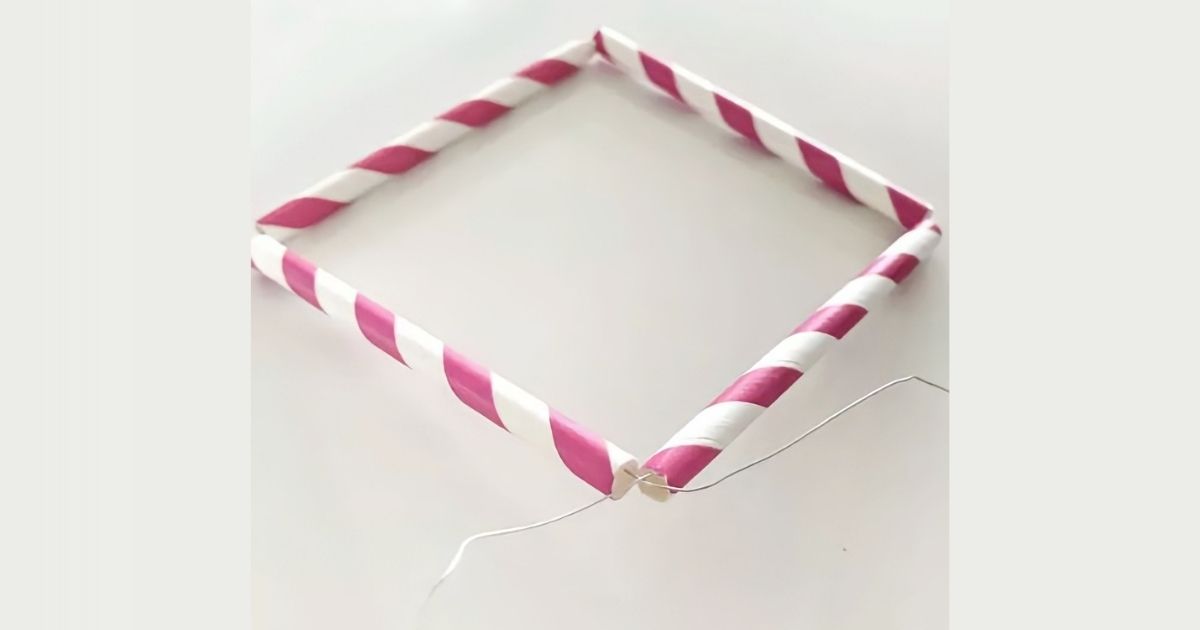
Note: If at any point the wire is not enough to continue, simply add another piece of wire, connect the two ends, and continue.
When you make the closure of the base, join the two wires to become one.
Now insert into that wire two 4-inch straws that will form a triangle. Then pass the wire to take it to the other corner of the base from where you will work with the third straw of the inverted pyramid at the bottom of this Himmeli.
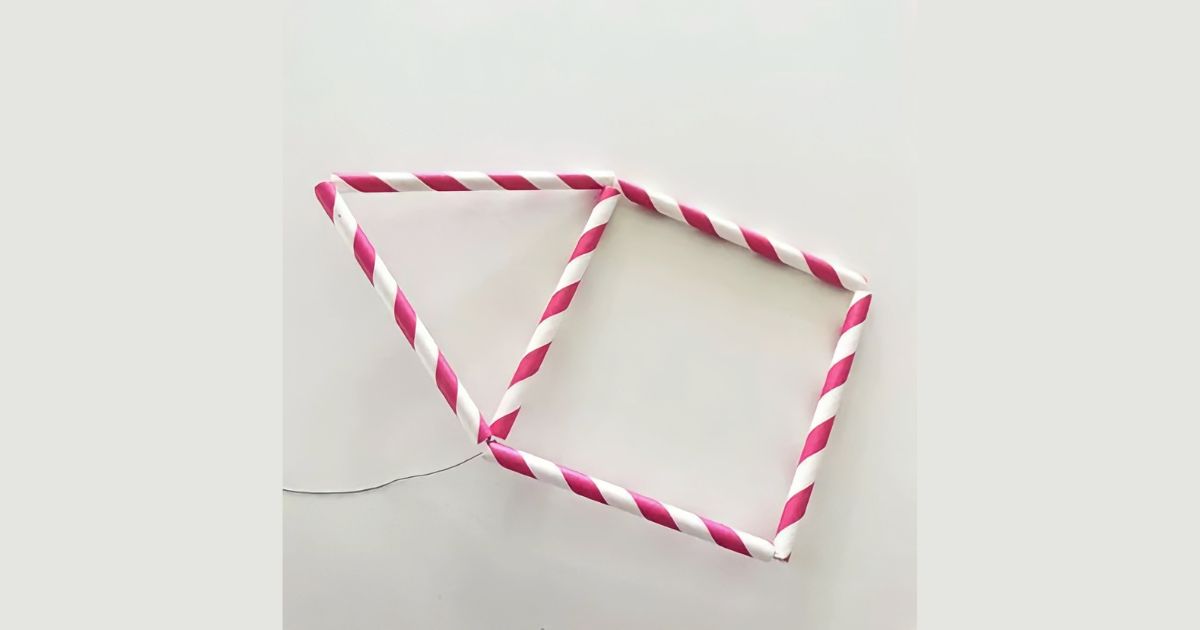
When you make the closure of the base, join the two wires to become one.
Insert the third straw and move it to the center.
Personally, I like to give one or two turns with the wire between the ones I already have in position since it gives more firmness to the Himmeli.
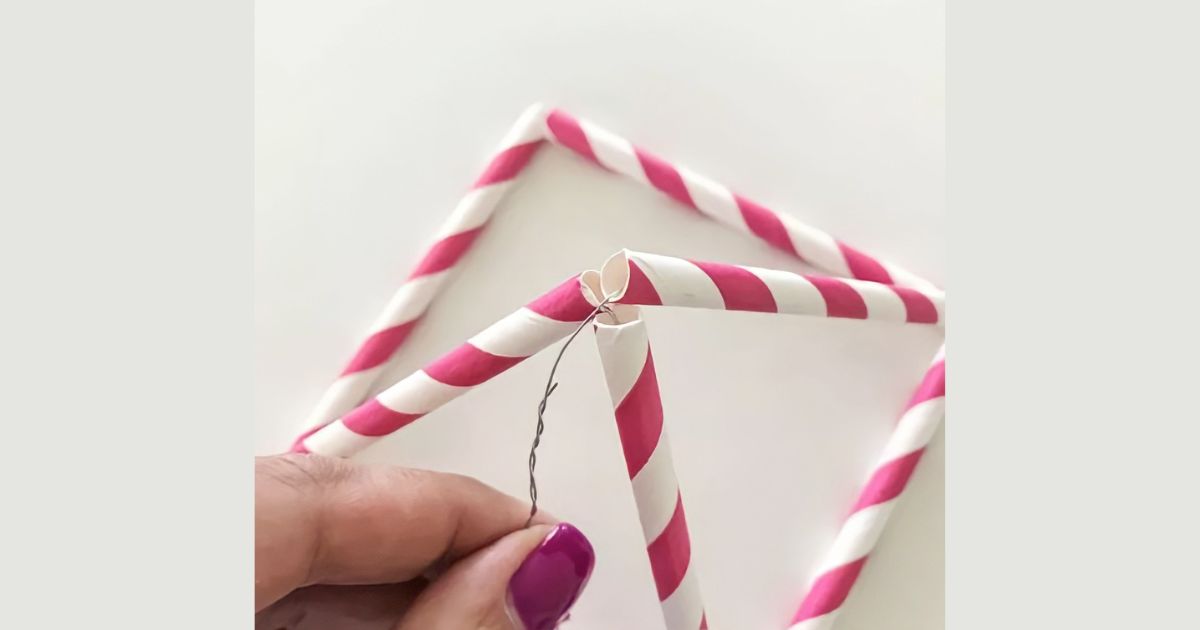
Pass the wire to take it to the other corner so you can insert the fourth straw of the bottom part of the inverted pyramid and take it to where they all join (4 straws), and make the closure by giving one or two turns among the four straws and then take the wire to one of the corners of the base (the square base that was made at the beginning).
As you can see, a pyramid has formed towards the bottom, and the wire is in position to continue creating the upper part.
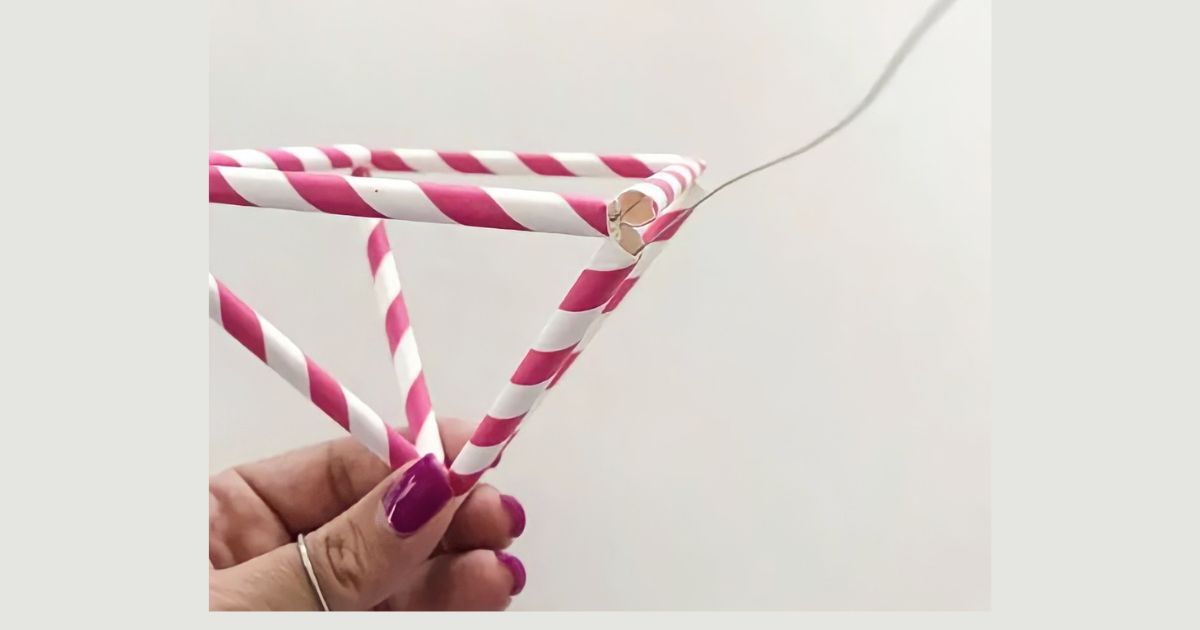
Insert two original-sized straws into the wire and take them to the next corner. (same process that was done in the inverted pyramid at the bottom of this Himmeli).
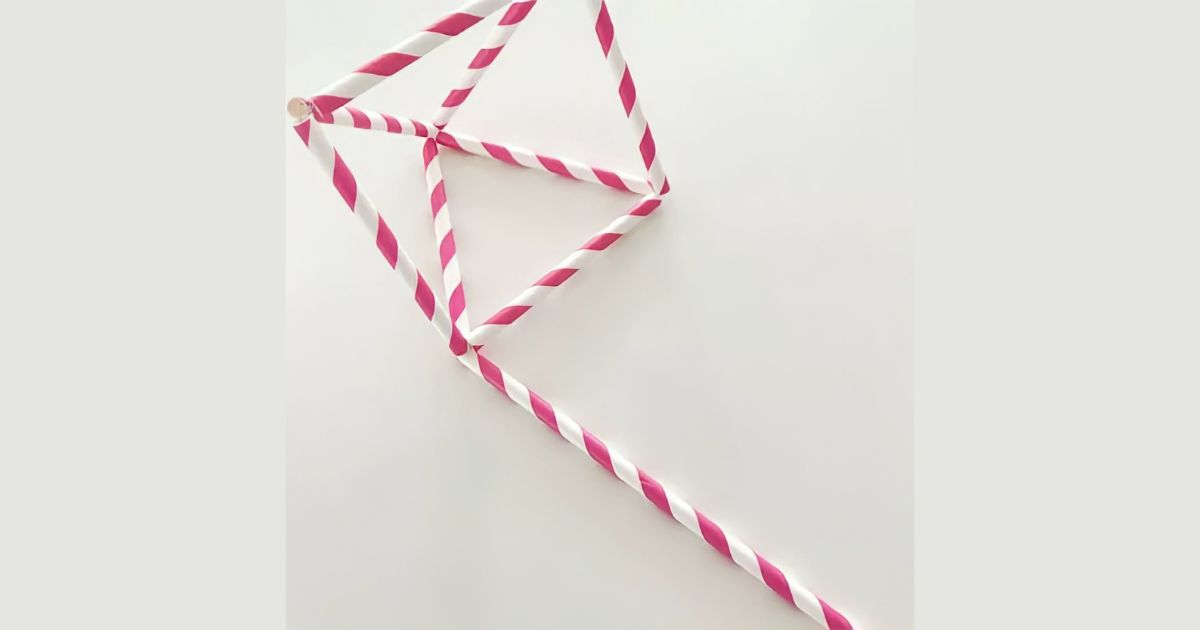
The wire is already in the other corner from where you are going to insert the third straw and take it to the center to join it with the other two.
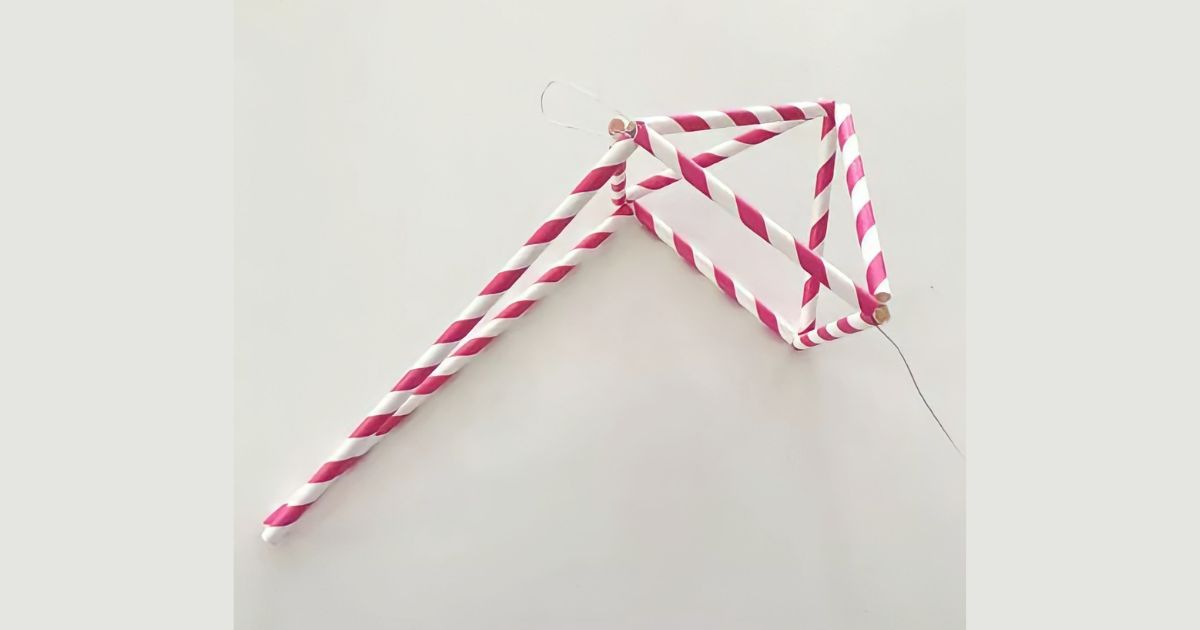
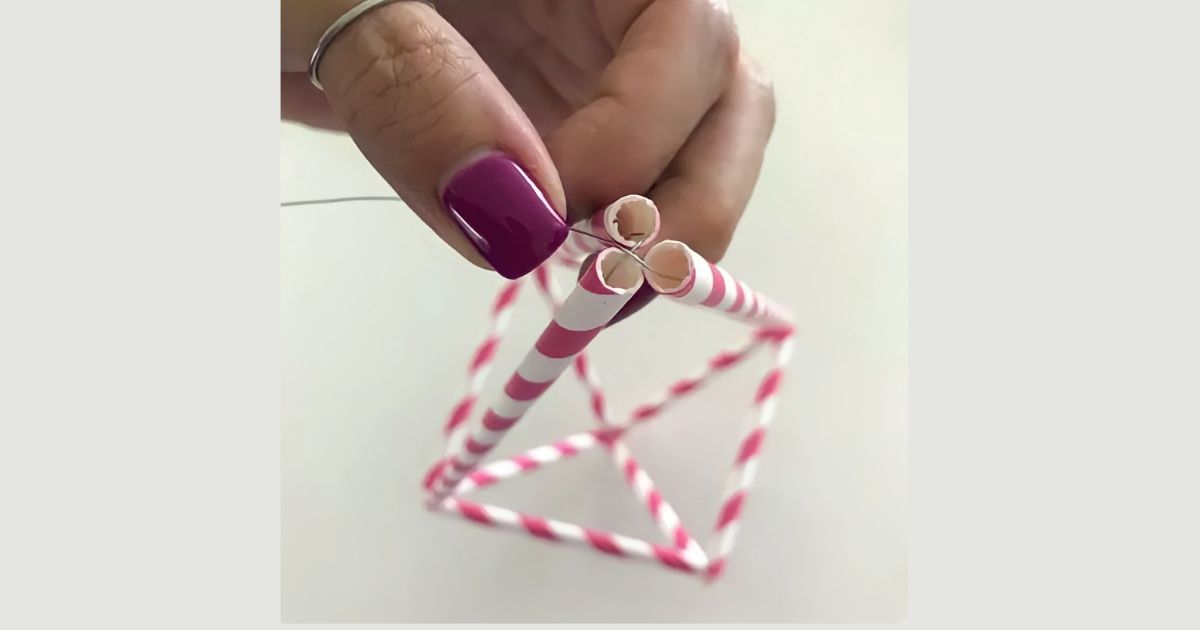
Insert the fourth straw and put it in place. Pass the wire and close it with one or two turns at the corner to fix and finish the Himmeli.
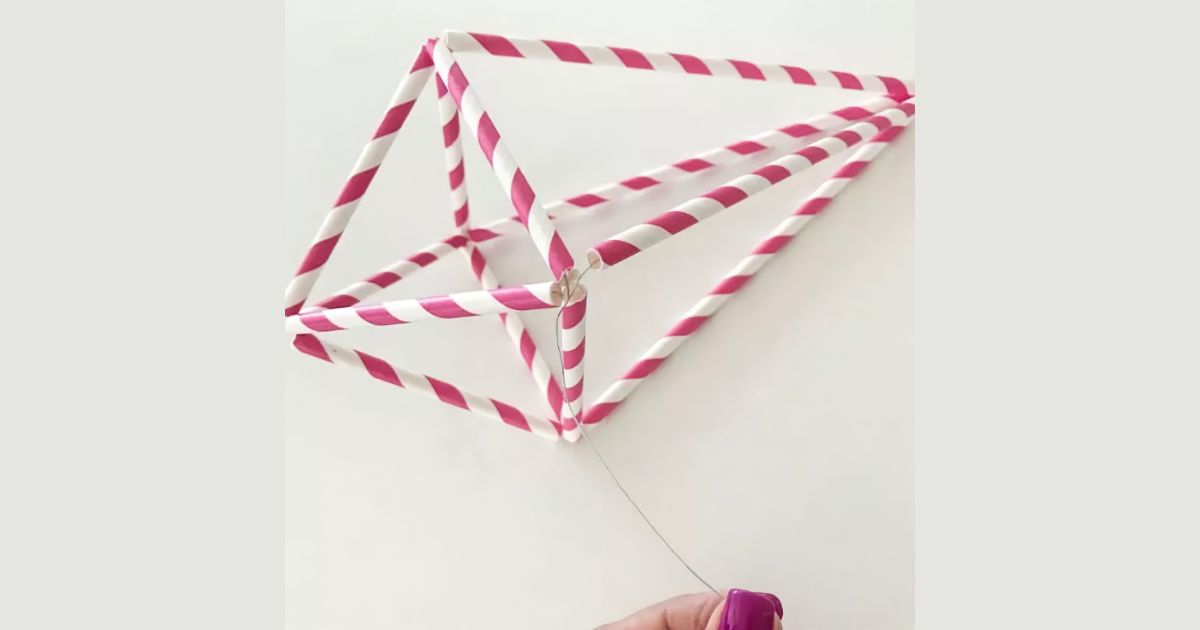
To hang them, as these pieces do not have much weight, I simply stick a decorative washer on the top and hang them from there!
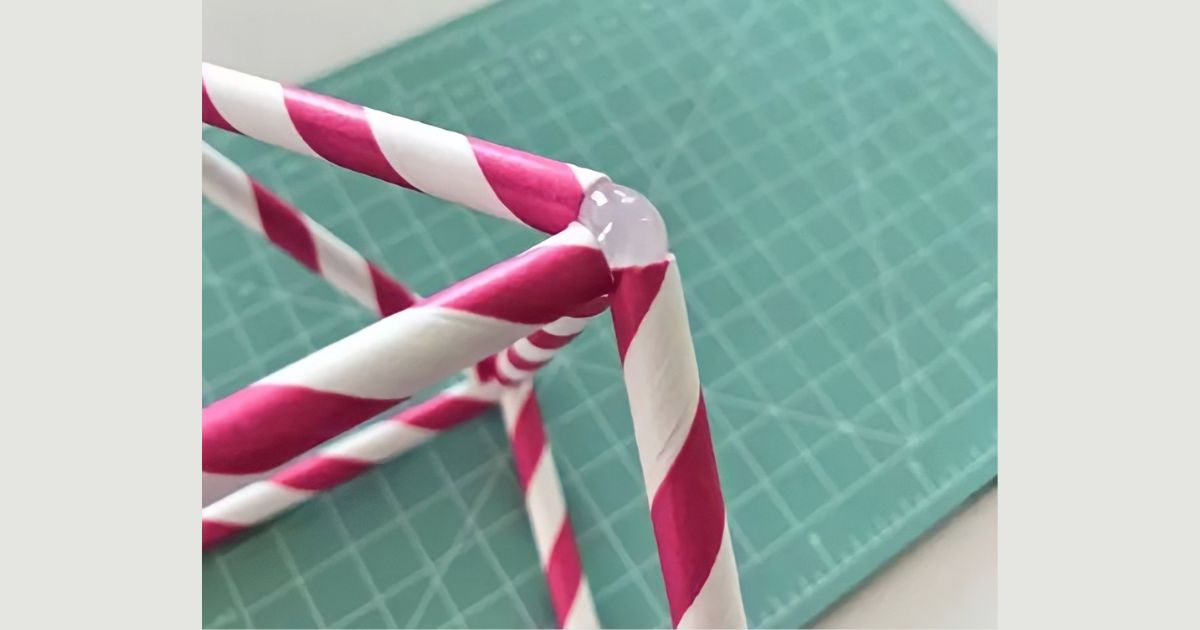
As you can see, the joints don’t look very nice because the connection between the straw and the wires is very noticeable.
To correct this, I applied hot glue at the joints. This will make it so that when we paint it, those corners look like welded joints.
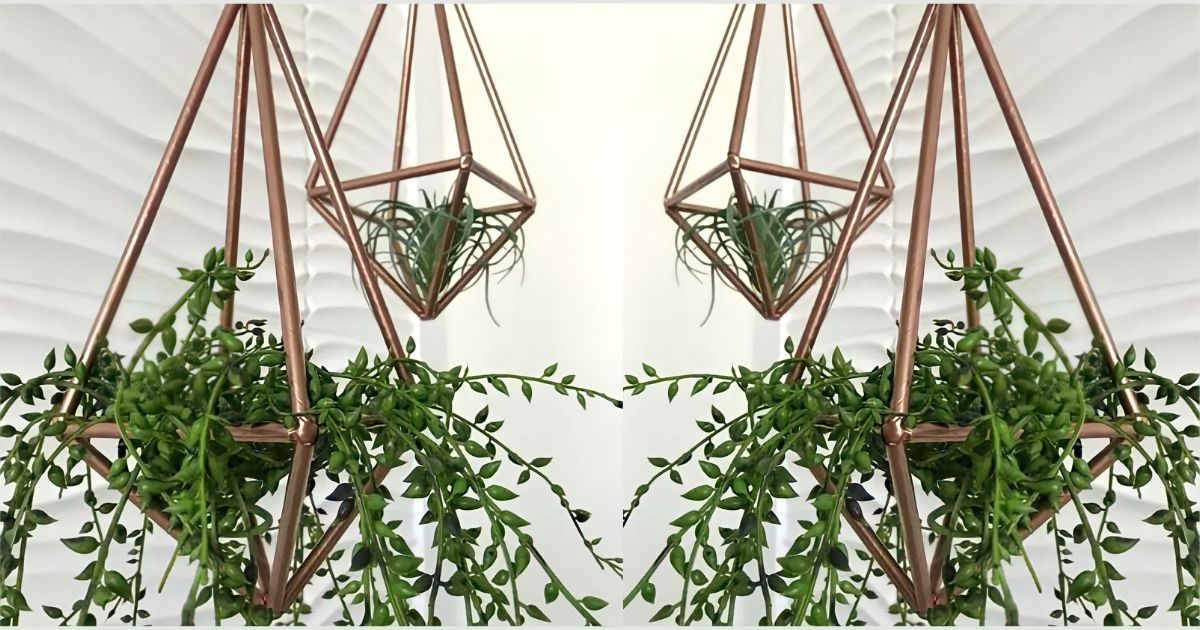
Paint the Himmeli with this Rust Oleum Paint so it looks like the one in the photo I show you below.
Don’t forget to follow us in our Instagram , YouTube Channel and Facebook Group !!!!
Maybe you will love on: How to Make Hobnail Glass Cup
DIY Tutoriales y mucho mas articipates in the Amazon Services LLC Associates Program, an affiliate advertising program designed to provide us with a means to earn money through links to Amazon.com and affiliated sites.
This post contains affiliate links and I may be compensated for this post. Read our disclosure policy HERE

Leave a Reply